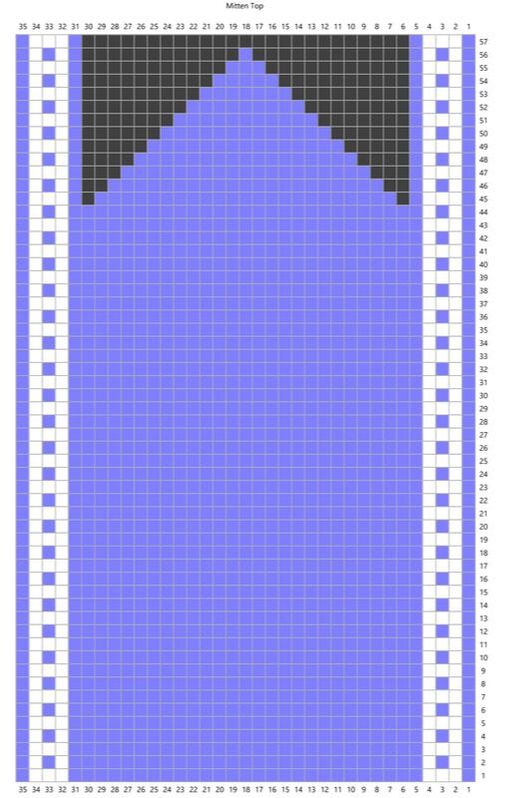
 In my last post, I shared how to modify the size of a stranded colorwork motif. In this post, I'll share how to use it in a repeat with a simple mitten design. In this pattern, the dark gray/black square represent no stitch. There are decreases in the pattern to form the mitten top which are not noted in the chart - this is to give clarity in the colors. The set of five stitches at the left and right edges of the pattern form a border at the sides of the hand. They do not change, but as the decreases shape the top of the hand, they will slope inward. 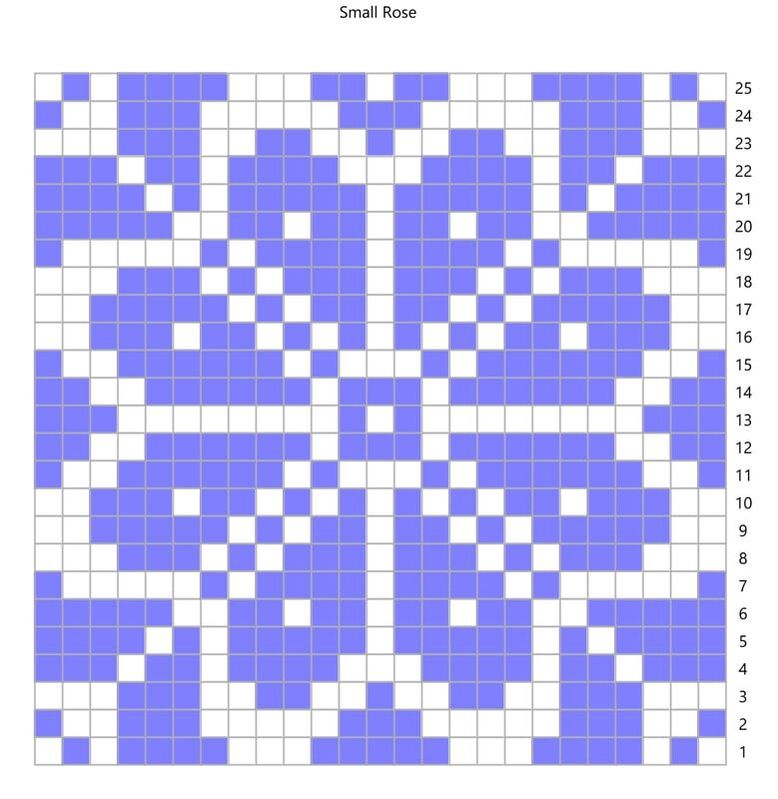 The first step in setting up a pattern repeat is to simply repeat the pattern. Here, I'm using a variation on the pattern I shared in my last post. 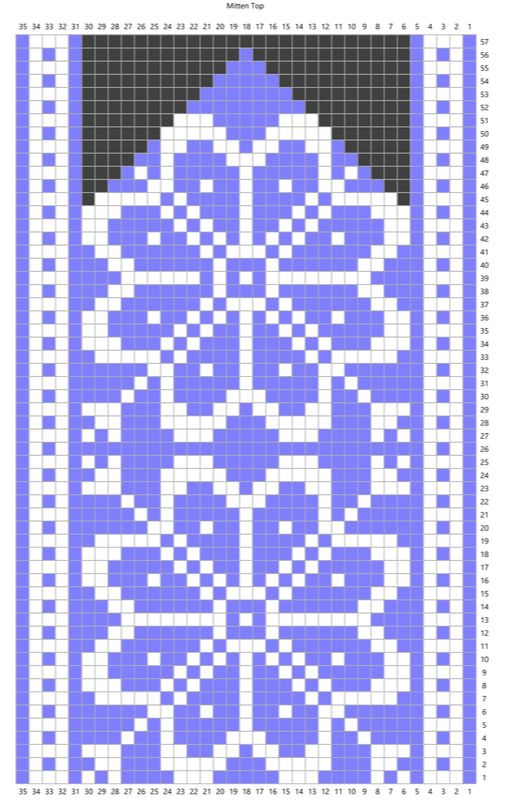 Stacking the pattern on top of itself, we get two repeats of the rose. The outer corners at the top of the rose are cut off. This is fine, as long as the rose itself fits fully into the pattern. (If it didn't we'd need to go back and adjust.) It seems like the white of the rose petals falls off the edge of the pattern. However, because the borders are edged in the background color, there will be a purple border around them. 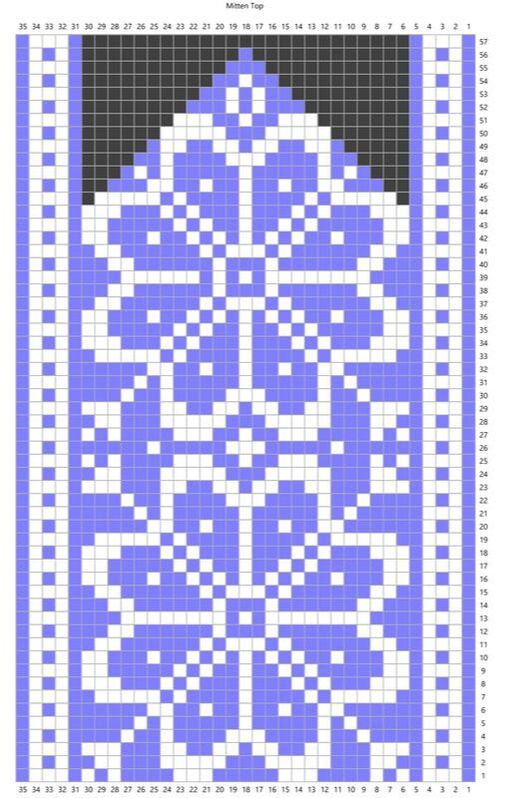 Usually, when you repeat a large motif, there are places that end up with very long floats. The next step is to create new, smaller motifs to prevent these floats. Here, I've added a small cross and two dots between the motifs to prevent long floats. At the top, there is a lozenge shape to fill in the space. Your options at this step are limited only by the number of stitches you have and your imagination. And that's really all there is to it!  Comments are closed.
|
Archives
January 2024
Categories
All
|
 RSS Feed