|
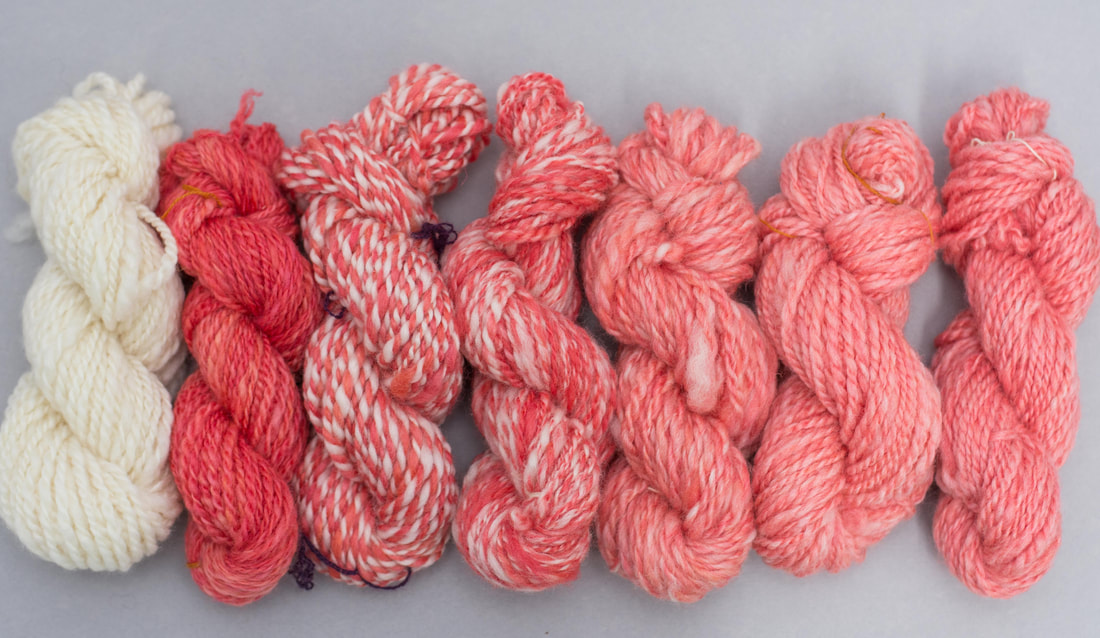
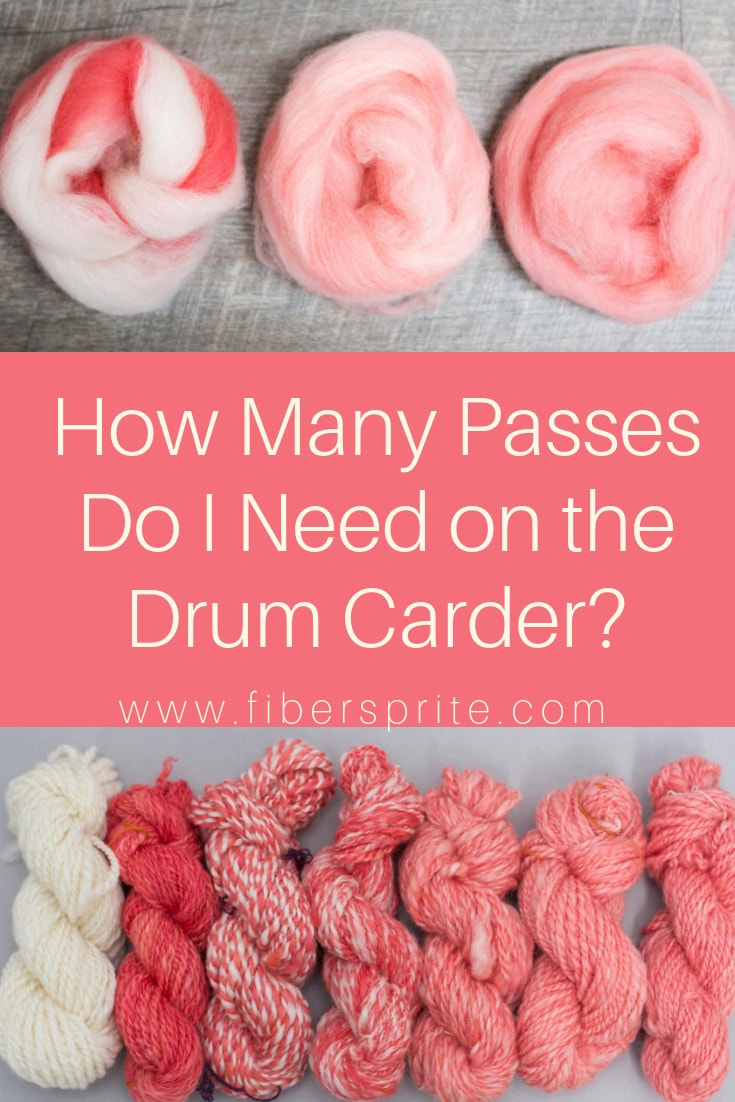
Here are the results of the drum carding color blending experiment! From left to right:
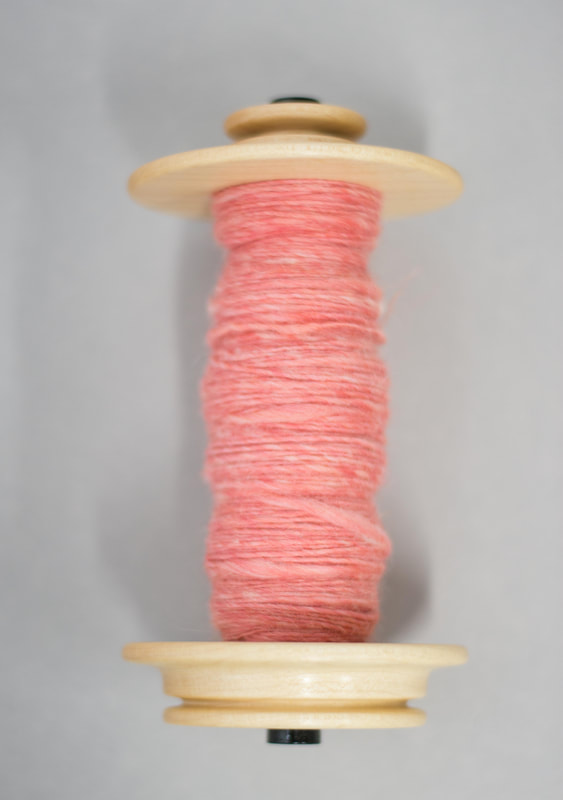
All the fiber is Bluefaced Leicester, spun with a short forward draw. I was going for a little bit thicker than my "default" yarn, but I didn't try too hard to make sure that all the weights were the same, so there is definitely a little bit of variation in thicknesses and ply twist. One thing that I wasn't expecting is that because the first three didn't get put on the drum carder at all, they retained the alignment of industrial combed top, and therefore have more luster, while the ones that went through the drum carder look fluffier. It's a perfect example of the qualities that divide worsted and woolen yarns. Since I typically use 2-ply yarns, that's what I spun for, which technically adds another layer of color blending. Here are the singles on the bobbins for reference: 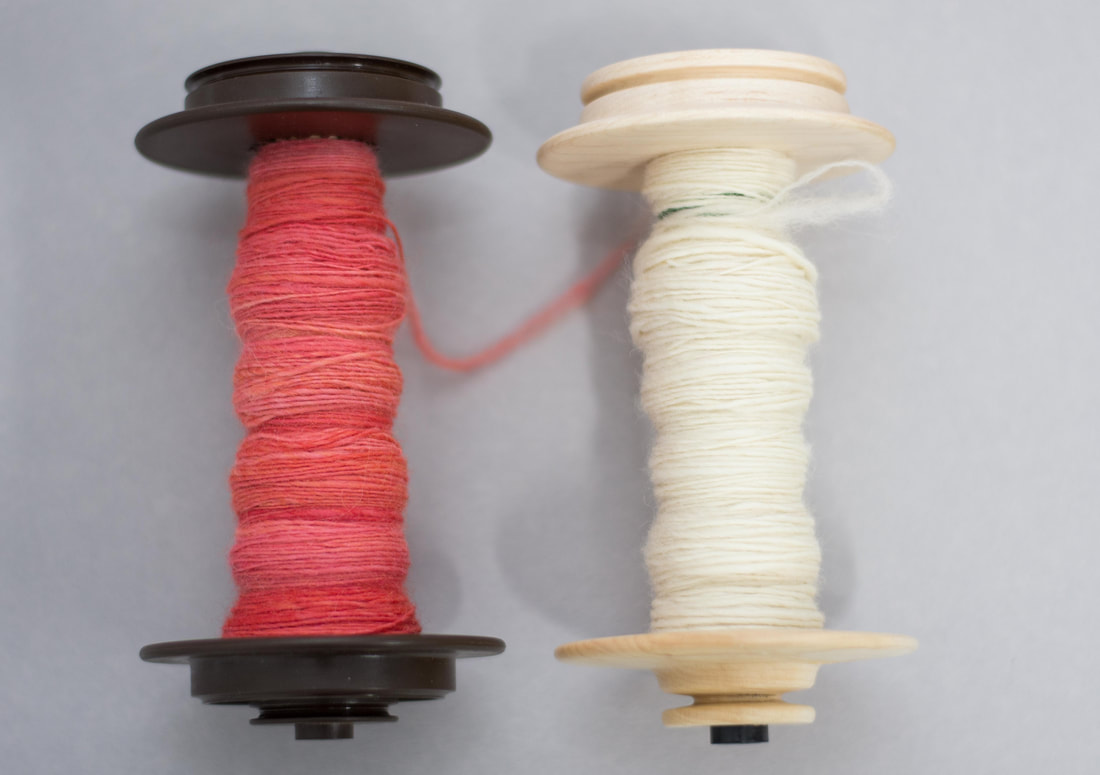 I do want to emphasize that none of these yarns is "right" or "wrong." It's all about what you want out of your yarn. I can think of times where I want lots of barberpoling and variegation, and other times when I would want a more even look. There is still a bit of variegation visible with the last yarn (three passes on the drum carder). It's a pleasant heathery look that I tend to love, but if I wanted complete blending, I might send the fiber through the drum carder for a fourth pass.
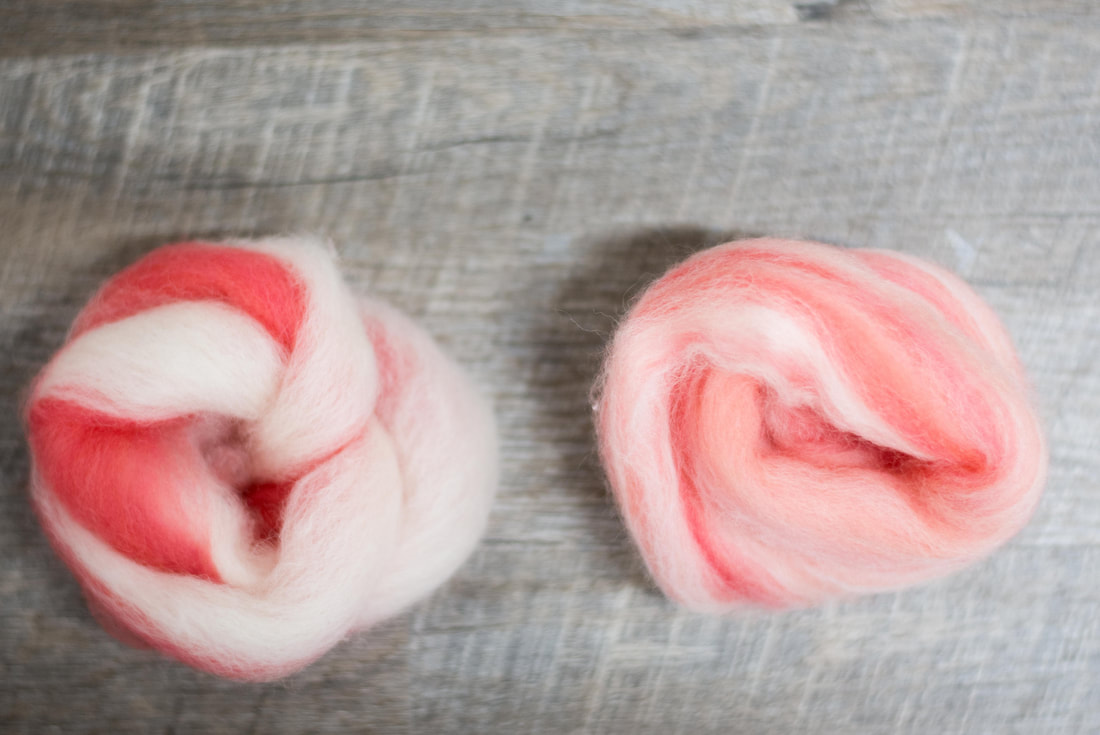
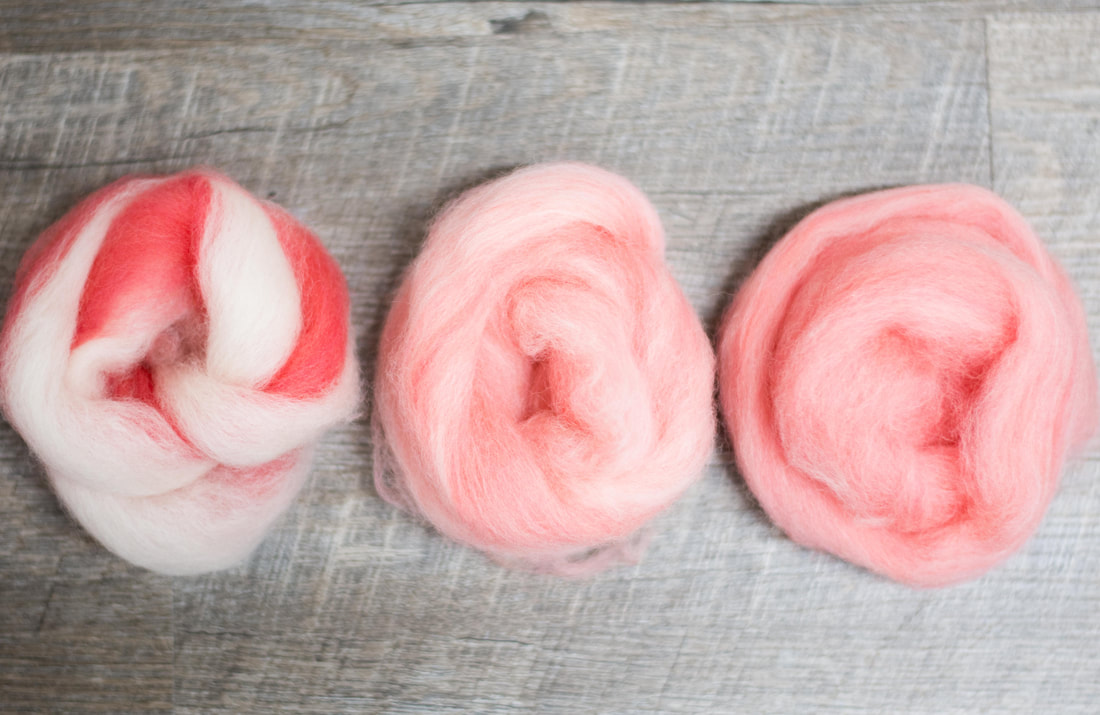
Now on to the last step - knitting and weaving with the yarn to see how that affects the color blending! One of the things I love about using a drum carder to prepare fiber for spinning is how easy it is to blend different fibers and colors. When I first learned to use the drum carder, the "rule of thumb" was that you needed three passes on the drum carder. While I found this to be true when processing fleece, I often want to combine colors and textures from commercially prepared roving. Would I need to follow the three pass rule if the fiber has already been perfectly aligned? Generally, the more times you put fiber through the drum carder, the more thoroughly blended the fiber will be. Other things affect the blending too - like how many layers of color you use. In the photograph above, both balls of roving have been through the drum carder once - but how I fed the fiber in made a huge difference. On the left, each color was fed in as a single layer. On the right, I alternated colors frequently, which resulted in much more blending from the first pass. In the photograph above, you can see the progression of blending. On the left is some roving that has been through the drum carder once, with each color fed in as a single layer. In the middle, the roving has been through the drum carder twice, and on the right, the roving has been through the drum carder three times. In this experiment, there wasn't a huge difference for me between the fiber that had been through the drum carder two and three times.
So how many passes do you need on the drum carder? It all depends on what effect you're trying to achieve in your yarn. Stay tuned to see how each of these spins up! When it comes to yarn dyeing, there are lots of different techniques. One is "glazing," and it has nothing to do with doughnuts! Glazing is a technique where a dyer applies dye in very thin layers, so that the original color of the yarn is still visible underneath the glaze. It's a lot like the technique of glazing in watercolor painting, where a transparent wash of color is added on top of another color to create more complex fields of colors. There are several different ways to glaze yarn in dyeing, but they all boil down to using small amounts of dye, and making sure the dye strikes on the yarn very quickly. One way to do this is to pre-mordant the yarn, or to make sure there is plenty of acid in the dyebath before adding the dye. Some dyers use dry yarn or yarn that is only slightly damp. This is another way to make sure the dye stays on the outside of the yarn - since it will take some time for the moisture to penetrate to the core of the yarn, the outside of the yarn will be the first to get wet, and therefore the first to absorb the dye. One of the biggest challenges in glazing yarn is predicting what color your yarn will be when it comes out of the dyepot. There's definitely plenty of magic happening there, but a little understanding of color theory can go a long way in deciding what color of glaze you should use. There are plenty of in-depth books and tutorials about color theory, but there's no need to get bogged down in all of that if you don't want to. What you need to know is this:
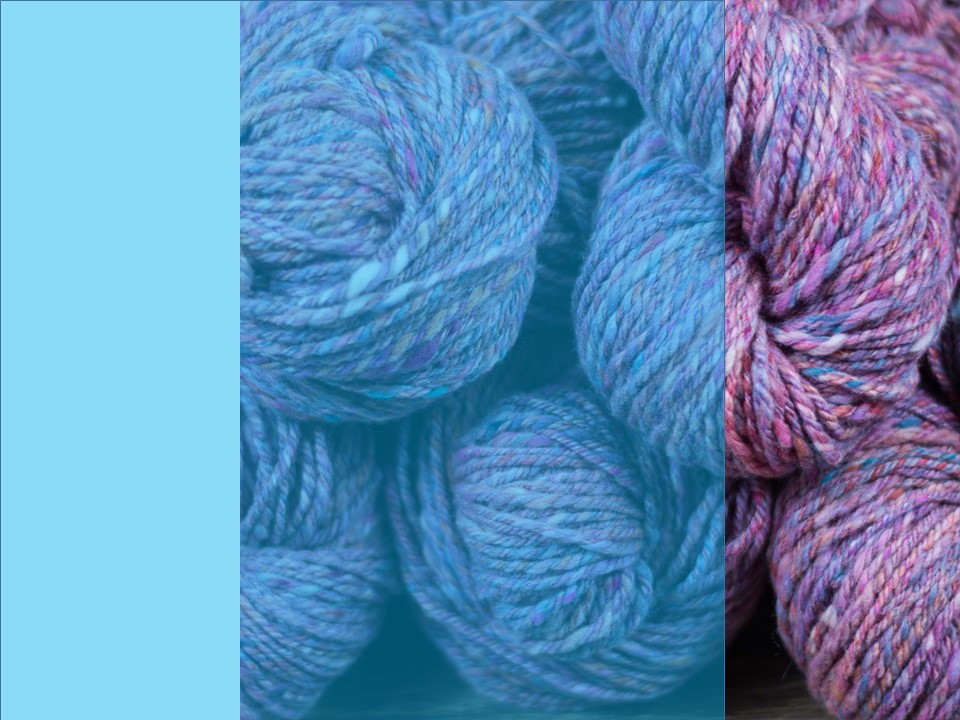
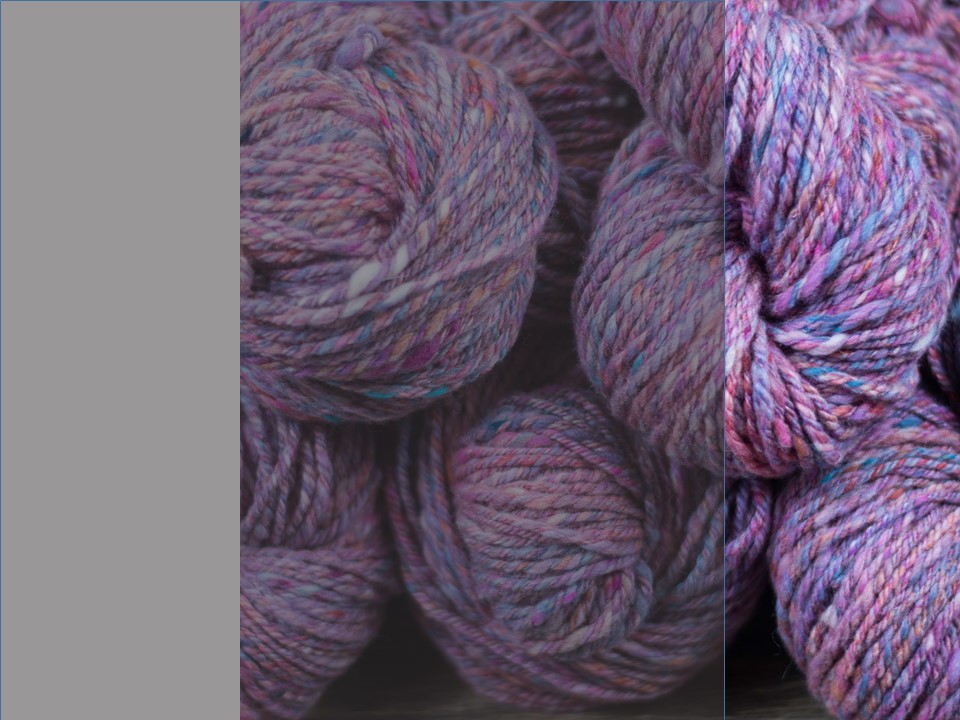
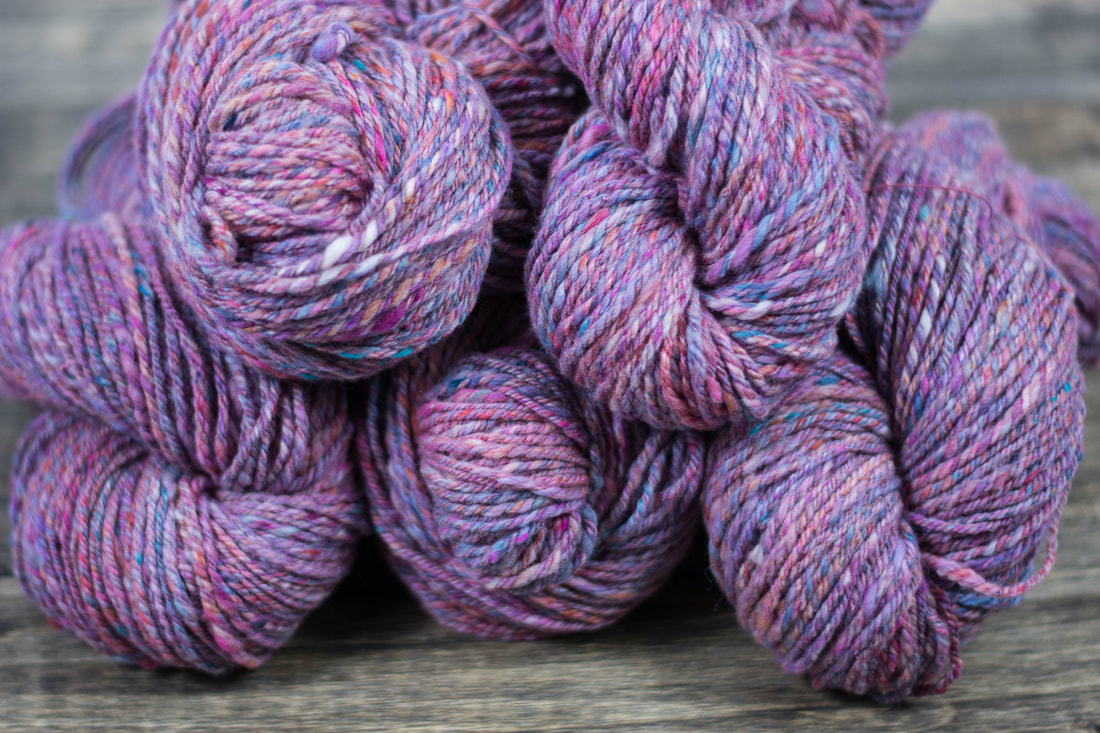
Knowing what color(s) you're starting with, and what color you're adding in your glaze will help you predict the outcome. But, naturally, I had to take it one step further. Sometimes it's helpful to see a prediction of what the glazed yarn might look like to help avoid disappointment. Here are six samples of predictions of what a recent handspun yarn might look like if I glazed it with blue, purple, pink, orange, turquoise, and black: To create these predictions, I used PowerPoint, though you could use any photo-editing tool that lets you make transparencies. I opened up a picture of my yarn, then drew a rectangle shape over part of the photo. I made sure the shape was selected, then edited it under "format shape." The "fill" section lets you choose the color and the transparency of that color. I usually set the transparency levels to about 50%, and then play around with all the colors I'm thinking of using.
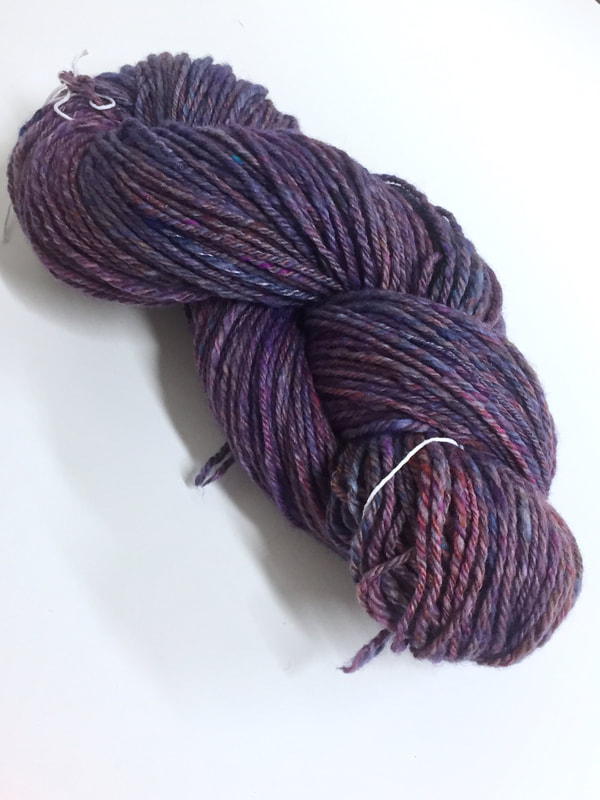
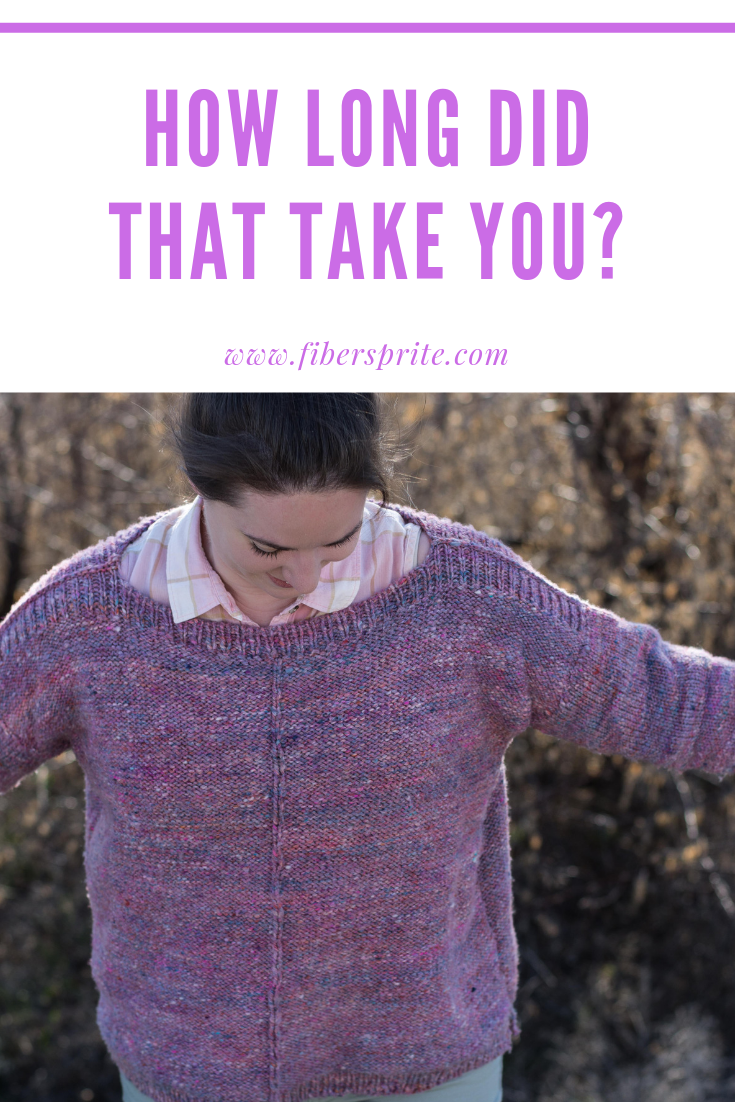
This isn't a perfect prediction - after all, the colors that show up on my monitor aren't going to be the same colors as my dyes, and it would be difficult to get the exact concentration right - but it does give me a good idea of what the glazes will look like, and helps me make more informed choices when I decide to overdye yarn. In this instance, I decided to overdye a leftover skein a blue-purple color. I intend to make a hat and maybe some mitts, and want them to coordinate with my Weekender sweater, but not be too matchy-matchy. Here's the overdyed skein: It's the question that every artist dreads. It's also the one that's asked the most often. Sometimes people ask it out of genuine curiosity. Sometimes they mean it as a compliment - they think the work is exquisite, and therefore must have taken a very long time. Sometimes they're trying to decide how much they're willing to pay for it. This last question is the worst, and one of the reasons that artists don't like to share how long it took them to make something. Another reason artists don't like to share how long a piece took them is that artists don't always track their time, and art is often a non-linear process. A project might be started, stopped, picked back up, "finished," then have additional edits made. Other projects frequently are started and stopped between each part of the process, making tracking time even more difficult. One way some artists answer the "how long did that take you" question with how long they've been practicing their medium, or practicing art in general. In that view, each project adds to their experience and gives them the knowledge of how to make a new project better and with less time spent on mistakes. This answer is a firm way to say, "thanks for your interest, but I don't share that information." It insists that the artist's experience is what gives value to the work, not how long the piece took. It protects the artist's privacy, and keeps the questioner from having an opportunity to devalue the artist's work based on how much time it took them. While I certainly admire artists who can command a living wage for their work, I also feel that fiber art is constantly undervalued by the perception that it's "just a hobby." I cringe when someone tells me they get a dollar an hour for something they made. I get angry when I see people selling product at craft fairs and farmer's markets for low prices, sometimes prices so low that the garment costs less than the yarn/fabric must have cost the seller. In part, we have industrialization and fast fashion to blame. As early as 1840, it became more economical to buy cloth rather than spend time making it. Commercial cloth (and ready-to-wear clothing) has become cheaper and cheaper ever since. As we became divorced from the processes of making yarn and cloth, we stopped appreciating its value. We also traditionally see textile work as "women's work." While the history is a little more complex than it just being work done by one gender, seeing textile work as something done by women, at home, in the time between other household chores makes it very difficult to quantify, and therefore value. Last winter, one of my handspun, handknit sweaters went into the washing machine. The yarn was not superwash. It was an accident, no one was hurt, and I did manage to unshrink it just a little bit. After the initial shock, I joked to my husband that it was an excuse for me to get to go shopping for a sweater quantity's worth of yarn. And then I started explaining how much the yarn would cost for a sweater quantity - up to $200 for wool similar to that sweater. Since it was handspun, the fiber had cost me a little less, but there were hours and hours poured into the making of the yarn, and then knitting it up into a sweater. I just didn't know how many. In my own work, I don't typically keep track of how long something takes me to knit, weave, or spin. It is a hobby, and I know that making things for myself is what gives me the most enjoyment. I do sell some of the things I make, but when I do, I'm always careful to price them so that my time is accounted for and I'm getting paid at least minimum wage. There are a number of other costs to consider when pricing items, like cost of materials, equipment, overhead, and profit if you're trying to run a business.
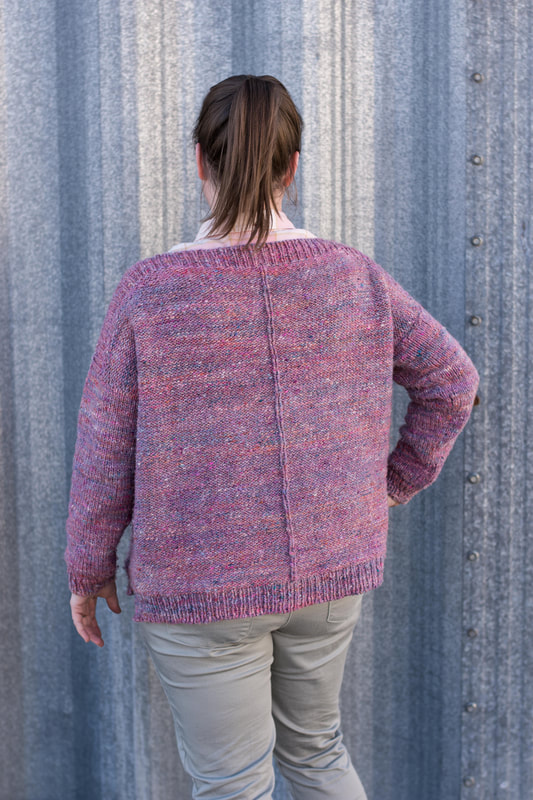
But there's still that elusive question: "How long did that take you?" For my most recent sweater, I decided I would keep track. I didn't time myself with a stopwatch, so all of the time is in averages. Because I wanted to get a big-picture view, I decided that I would spin the yarn myself - which also included blending the fiber on the drum carder. Some of the fiber was dyed by me, some of it was dyed by others, and I did not count the time cost of scouring and dyeing. (But if you're interested in that stage, Bren Boone has an excellent post where she breaks down the time cost for her of scouring, carding, and spinning a skein of laceweight yarn.) Carding the fiber took me about 15 hours, spread out over a weekend. Spinning the singles took me about 35 hours, spread out over several weeks. Plying took me about 10 hours, spread out over a week. Finishing the yarn (skeining and washing) took me about 3 hours. I knit all the ribbing on the sweater by hand. Each of the bottom hems took me about 3 hours, as did the short rows and ribbing on the neck. The ribbing on the cuffs took me an hour each. That's a total of 14 hours of knitting the ribbing. I knit the rest of the sweater on the knitting machine. While it is faster, there is a real time and energy commitment to using a knitting machine. You can't just put your knitting on the machine and walk away (at least not on my machine!) and the techniques are a little bit different than hand knitting. In total, I spent 10 hours on the knitting machine with this sweater. Lastly, there's the final step of blocking, seaming, and weaving in ends. It always seems like there are twice as many ends to weave in when using the knitting machine! This step took a total of 3 hours. So - the grand total for preparing and spinning the fiber into yarn was 63 hours. The grand total for knitting and finishing the garment was 27 hours. The total amount of time spent making this sweater was 90 hours. So, naturally, the next question is how much is it worth? Where I live, the minimum wage is $11.10/hour. So that's $999 worth of my time. If we were to bump the wages up to what's currently considered a "living wage," $15/hour, the time cost rises to $1,350. I tend to think of my time as a lot more valuable than that - after all, spinning and knitting are skilled forms of labor that not everyone has. But for the sake of this post, we'll stick with $15/hour. Time isn't the only cost - I used about 30 ounces of fiber, most of it merino, which generally sells for about $5-6 an ounce. There is some silk, yak, and other luxury fiber thrown into the mix, so I estimate my materials cost at the higher end of the range, for a total materials cost of $180. I used a pattern to knit the sweater, which cost me $8. At this point, the cost of the sweater in time and materials is $1,538. If I were in the business of spinning and knitting sweaters for sale, I would also need to account for equipment costs for my drum carder, spinning wheels (I used two in this project), and knitting machine. Based on equipment depreciation calculators and an assumption that the various pieces of equipment are in use 40 hours a week (because we're in business here), equipment cost is about 40 cents an hour. That doesn't sound like a a lot, but when you multiply that by the amount of time the sweater took to make, the cost of equipment is $36, raising the total price of the sweater to $1,574. And then there are other types of overhead - how much does it cost me to rent space, keep the lights on, have running water, and have access to the internet to buy a knitting pattern, fiber, etc.? This is tough to calculate, as many of us say, "oh, the fiber would be in my house anyways," but there is a real cost associated with the space our fiber-things take up. But, assuming that this business takes up 10% of the space in a house where the combined cost of the mortgage/rent and utilities is $1,500/month, the monthly cost of the business space would be $150. Again, assuming this is a job that happens 40 hours a week, the cost per hour (assuming a 4-week month) is 94 cents. For a 90 hour project, the cost of overhead is $84. Now the total price of the sweater is $1658. There are also real costs associated with selling a product - if it's sold online, there are website hosting fees and credit card fees to contend with. If it's sold like a website through Etsy, there's a fee to list it, and there's also a commission that's paid to the website once it's sold. If it's sold at a craft or art fair, there's a booth fee, plus the cost to travel there. If it's sold on commission through a gallery or store, the commission will range from 20-40% of the price. These costs need to be built into the price of the item. Assuming the fees are 20% of the product price, that's $332 for this sweater, which now has a price of $1,990. Last but not least, every business needs to be profitable. Every business has different profit goals, but up to now, we've only been calculating the break-even cost for me to make this single sweater. Profit margins need to be built in to the price of a product so the business can continue to grow. Profit margins also keep the business from suffering a loss if the price of supplies suddenly go up, or the project takes longer than expected to make, or if the overhead increases unexpectedly. Profit margins vary wildly across industries, but 40% or 50% is a pretty common goal. Assuming the lower end of the range, that's about $810 for this sweater, which now has a sticker price of $2,800. So, the next time you go to a craft fair and you think an artist is charging too much, remember that they're real people, with real skills, with real time, money and energy poured into their craft. And if you're tempted to ask the eternal question of "How long did that take you?" please remember that time isn't the only indicator of value. |
Archives
January 2024
Categories
All
This website uses marketing and tracking technologies. Opting out of this will opt you out of all cookies, except for those needed to run the website. Note that some products may not work as well without tracking cookies. Opt Out of Cookies |


 RSS Feed