|
When it comes to yarn dyeing, there are lots of different techniques. One is "glazing," and it has nothing to do with doughnuts! Glazing is a technique where a dyer applies dye in very thin layers, so that the original color of the yarn is still visible underneath the glaze. It's a lot like the technique of glazing in watercolor painting, where a transparent wash of color is added on top of another color to create more complex fields of colors. There are several different ways to glaze yarn in dyeing, but they all boil down to using small amounts of dye, and making sure the dye strikes on the yarn very quickly. One way to do this is to pre-mordant the yarn, or to make sure there is plenty of acid in the dyebath before adding the dye. Some dyers use dry yarn or yarn that is only slightly damp. This is another way to make sure the dye stays on the outside of the yarn - since it will take some time for the moisture to penetrate to the core of the yarn, the outside of the yarn will be the first to get wet, and therefore the first to absorb the dye. One of the biggest challenges in glazing yarn is predicting what color your yarn will be when it comes out of the dyepot. There's definitely plenty of magic happening there, but a little understanding of color theory can go a long way in deciding what color of glaze you should use. There are plenty of in-depth books and tutorials about color theory, but there's no need to get bogged down in all of that if you don't want to. What you need to know is this:
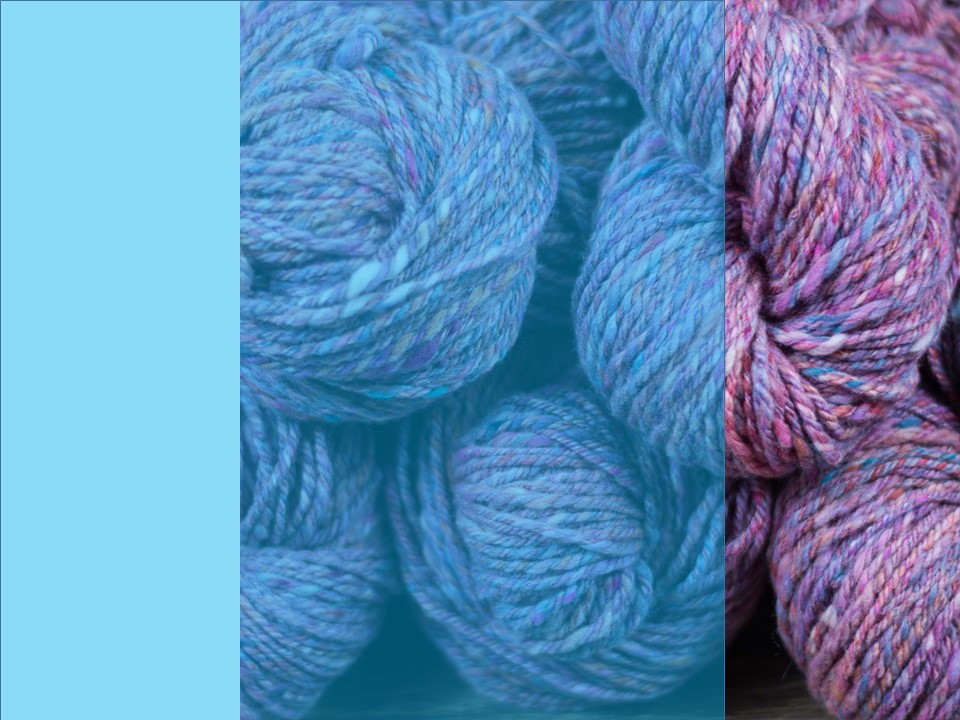
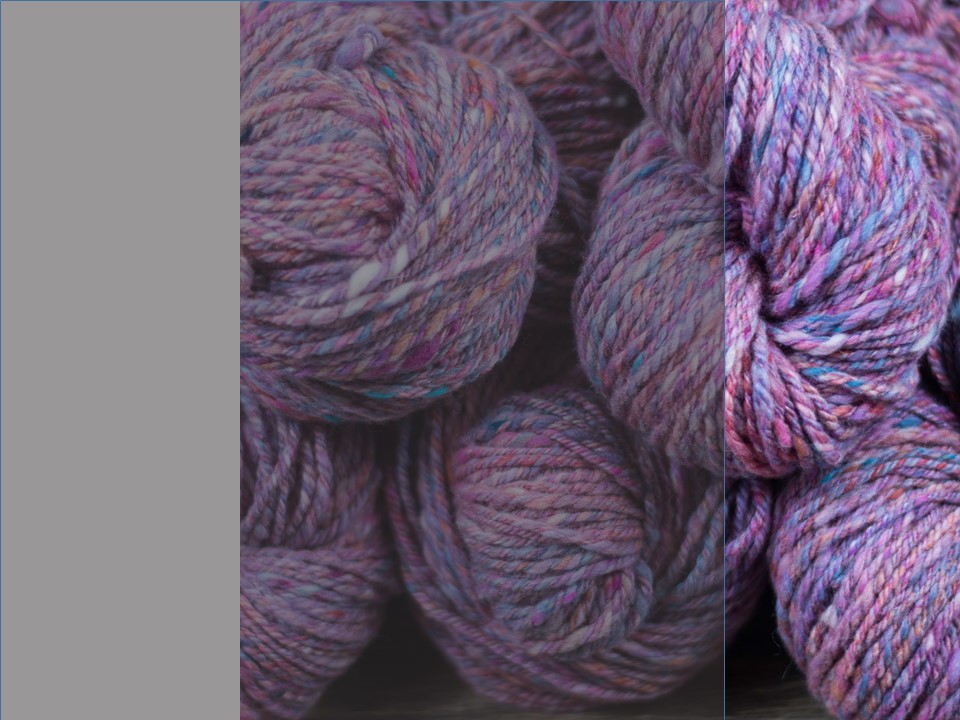
Knowing what color(s) you're starting with, and what color you're adding in your glaze will help you predict the outcome. But, naturally, I had to take it one step further. Sometimes it's helpful to see a prediction of what the glazed yarn might look like to help avoid disappointment. Here are six samples of predictions of what a recent handspun yarn might look like if I glazed it with blue, purple, pink, orange, turquoise, and black: To create these predictions, I used PowerPoint, though you could use any photo-editing tool that lets you make transparencies. I opened up a picture of my yarn, then drew a rectangle shape over part of the photo. I made sure the shape was selected, then edited it under "format shape." The "fill" section lets you choose the color and the transparency of that color. I usually set the transparency levels to about 50%, and then play around with all the colors I'm thinking of using.
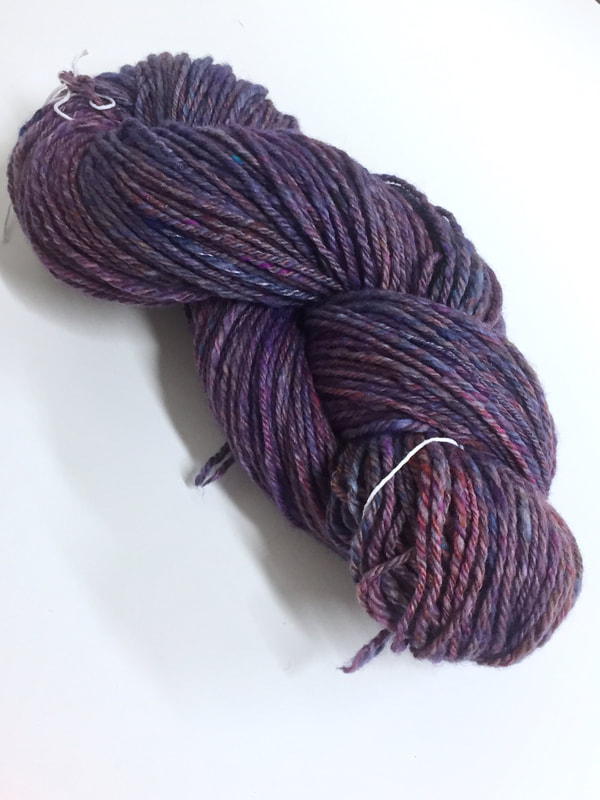
This isn't a perfect prediction - after all, the colors that show up on my monitor aren't going to be the same colors as my dyes, and it would be difficult to get the exact concentration right - but it does give me a good idea of what the glazes will look like, and helps me make more informed choices when I decide to overdye yarn. In this instance, I decided to overdye a leftover skein a blue-purple color. I intend to make a hat and maybe some mitts, and want them to coordinate with my Weekender sweater, but not be too matchy-matchy. Here's the overdyed skein: Comments are closed.
|
Archives
January 2024
Categories
All
This website uses marketing and tracking technologies. Opting out of this will opt you out of all cookies, except for those needed to run the website. Note that some products may not work as well without tracking cookies. Opt Out of Cookies |


 RSS Feed