|
There are as many ways to spin a gorgeous yarn as there are people who spin. Sometimes, getting a consistent yarn is really important - especially if we're spinning lots of yarn for a big project. There are lots of ways to make sure you're spinning a consistent yarn. One of my favorite ways is to use the Spinner's Multitool. It helps me prepare fiber, and then check my yarn as I'm spinning to make sure I'm getting the yarn I want. The Spinner's Multitool functions as a diz, WPI (wraps per inch) tool, and twist angle. The Ultimate Multitool also has a small 2" ruler that can help you determine twists per inch. These are all factors that can help you spin a consistent yarn. They're also helpful if you're trying to replicate another yarn in your stash. In this post, I'll walk you through all the ways you can use the Spinner's Multitool. In this video, I'm using the Ultimate Multitool. but if you're into something a little different, we also have a Sheep Shaped Spinner's Multitool, an Alpaca, a Bunny, and the Original. If you still have questions after watching the video, I've added some more information and closeup images to help. Using The Spinner's Multitool as a Diz Each Spinner's Multitool has several different holes. These are designed so you can diz fiber from a drumcarder, hand cards, a blending board, or hand combs. In this video, I share how to diz fiber from hand combs. Remember, the bigger the hole you use, the thicker your top will be (or roving, if using a carded prep). But you might be surprised - even though those holes seem pretty small, a lot of fiber fits through them! Dizzing fiber is a great way to prepare fiber for spinning. I find that hand-dizzed fiber is a real pleasure to spin. It is light and fluffy and fun to work with! Learning to diz fiber can take some practice. The key is to not try to get too much fiber through the diz at one time, or else you'll get stuck and frustrated. When this happens, back off a little bit, draft the fiber gently, and then keep going. And remember to be patient with yourself! The results are well worth it. Checking the WPI (Wraps Per Inch) 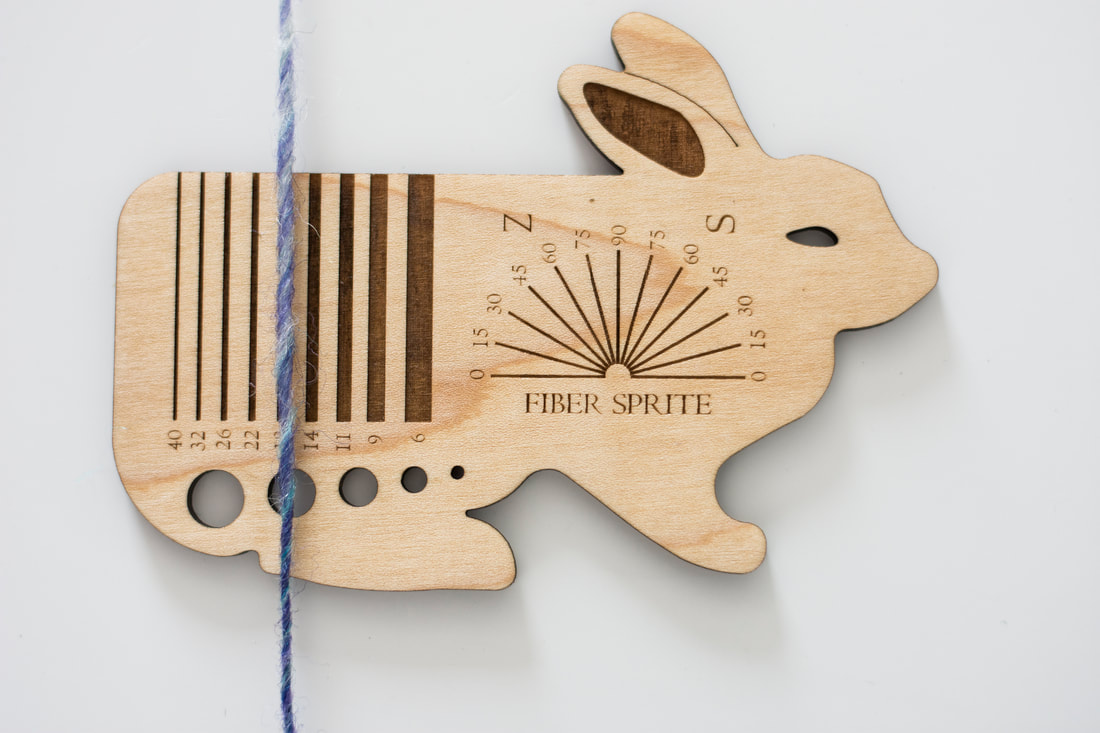 To check the WPI, or wraps per inch, simply lay the yarn along the grooves, and move it around until you find a good match. Here, I've determined that the yarn is about 18 wraps per inch. Remember to not pull tightly, as this can distort your reading. Checking Your Twist Angle 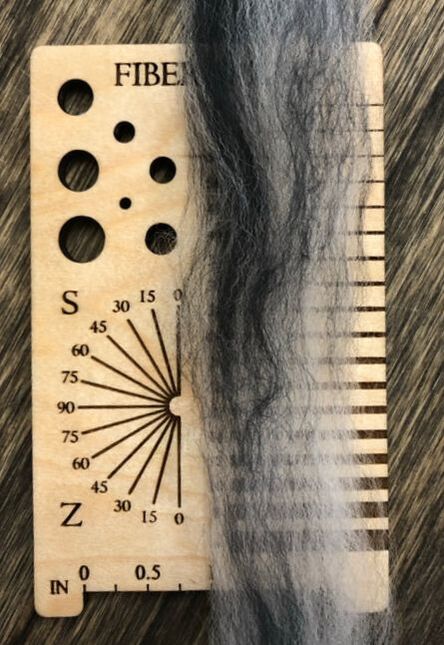 In the first image, you will see some unspun fiber. It literally has no twist! So I've laid it parallel to the "zero" angle. 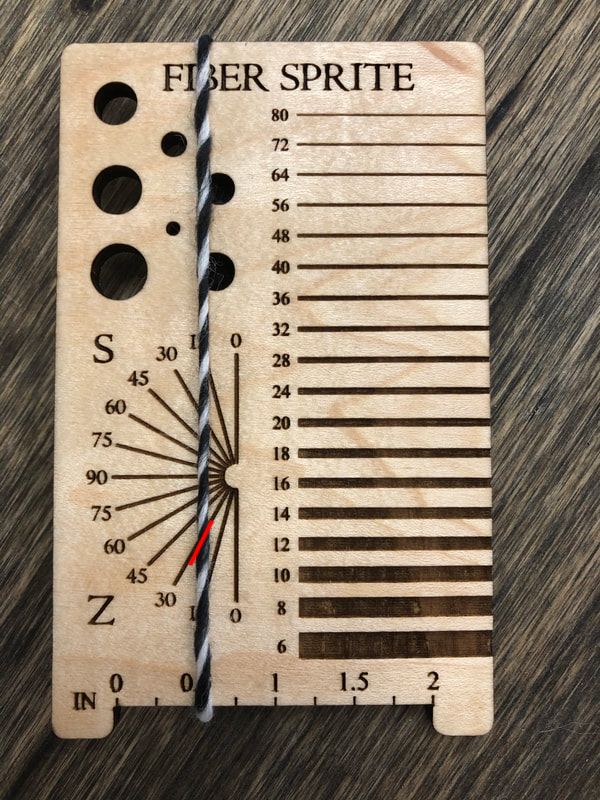 Here you can see a yarn that is Z twist, at a 30 degree angle. I've added a red dash to show how the angle of the twist lines up with the 30 degree angle. Checking TPI (Twists Per Inch) 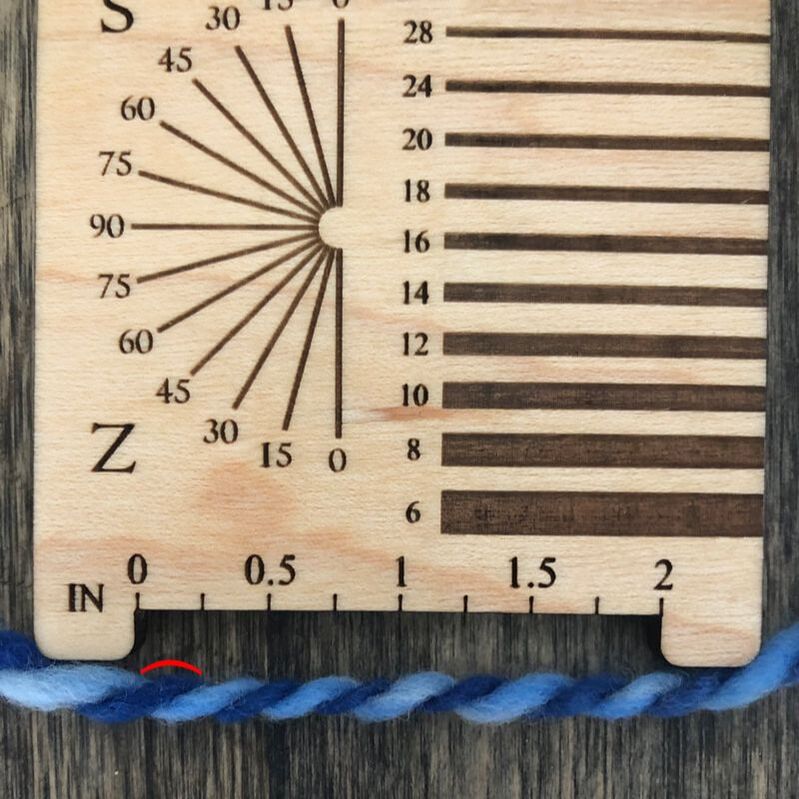 TPI, or twists per inch, is a term used by the textile industry, but not as often by handspinners. Sometimes spinners might also talk about "bumps per inch." It refers to how tightly a yarn is spun or plied. This impacts durability, drape, and how your yarn behaves overall. To calculate TPI, count the number of visible "bumps" in an inch of your yarn, then divide by the number of plies. The Ultimate Multitool has 2 inches to measure over, so if you use that full area, you will need to divide by two again to get your average. In the sample above, I marked above a bump with a red curve. I counted 10 bumps across 2 inches. I'll divide that by 2 to get 5, then divide by 2 again for the number of plies, to come up with 2.5 bumps per inch. It's easiest to see TPI in plied yarn, so that's what I've shared here. Jill Wolcott has an excellent tutorial with a deep dive on TPI. Helpful Hints Here are some key things to remember when you're using your Spinner's Multitool:
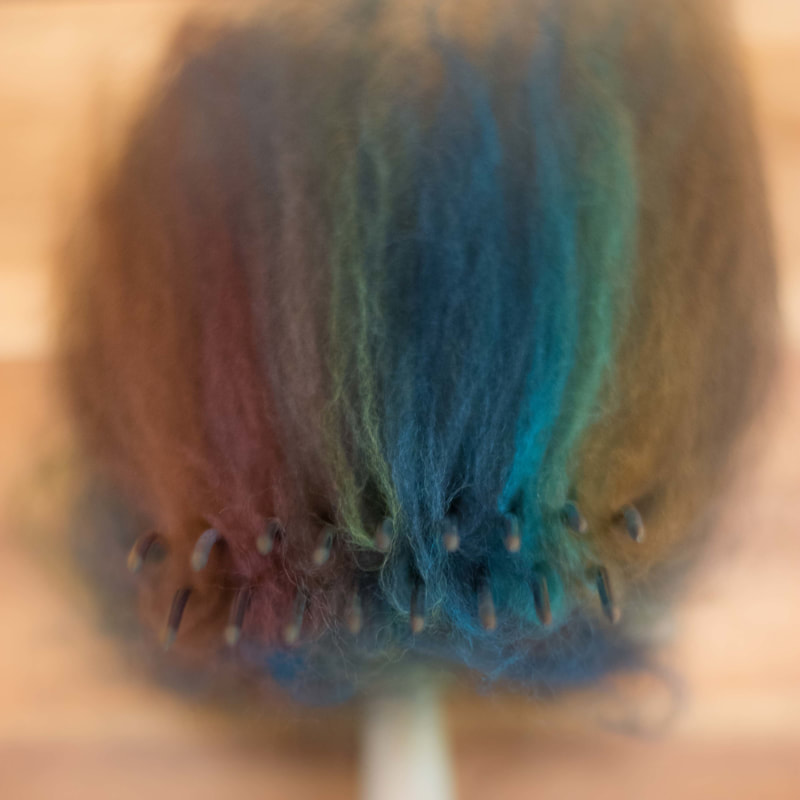
Happy Spinning! 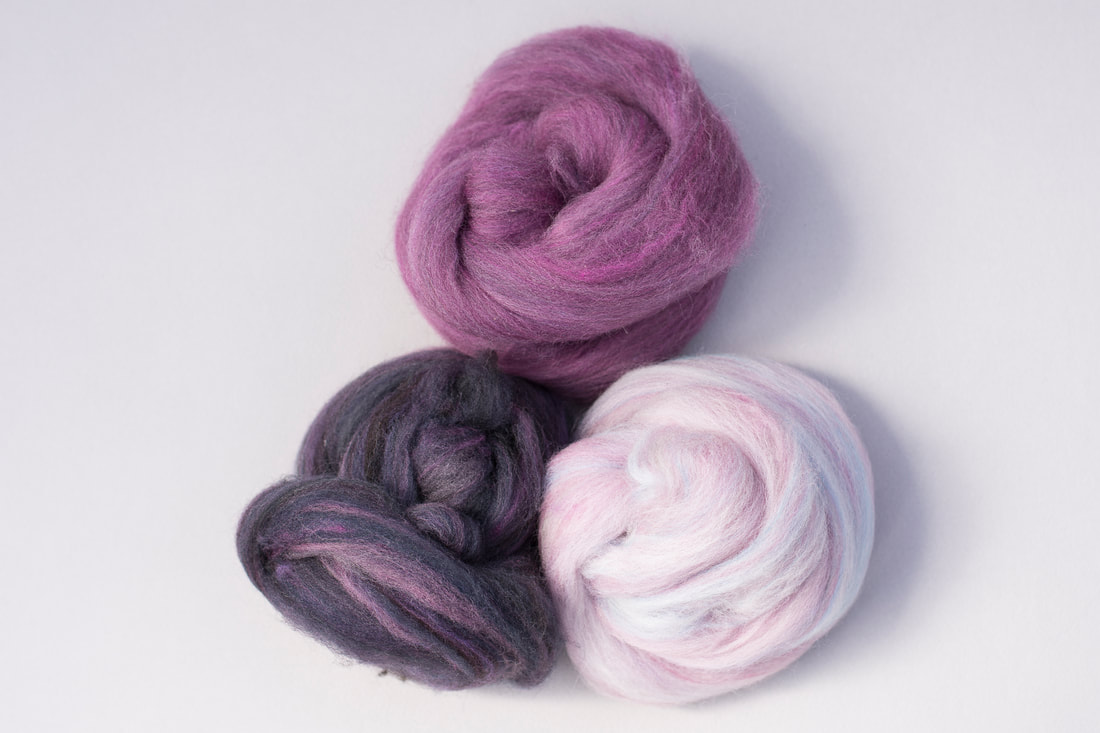 Lately, I've been working on a project that makes use of a gradient. This is to be a sweater quantity with most of the yarn in the darkest color. I started with several piles of color - most of it the mauve/magenta color shown at the top of the first photo. Then I blended it into a gradient, adding darker and and darker values on one end, until I got to the almost-black-purple, and lighter and lighter values on the other end, until I got to the pale lilac-pink. 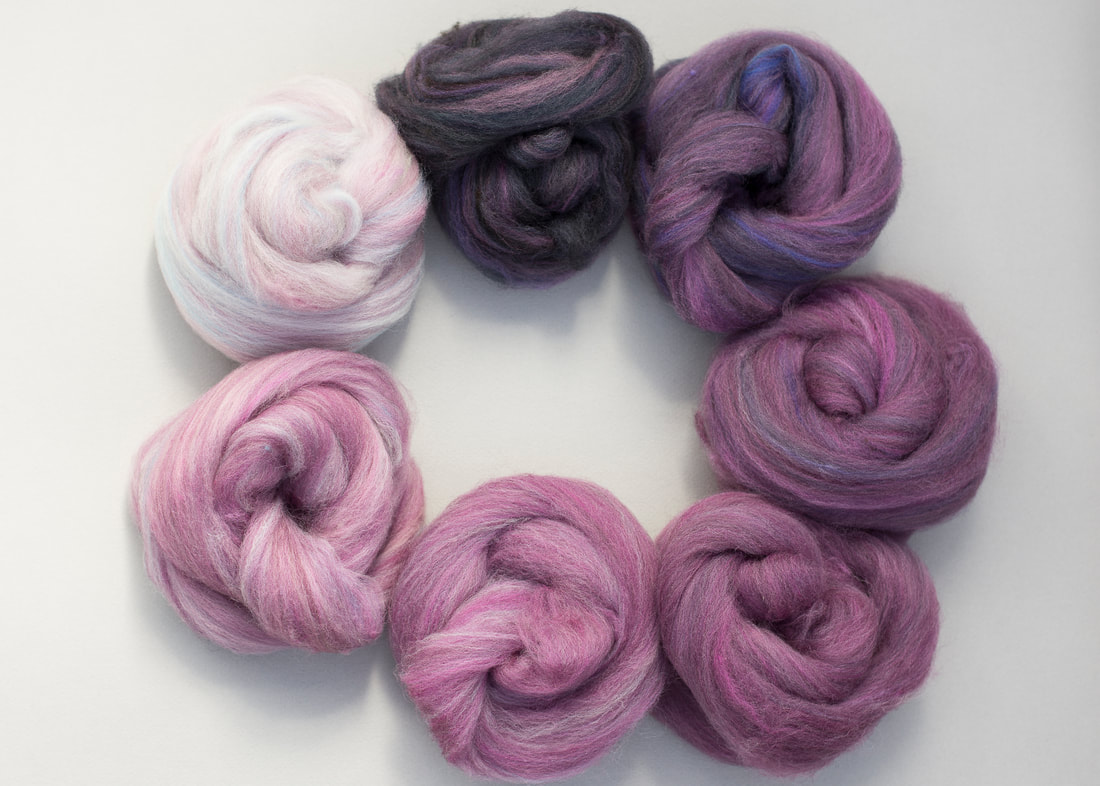 When I took the photo above, I realized there were a couple of places where I wanted to to smooth out the gradient, specifically at the lightest and darkest ends of the spectrum. So there are a couple more values in the gradient now! The fiber is mostly organic Polwarth, with a little bit of Merino and CVM in there too. I used the diz in the Spinner's Ultimate Multitool to pull the roving off the drum carder. Now I'm using the WPI gauge to make sure I spin to about 28 wraps per inch. I'm doing this as a short forward draw, which is a little bit outside my comfort zone, so I make sure to check pretty frequently! 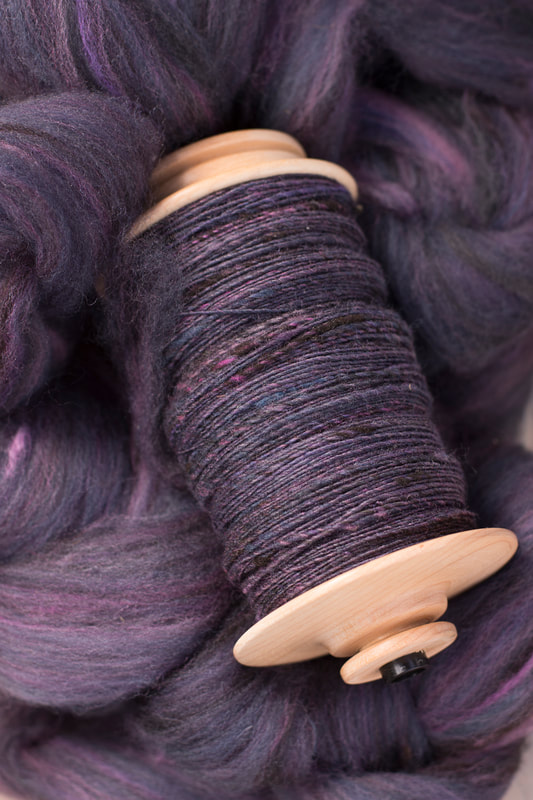 I'm starting with the darkest color. There's about 20 ounces of this, and then between 2-4 ounces of each of the other colors, so there should be plenty for the sweater I have in mind!
This year I've been working on chipping away at my stash of wool fleeces. I've amassed quite a few over the last four years. When I get one home after a fiber festival, I scour it, which is a time consuming task in itself. Once that's done, I'm properly sore from hauling hot water all over the place, and the clean fleece sits on the shelf for an embarrassingly long time!
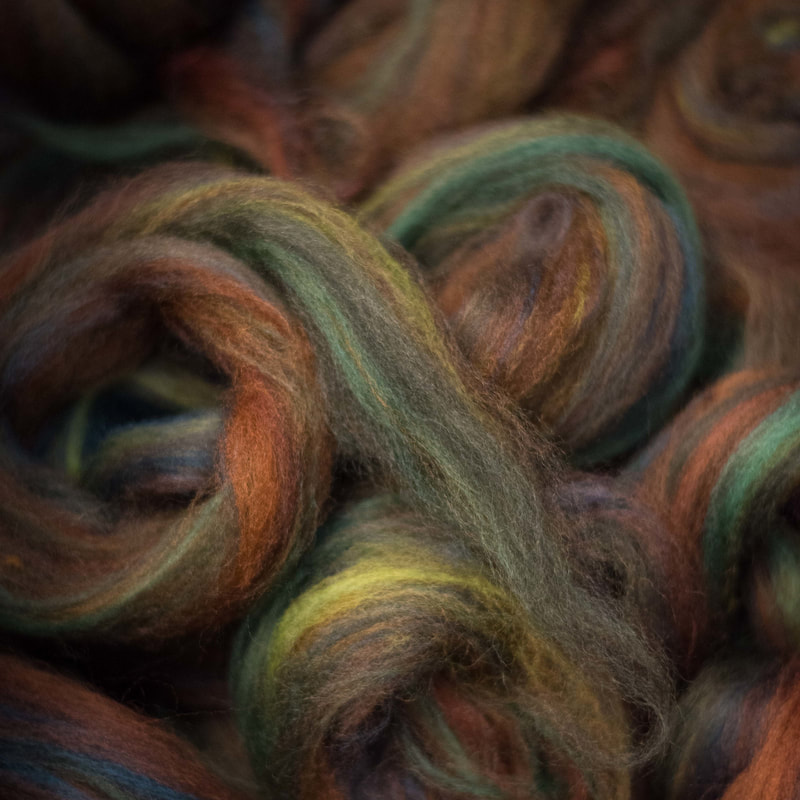
This year, with no fiber festivals or other bright shiny things to distract me and plenty of stash to work from, I've turned an eye to these fleeces. Follow along as I spend some time making roving from my swing picker and drum carder! 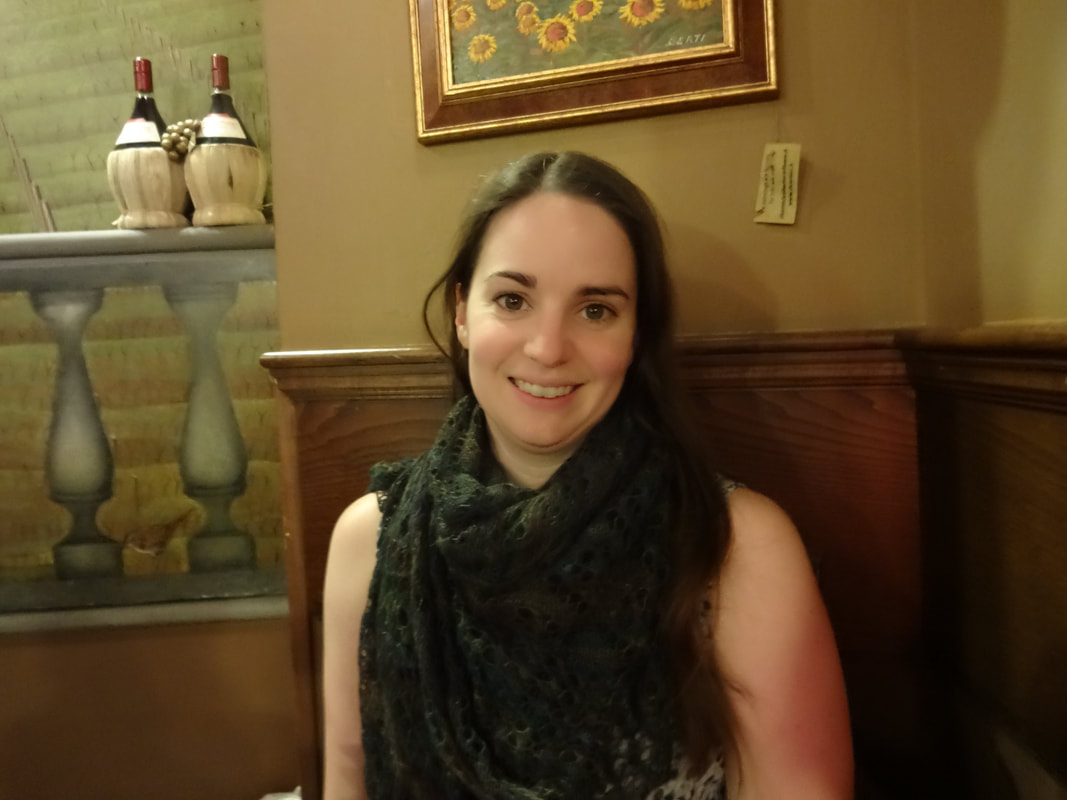 Four years ago, I lost this shawl. This is the last picture I have of me wearing it. I suspect I lost it getting off a tour bus somewhere in Tuscany. I've been trying to replace it ever since. It was my first experience in charted lace, and it was a lesson in how much lace expands when you block it. It was huge, and I loved it. Of course, being the overachiever I am, I want it to be the same but different. Mostly, I want the same colors, a blend of browns, greens, and aqua that reads as mostly dark green. When I started spinning, I decided I just HAD to handspin the replacement yarn. I started with this yarn, loving the colors in the braid but thinking the colors were just too light in the finished yarn. Then I tried again, plying a darker green with a merino/silk combination. It was darker, but I had long bright green stripes popping up all over the place, even though I tried to blend the colors together while spinning. It just wasn't what I was going for. This time, I decided to try something different. I took ten one-ounce braids of combed BFL top and blended the colors together. The colorways are "Mallard" and "Outlaw" from Greenwood Fiber Works and purchased at two different fiber festivals over the last year. After I bought Mallard, I did some sampling with "confetti" spinning and realized I would be getting much more color differentiation than I wanted. Later I bought Outlaw, and decided to comb the two colors together. I used my wool combs because I find them faster than hand cards. Even though I usually spin with a woolen draw, I love spinning combed top because it's so smooth. I made sure to leave the combing waste at the back of the combs - maybe it will be incorporated into another project, but not this one. And, of course, I pulled the top through my very favorite Sheepy Diz. Since that bright green was the offending color in my second attempt to make this yarn, I paid close attention to what it was doing as I combed the colors together. Ultimately, I chose to use about half of the bright green, so that it stands out much less in the final yarn. Plus, as I was spinning, if I came across a section of the bright green that I determined to be too big, I pulled out a big section of it.  Spinning took me several months and lots of bobbins. When each bobbin was about half full, the wheel started to protest. I was using my fastest whorl on my Ashford Traveller, and when a bobbin starts to get heavy, it takes a lot more effort to turn. So I wound onto storage bobbins (with the wonderful help of electricity!). I had been hinting and hoping for an electric wheel to help me with plying, but one has not materialized in my house yet. Wanting to cross another project off the list, I decided to face the music and just do it the old-fashioned way. 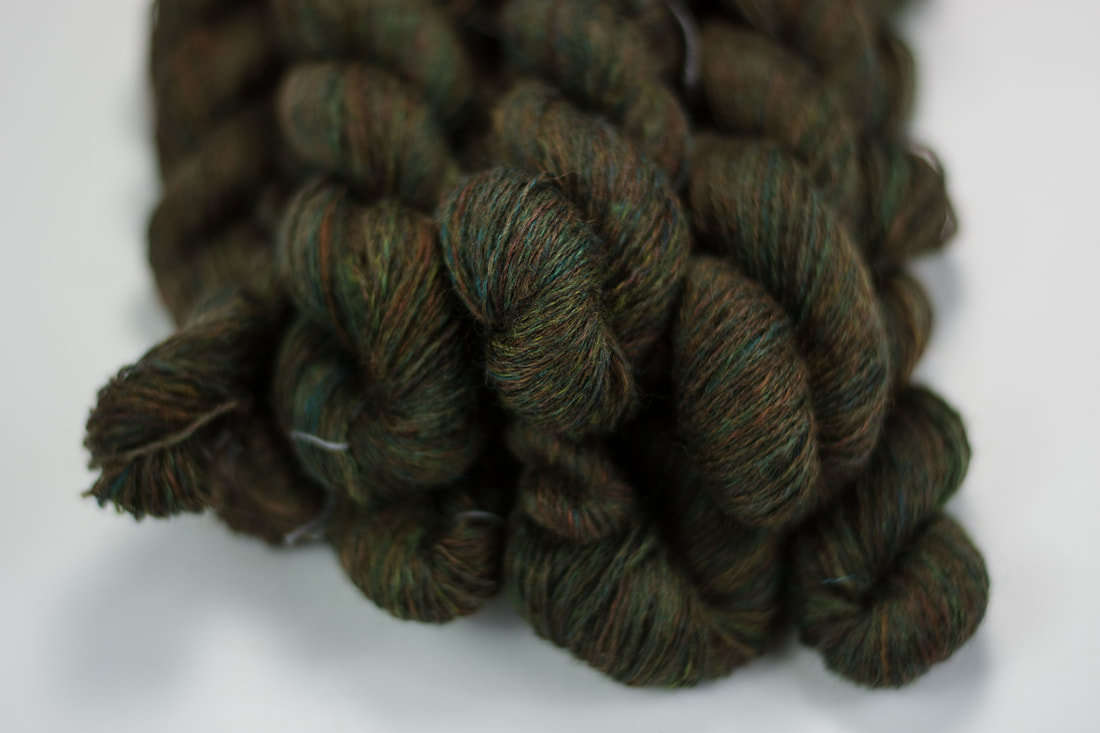 And here it is - 9 skeins, 7.5 ounces, and roughly 2,000 yards. Maybe I should have knitted a swatch before I spun so much to see if I'd like the final yarn, but I do think this is much closer to what I had in mind than any of my previous attempts. There's only one way to tell. On to knitting! Ravelry page here xx,
Pamela You might remember my excitement at the beginning of the year when we started making dizzes. Well, I've finally gotten my hands on some hand combs, so I can show you just how they work! In addition to the adorable little sheep, there is now an alpaca diz as well as the traditional oval diz. All three work in the same way, and have a WPI tool built right in. This post explains more about a WPI tool and how to use the measurements you get from it. xx,
Pamela |
Archives
January 2024
Categories
All
|

 RSS Feed