|
When I was a new knitter, I would have gasped if you told me to cut apart my knitting. No way, no ma'am. I distinctly remember a red Aran sweater my mother had - full of bobbles, cables, and knit at such a tight gauge it makes my fingers hurt just thinking about it. But she never wore it because it was too big on her. So she cut it apart and incorporated parts of the sweater into a lovely fitted jacket. I was shocked. Won't it unravel? Who would cut into a knitted garment that someone had clearly spent so much time on? The truth is, that while knitting does unravel, there are lots of ways to cut knitted fabric. Steeking is perhaps my favorite and most-used method, and this sweater does indeed have a steek running down the front. Some design and fit issues left me less than thrilled with the finished product. That's the thing about experiments - they don't always work. My problems with this sweater were:
I'd already woven in lots of ends, which makes unraveling difficult. Plus, the yarns (mostly handspun Icelandic thel and Shetland Spindrift) don't unravel so easily. Which makes them great for steeking, but not for correcting my mistakes. So I decided to try something I haven't tried before. I cut the yoke right off, and picked up the live stitches onto my knitting needles, and the sweater is ready for yoke attempt #2. It was easier than I could have imagined. Some tips:
It's also possible to do it the other way - say I had knit the sweater top-down and wanted to replace only the yoke. I'd cut just like I did, but then I'd need to graft the new yoke to the old one. This sometimes leaves a bit of a line, but it's definitely doable. I'd hoped that the end of January would mean that I have a new sweater to wear, but ultimately I want a sweater that is actually wearable, and that I like, so I'm willing to have it take more time. xx,
Pamela Holy moly, it's almost February. I've been sharing a few links over on Facebook lately, and I want to remember things here too. This weekend I'll be figuring out what February holds for my to-do list and assessing the progress I made in January. Big fun! Brooklyn Tweed has published an awesome anatomy of a pattern. Excellent if you're wanting to understand Brooklyn Tweed patterns, and also a great resource for what should be in your pattern, should you choose to write and publish one. Also from Brooklyn Tweed, an excellent article on growing into your craft as a knitter. Whether you've been knitting since you could walk or just picked up needles for the first time, this one's worth a read. Weaving and embroidering with spider silk! I've seen blurbs in several magazines lately about this project, but was always disappointed by the photo quality (or total lack of photos). More about it here. Pockets! If you know me, you know I love pockets. Speaking of which, I'm in love with Freja from Brooklyn Tweed's new collection, Night Music. And I also love this tutorial for fabric lined pockets - no more worrying about your keys and pens and other odds and ends working their way out of a knitted fabric pocket! And finally, it turns out that Ken Burns, documentarian extraordinaire, is a quilt collector. Even better, he recognizes the non-verbal contributions to history and culture made by the (mostly) women who made the quilts. Happy weekend! xx,
Pamela We had tons of fun talking about fractals at the spinning group last week. Here's the updated video to show the knit and woven samples. For the knitted version, I made Clapotis on my new knitting machine (!). The woven version is plain weave, with the fractal spun yarn in the warp. It's so interesting to see how different yarn looks, all depending on how you use it! xx,
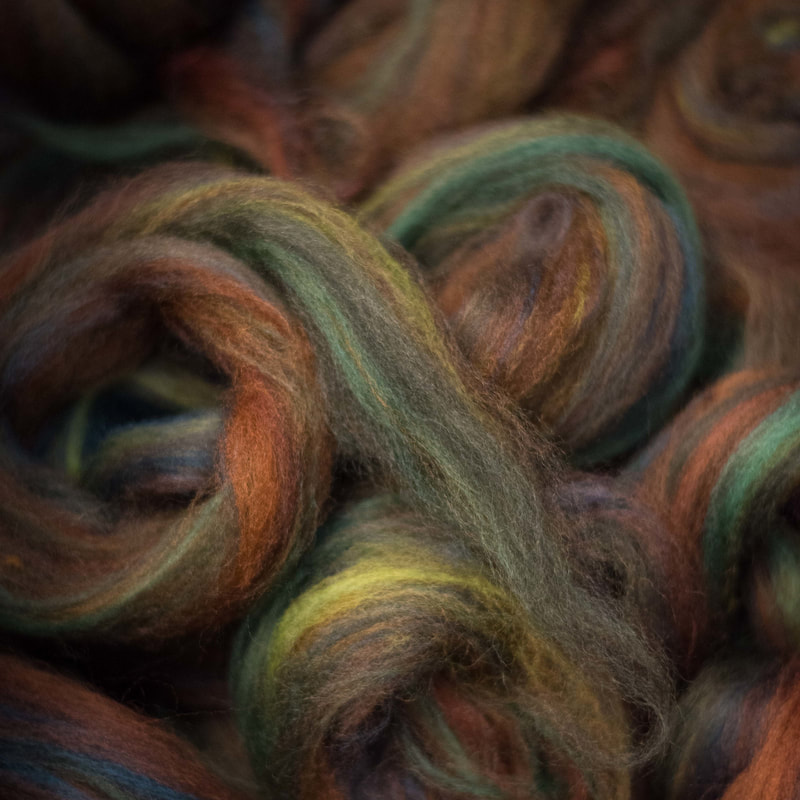
Pamela 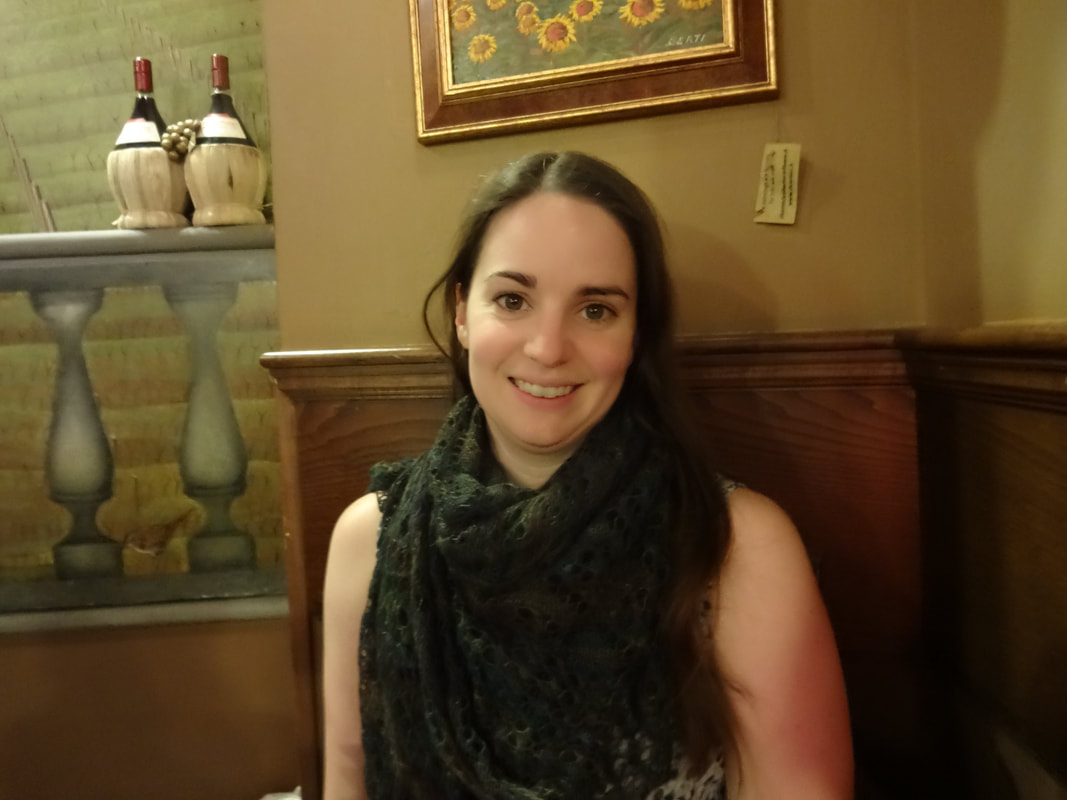 Four years ago, I lost this shawl. This is the last picture I have of me wearing it. I suspect I lost it getting off a tour bus somewhere in Tuscany. I've been trying to replace it ever since. It was my first experience in charted lace, and it was a lesson in how much lace expands when you block it. It was huge, and I loved it. Of course, being the overachiever I am, I want it to be the same but different. Mostly, I want the same colors, a blend of browns, greens, and aqua that reads as mostly dark green. When I started spinning, I decided I just HAD to handspin the replacement yarn. I started with this yarn, loving the colors in the braid but thinking the colors were just too light in the finished yarn. Then I tried again, plying a darker green with a merino/silk combination. It was darker, but I had long bright green stripes popping up all over the place, even though I tried to blend the colors together while spinning. It just wasn't what I was going for. This time, I decided to try something different. I took ten one-ounce braids of combed BFL top and blended the colors together. The colorways are "Mallard" and "Outlaw" from Greenwood Fiber Works and purchased at two different fiber festivals over the last year. After I bought Mallard, I did some sampling with "confetti" spinning and realized I would be getting much more color differentiation than I wanted. Later I bought Outlaw, and decided to comb the two colors together. I used my wool combs because I find them faster than hand cards. Even though I usually spin with a woolen draw, I love spinning combed top because it's so smooth. I made sure to leave the combing waste at the back of the combs - maybe it will be incorporated into another project, but not this one. And, of course, I pulled the top through my very favorite Sheepy Diz. Since that bright green was the offending color in my second attempt to make this yarn, I paid close attention to what it was doing as I combed the colors together. Ultimately, I chose to use about half of the bright green, so that it stands out much less in the final yarn. Plus, as I was spinning, if I came across a section of the bright green that I determined to be too big, I pulled out a big section of it.  Spinning took me several months and lots of bobbins. When each bobbin was about half full, the wheel started to protest. I was using my fastest whorl on my Ashford Traveller, and when a bobbin starts to get heavy, it takes a lot more effort to turn. So I wound onto storage bobbins (with the wonderful help of electricity!). I had been hinting and hoping for an electric wheel to help me with plying, but one has not materialized in my house yet. Wanting to cross another project off the list, I decided to face the music and just do it the old-fashioned way. 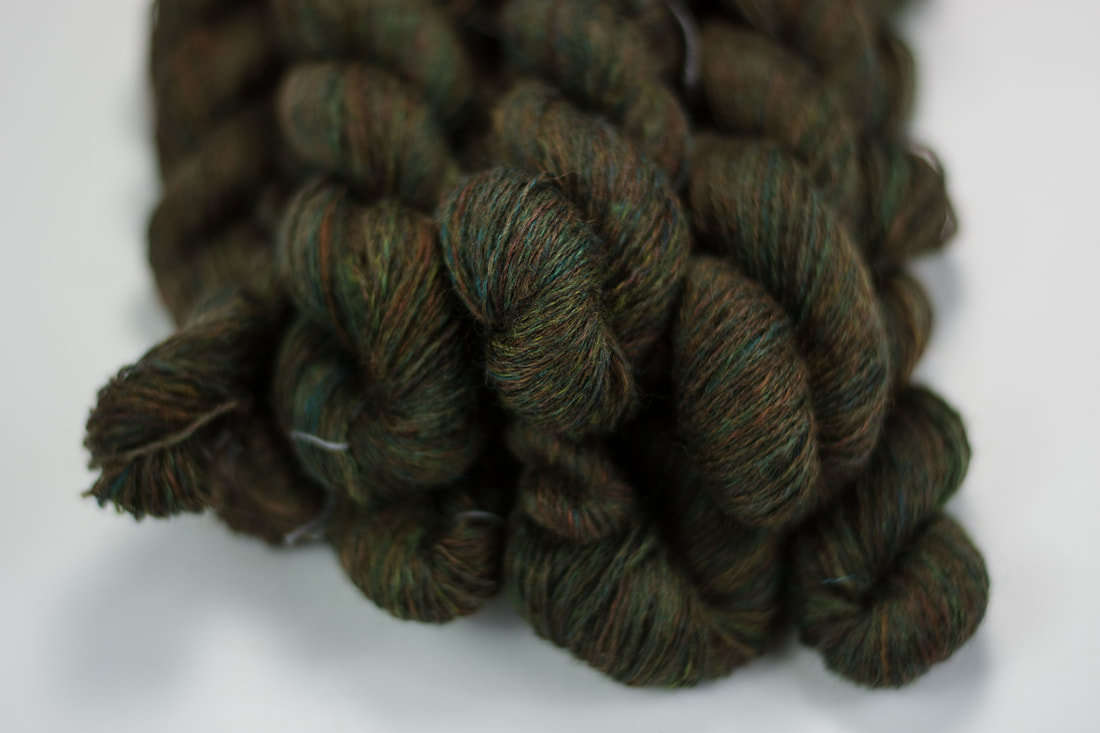 And here it is - 9 skeins, 7.5 ounces, and roughly 2,000 yards. Maybe I should have knitted a swatch before I spun so much to see if I'd like the final yarn, but I do think this is much closer to what I had in mind than any of my previous attempts. There's only one way to tell. On to knitting! Ravelry page here xx,
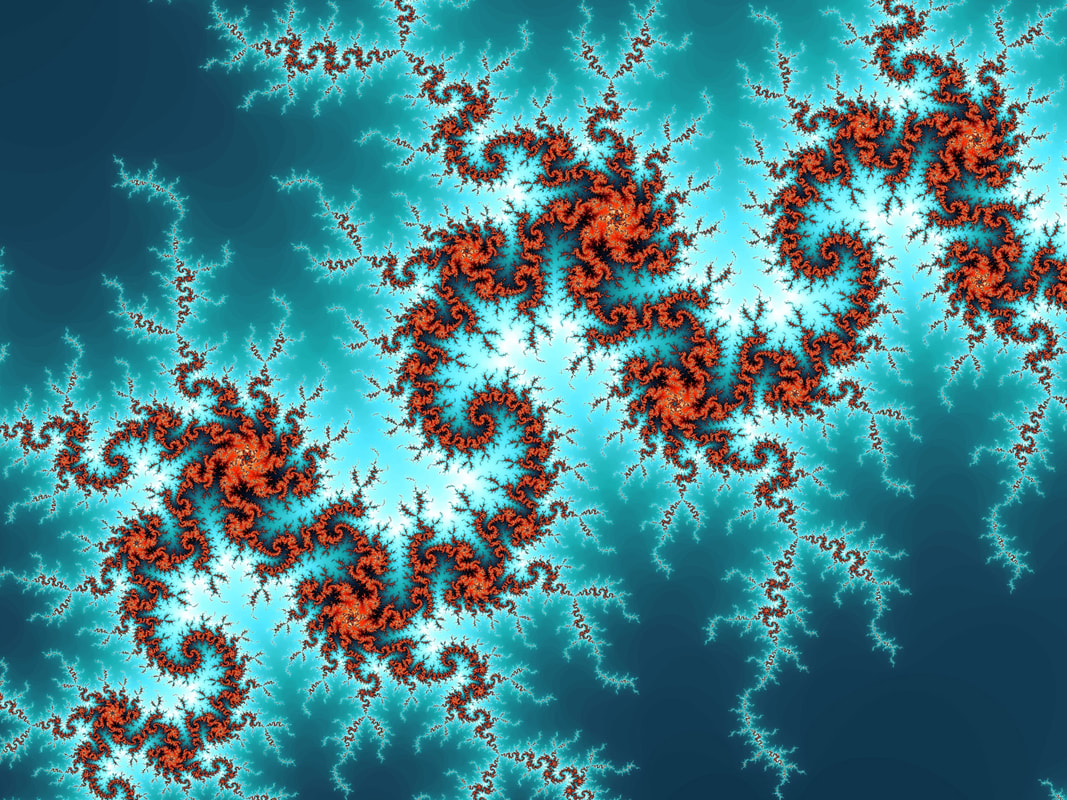
Pamela This month, I'm giving a short program at my Guild's spinning group on spinning fractal yarn. Fractal spinning is a way to control the color of handpainted top or roving in a way that creates subtle self-striping yarn. The short video linked above goes through all the basic steps, but I'll elaborate a little more here. This isn't the first time I've done fractal spinning, but it is the first time I've really delved into the details of it. Apparently I haven't blogged about it before, but Instagram tells me I was playing with fractal spinning in May of last year, and with very similar colors to boot. Fractals are found in nature, mathematics, and art. They are never ending patterns that repeat themselves at different scales or sizes. Fractals look complicated, but they are created by repeating simple processes. Fractals reappear over and over again in nature as branching and spiral patterns. The branching of a tree, or the shape of a river network, the shape of our lungs, the shape of a hurricane, and even the shape of our galaxy are all formed according to fractal patterns. So what exactly is fractal spinning? Fractal spinning takes the idea of repeating patterns at different scales and applies it to yarn. Once it is spun up, the finished yarn will have two (or more) different scales of the color repeats found in the dyed fiber. Usually we accomplish this with two plies: one ply is at a large scale, and the second ply is at a smaller scale. This results in a subtle self-striping yarn that has smaller color repeats within larger ones. And it looks fabulous in the skein! Here's how to do it: Start with dyed fiber. Braids with clear color repeats instead of random splotchy colors the best. If there's some splotchyness in the color within a single section, that's fine - it will create a heathered appearance within your color repeat. (I happen to really like that effect, and used it here.) 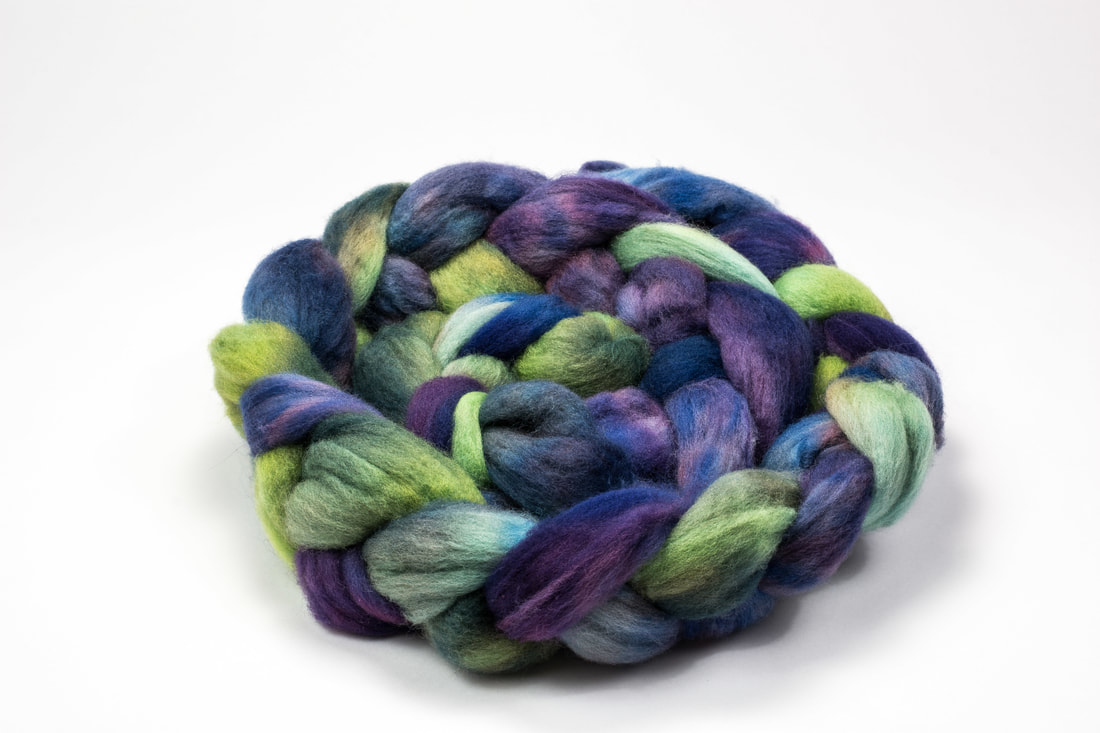 Divide your fiber lengthwise into two equal strips. This is usually pretty easy to do, since most combed top has "slivers" that want to split apart from each other naturally. 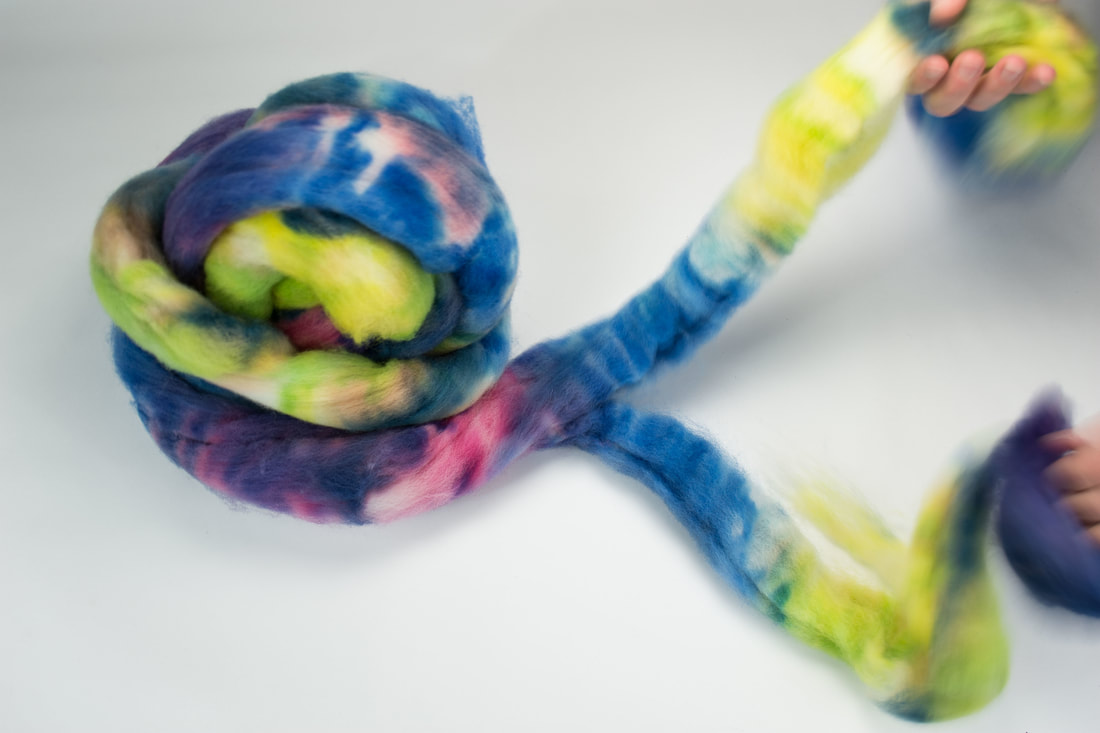 Set one half aside. With the other half, split the fiber lengthwise again, as many times as you'd like. In the video I split the second half into four sections, but you could do more or less. Each lengthwise division shortens the color run (take a look at the two bobbins below for a comparison). 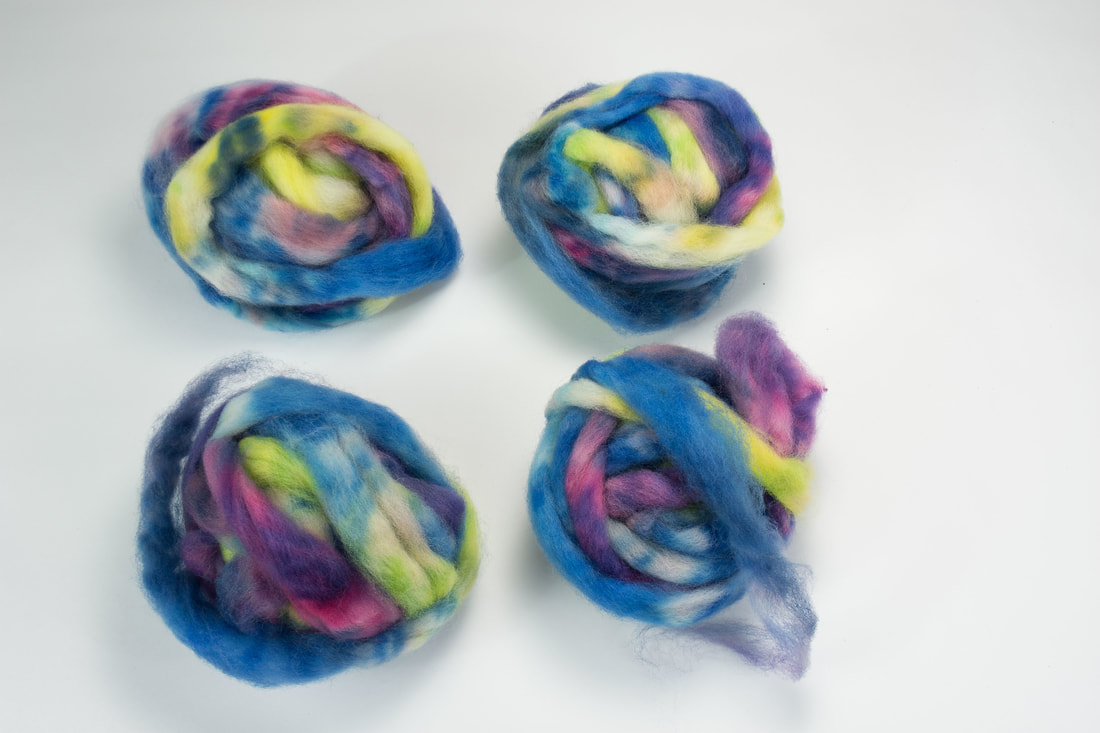 The only limiting factor besides your imagination is how thick you want your yarn to be. The thinner your sections, the thinner your yarn is likely to be. I tend to spin pretty thin yarns, so this isn't an issue for me, but if you're going for a thicker yarn, it's a good idea to start with 2-4 sections instead of 6-10. Be sure that you're keeping the fiber aligned so the color repeats are all going in the same direction. Jillian Moreno recommends tying a loose overhand knot on the end you intend to spin from. For these, I wrapped the fiber into loose balls with the end I wanted to spin from on the outside. Just do whatever works for you. 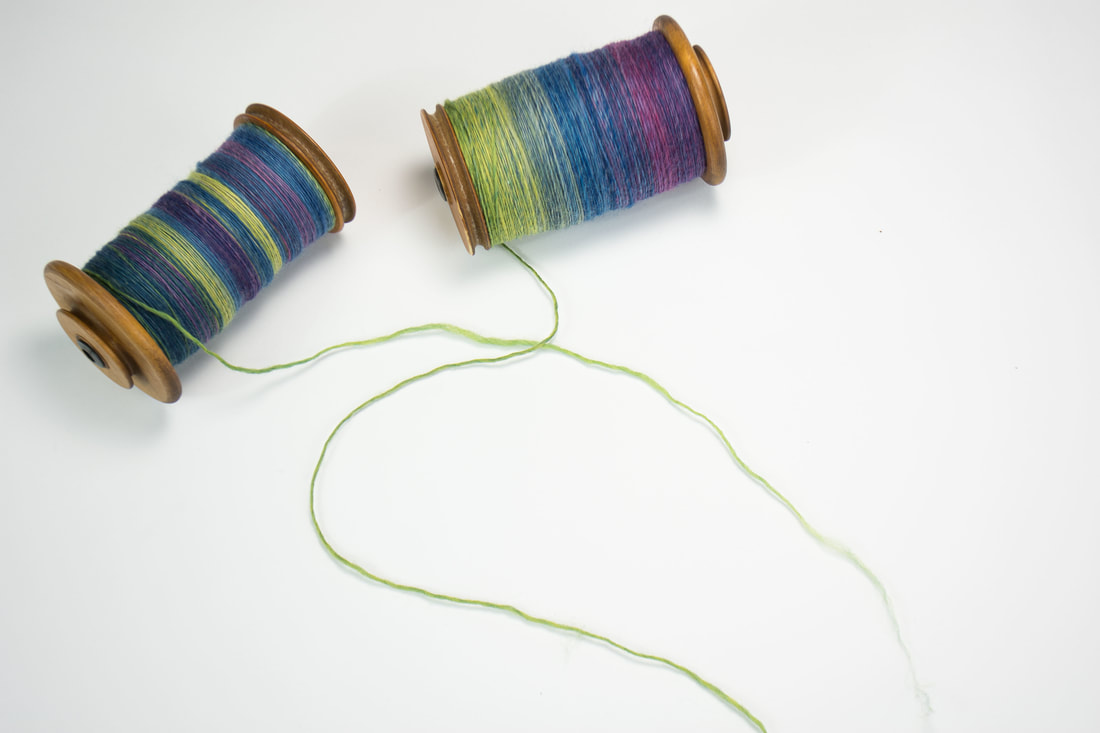 Now comes the fun part - spinning! Spin the half that you first created onto one bobbin, and the other half that you split into small sections one after the other onto the second bobbin. (In the picture above, the long repeat is on the right, and the short repeat is on the left.) Ply the two bobbins together, and you have fractal spun magic! The short color repeats flow through the longer color repeats. Sometimes they match up, and sometimes they combine in unexpected ways to create totally new colors! You'll still get a self-striping effect, but it's a gentler and more harmonious than the hard self-striping effect we associate with chain ply. 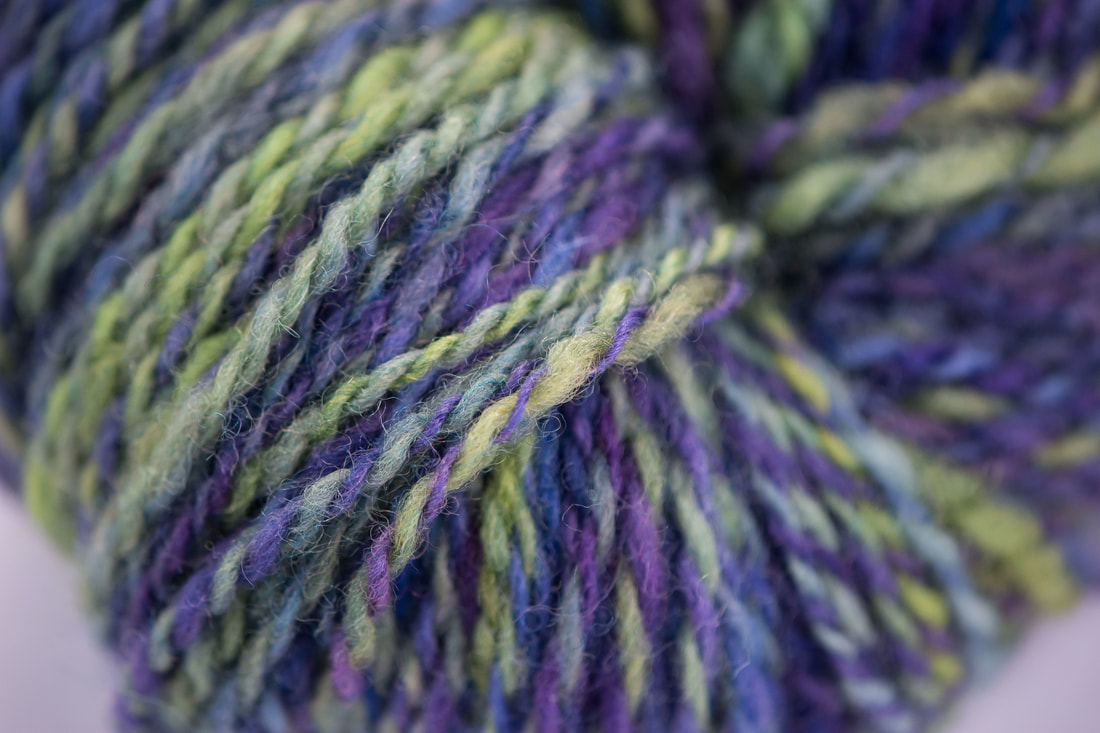 Of course, you'll want to set the twist just like you do any time you spin yarn. This one I set with a soak and some light snapping. That's not all, though. I still have to explore the differences between knitting with fractal spun yarn and weaving with it. Stay tuned... xx,
Pamela |
Archives
January 2024
Categories
All
|


 RSS Feed