|
When it comes to yarn dyeing, there are lots of different techniques. One is "glazing," and it has nothing to do with doughnuts! Glazing is a technique where a dyer applies dye in very thin layers, so that the original color of the yarn is still visible underneath the glaze. It's a lot like the technique of glazing in watercolor painting, where a transparent wash of color is added on top of another color to create more complex fields of colors. There are several different ways to glaze yarn in dyeing, but they all boil down to using small amounts of dye, and making sure the dye strikes on the yarn very quickly. One way to do this is to pre-mordant the yarn, or to make sure there is plenty of acid in the dyebath before adding the dye. Some dyers use dry yarn or yarn that is only slightly damp. This is another way to make sure the dye stays on the outside of the yarn - since it will take some time for the moisture to penetrate to the core of the yarn, the outside of the yarn will be the first to get wet, and therefore the first to absorb the dye. One of the biggest challenges in glazing yarn is predicting what color your yarn will be when it comes out of the dyepot. There's definitely plenty of magic happening there, but a little understanding of color theory can go a long way in deciding what color of glaze you should use. There are plenty of in-depth books and tutorials about color theory, but there's no need to get bogged down in all of that if you don't want to. What you need to know is this:
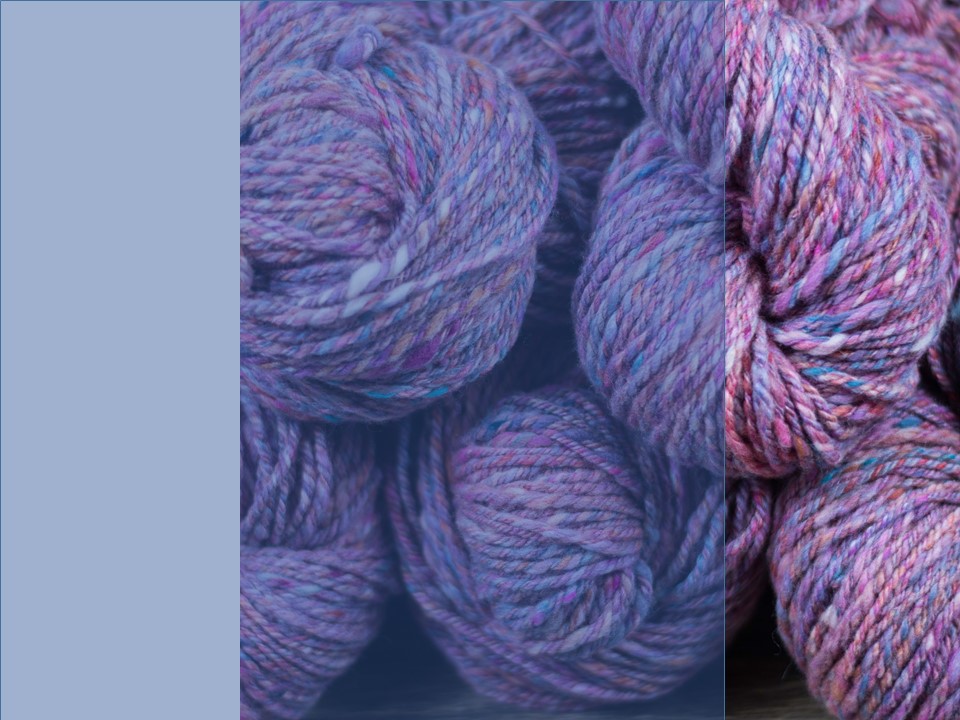
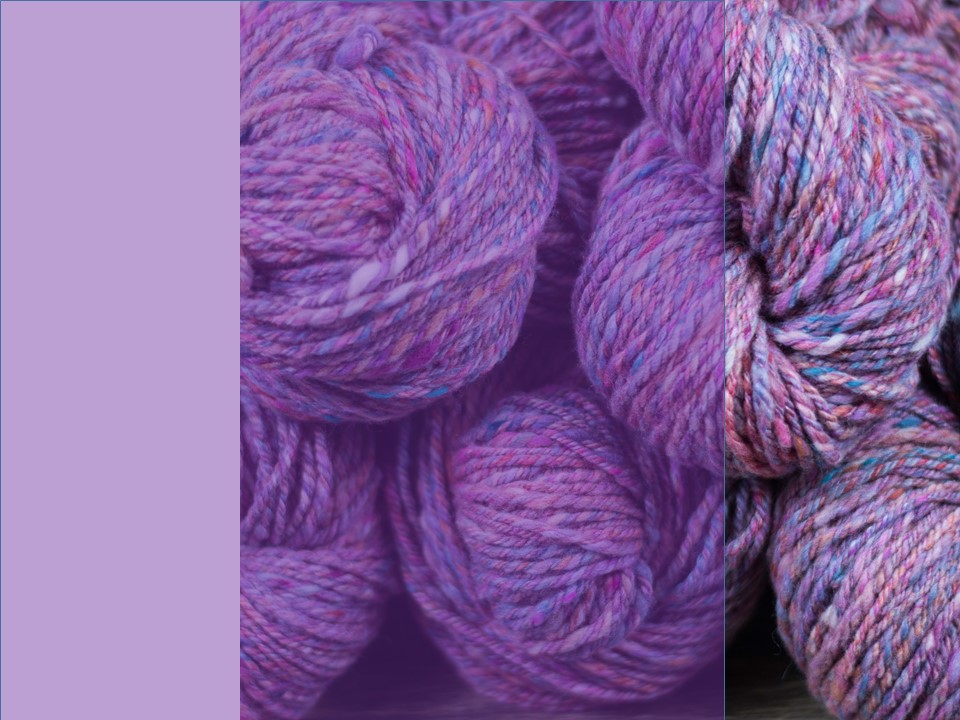
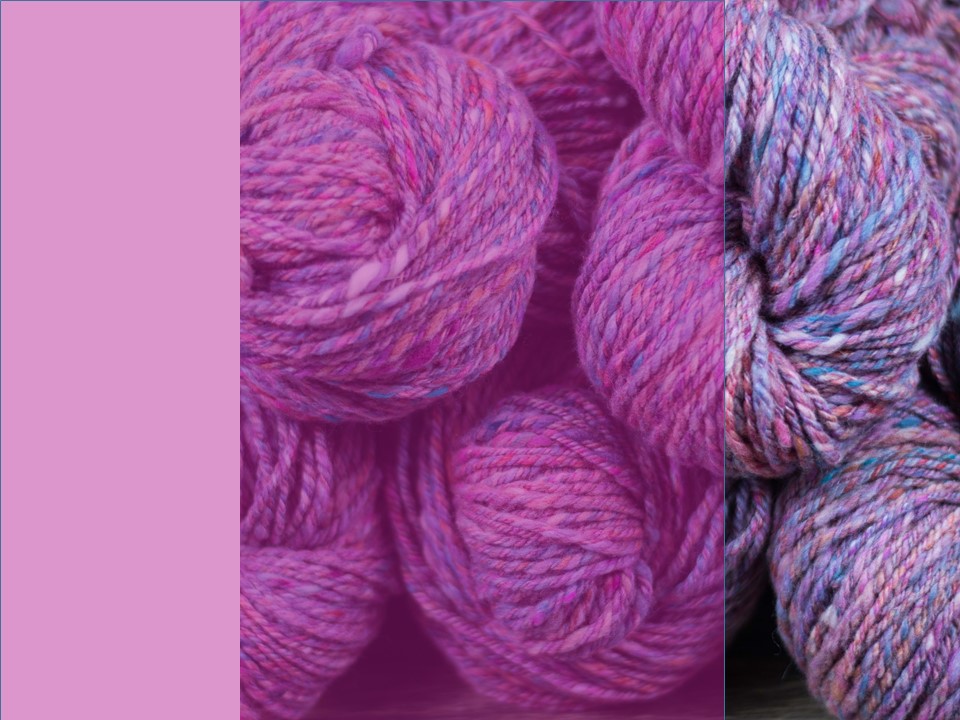
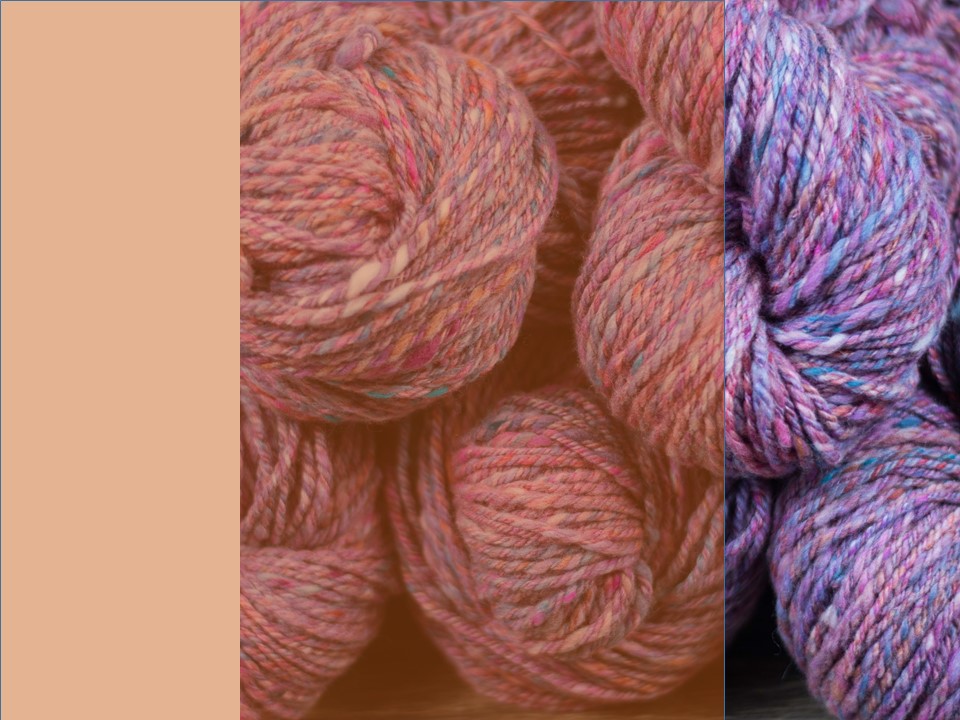
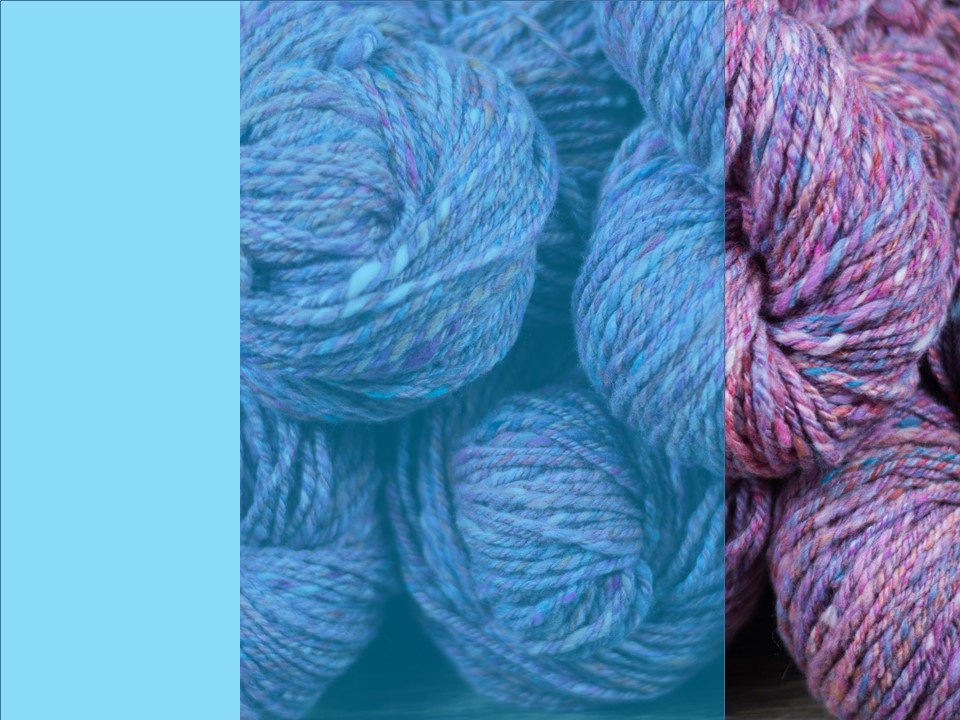
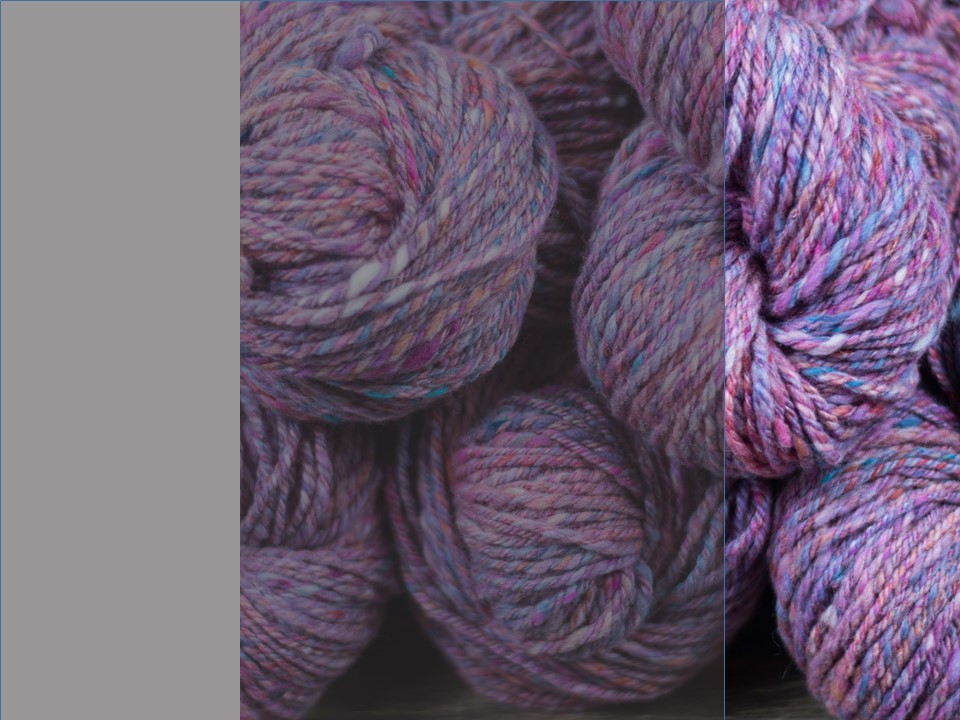
Knowing what color(s) you're starting with, and what color you're adding in your glaze will help you predict the outcome. But, naturally, I had to take it one step further. Sometimes it's helpful to see a prediction of what the glazed yarn might look like to help avoid disappointment. Here are six samples of predictions of what a recent handspun yarn might look like if I glazed it with blue, purple, pink, orange, turquoise, and black: To create these predictions, I used PowerPoint, though you could use any photo-editing tool that lets you make transparencies. I opened up a picture of my yarn, then drew a rectangle shape over part of the photo. I made sure the shape was selected, then edited it under "format shape." The "fill" section lets you choose the color and the transparency of that color. I usually set the transparency levels to about 50%, and then play around with all the colors I'm thinking of using. This isn't a perfect prediction - after all, the colors that show up on my monitor aren't going to be the same colors as my dyes, and it would be difficult to get the exact concentration right - but it does give me a good idea of what the glazes will look like, and helps me make more informed choices when I decide to overdye yarn. In this instance, I decided to overdye a leftover skein a blue-purple color. I intend to make a hat and maybe some mitts, and want them to coordinate with my Weekender sweater, but not be too matchy-matchy. Here's the overdyed skein: 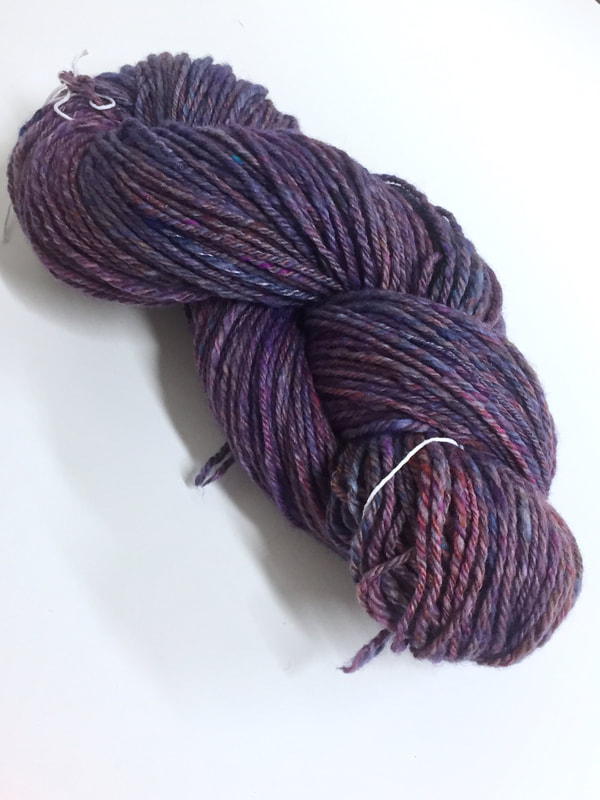 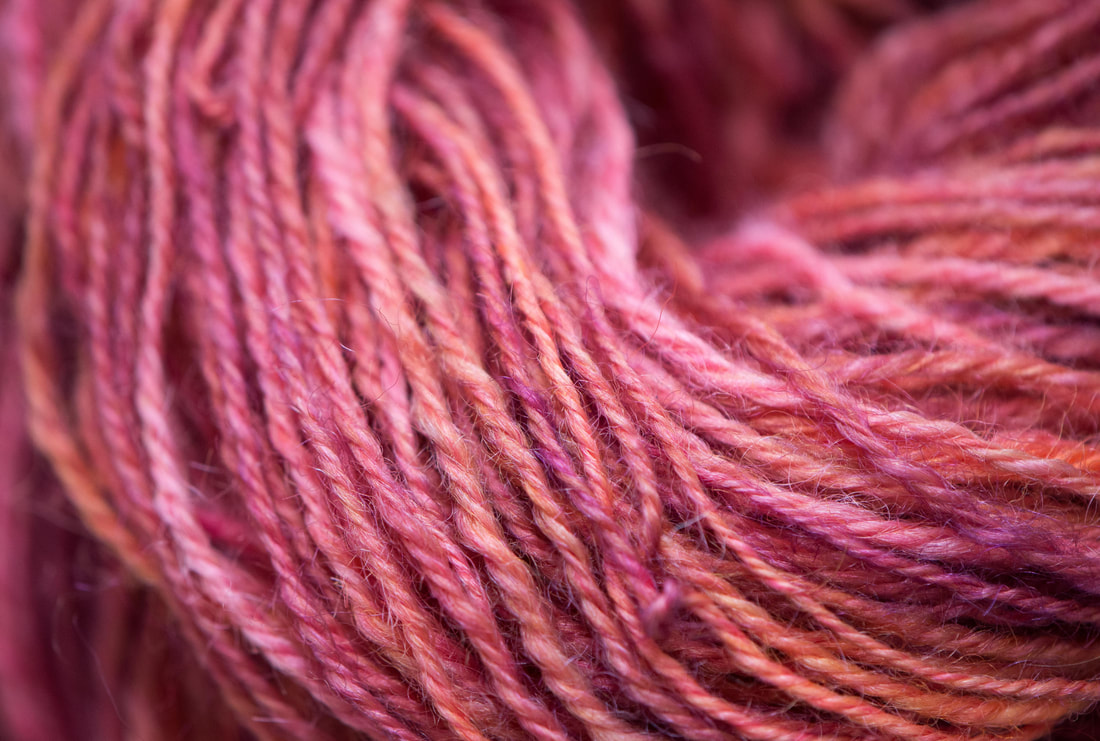 This year, the spinning group in my guild decided to do a fiber exchange/challenge. The rules were simple: each person would bring in four ounces of clean, unspun fiber, we'd swap it, and make something with it by the end of the year. I got a mystery wool, along with some light tan alpaca. I tossed it all in the dyepot along with some mohair that had been lingering in the stash. Once the wool was dyed, I blended everything on my drum carder, and spun it into fine singles. Then I 3-plied it, resulting in this yarn: 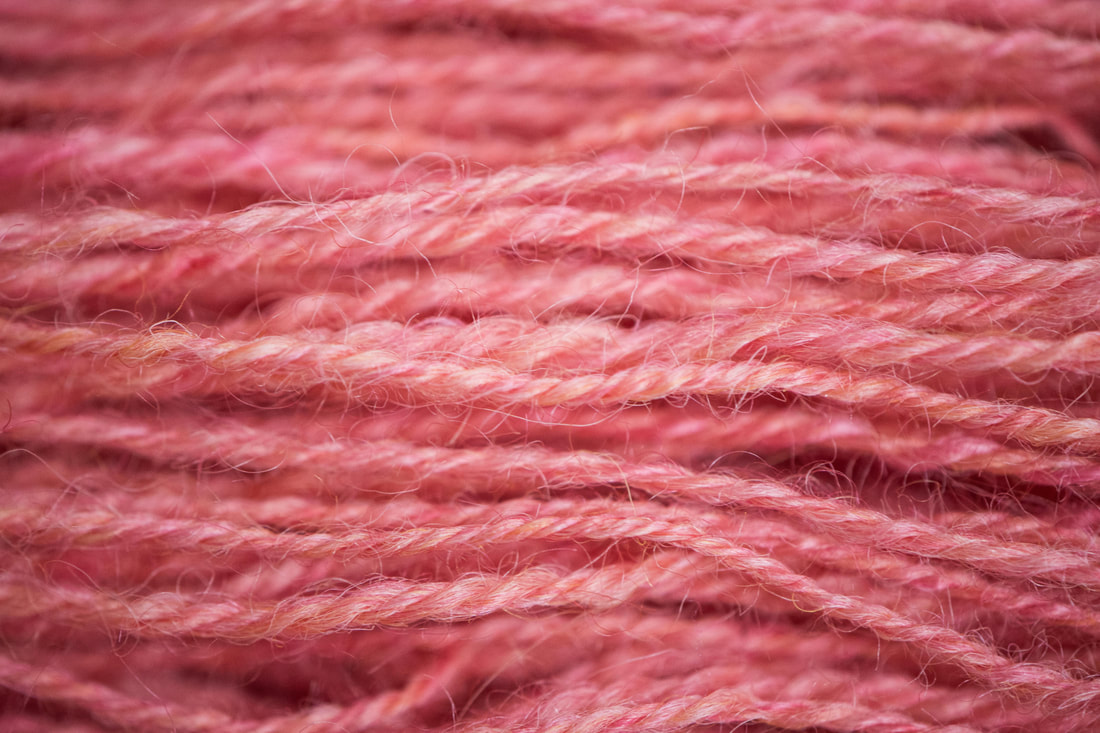 The mohair and wool give it a lot of shine, and the alpaca gives it a little bit of softness. Initially, I'd loved the color, but by the time I'd finished, I felt like I'd gotten my fill of that shade of pink.
So, back to the dye pot I went. I used a tye-dye method that I read about in the first issue of Tiny Studio Magazine. The result is a variegated yarn with pink, purples, and oranges. Now to the next part of the challenge - actually making something with the yarn! 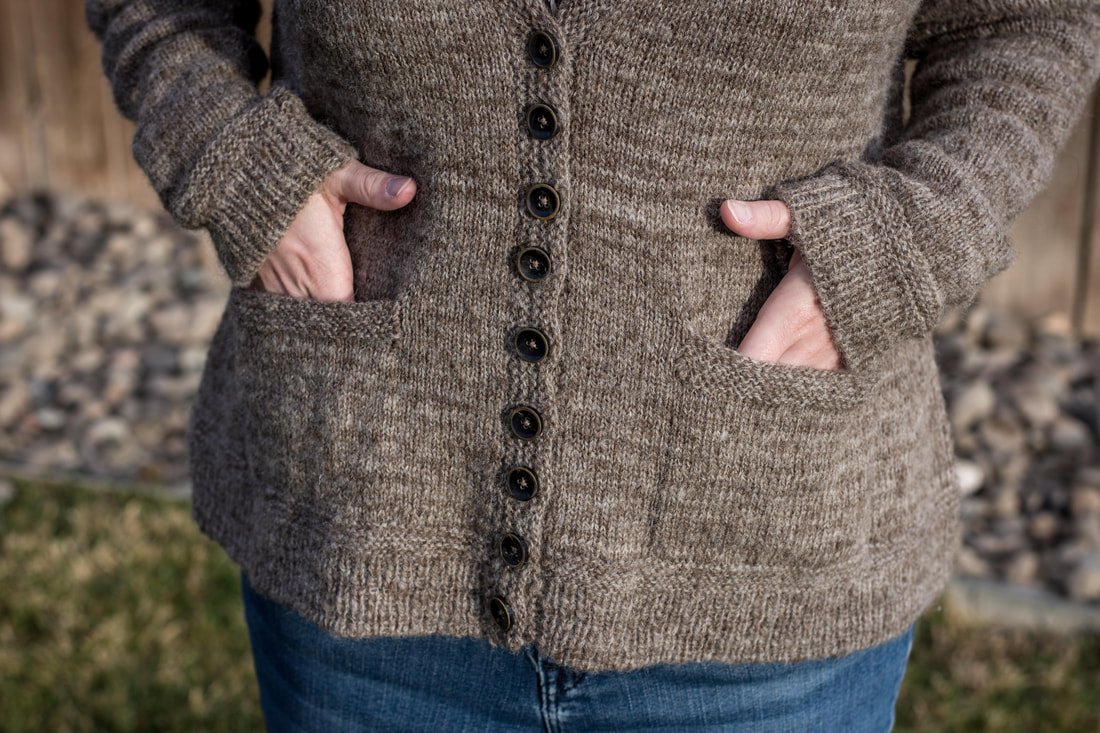 Have you ever put something in the washing machine that wasn't supposed to go there? My list stretches back decades, and every incident was life-altering in its own way. There was a pair of Mom's dry-clean-only linen shorts that turned an entire load of laundry hot pink and led to everyone in the house doing their own darned laundry from that point on. There were too many tubes of lip balm to count, especially in high school. There was a cell phone and an iPod (you'd think I'd learn). And then there was this sweater. Waaaaay back in 2016, I finished this sweater - made from some of my early handspun yarn. The sweater is far from perfect, but it's warm, it's mine, and it has POCKETS. Plus, it's a shade of beige that goes with just about everything in my closet, making it an essential piece throughout fall and winter. Unfortunately, just before the turn of 2019, my husband put it in the washing machine (by accident). I've talked about this fiasco a bit in my newsletter and on Instagram. The point is that it shrank some, mostly lengthwise, making it look silly when I wore it. It was felted, but was it felted beyond saving?  What is wool felt? Felt, quite simply, is a non-woven fabric that is made of matted fibers. It can be made of just about any material. Wool felts because it has microscopic scales on the surface of each fiber. When the fibers are subjected to a mixture of moisture, heat, and agitation, the scales lock together like Velcro. Unless the wool has been through a superwashing process that removes or smooths down the scales, wool will always be at risk for shrinkage due to felting. As heat, moisture, and agitation are applied to wool those scales lock together and the fabric can shrink. A number of factors combine to determine how much the wool can shrink, including:
Usually, when working with non-woven wool felt, the felting process has been carried out to the maximum extent possible in order to create a strong and durable fabric. This process cannot be reversed once it's carried out to the full extent. Felting can also occur when spinners dye fiber prior to spinning it into yarn. Usually this happens because there's extra heat and agitation in the dye process (especially if the water boils!). For most fibers in this situation, the wool is only slightly felted, and it may be possible to mitigate the effects of felting. What is Fulling? When wool has been made into a woven, knitted, or crocheted fabric, the process is called fulling. The same things are happening with the scales of the wool, but because we're dealing with something that's already fabric instead of loose fiber, it technically gets a different name.* As heat, moisture, and agitation are applied to wool fabric those scales lock together and the fabric will start to shrink. As with wool felt, sheep breed and how much heat, moisture, and agitation are applied will determine how much the fabric shrinks. With fabric, though, another factor comes into play - how tightly the fabric was knitted, crocheted, or woven. A loose and open fabric has more room for the fibers to move around, meaning more agitation is possible, and therefore more shrinkage is possible. A tight, dense fabric, on the other hand, doesn't have much space for the individual fibers to move, making shrinkage less likely (but still possible). Generally, wool that has been felted or fulled can shrink by as much as 30%, which is a lot. There are plenty of patterns on Ravelry where you'd intentionally full your knitting - think bags and slippers. But most of the time, fulling is something we want to avoid. And when it does happen, it can feel a little disastrous. (Like my cozy sweater that accidentally became a crop-top.) So, Can You Un-Shrink It? Depending on how much the wool shrank during the felting or fulling process, it may be possible to pull the fibers apart from each other. If the fibers are only a little bit felted or fulled, the more likely this will be an option. However, if it's felted/fulled "all the way" or even a good percentage, you're never going to get your wool back into its original state. When pulling fulled fibers apart, it's best to be gentle - those scales have locked together, and using lots of force can result in fiber or yarn breakage. For my handspun sweater, it was only slightly fulled. In the first image, before fulling, you can see very crisp stitch definition. In the second image, after fulling, you can see that it's definitely fuzzier (partly because of a couple of years of wear, and partly because of the fulling). But you can still see the stitches fairly well - it hasn't completely morphed into a beige blob! Following some suggestions of helpful instagrammers and the internet, I soaked the sweater in a bath of warm water and about 1/3 of a bottle of Unicorn Fibre Rinse. Some people use hair conditioner, but I had the Fibre Rinse on hand and wanted to see how it would perform in this situation. I rolled my damp sweater in a towel, the laid it out on a blocking mat, gently stretching the body out to try to give it some extra length. Then came the hard part - walking away to let it dry for a couple of days. In the end, my sweater wasn't quite as long as I'd want it to be, but it's no longer a "crop top cardi" and it's wearable again. This process works to some extent because wool fibers are more elastic when they are wet. I'm not sure how much the Fibre Rinse helped, but since it's formulated for use on wool, it certainly didn't hurt. And, since it also acts as a fiber softener, my sweater is a little bit softer for the experience! Note that this fix will only work if the fiber isn't felted/fulled all the way, and even though it's possible to stretch the fabric back out, your garment will probably never be exactly as it was when it was new. As for my husband? All is forgiven, but not forgotten. ;) 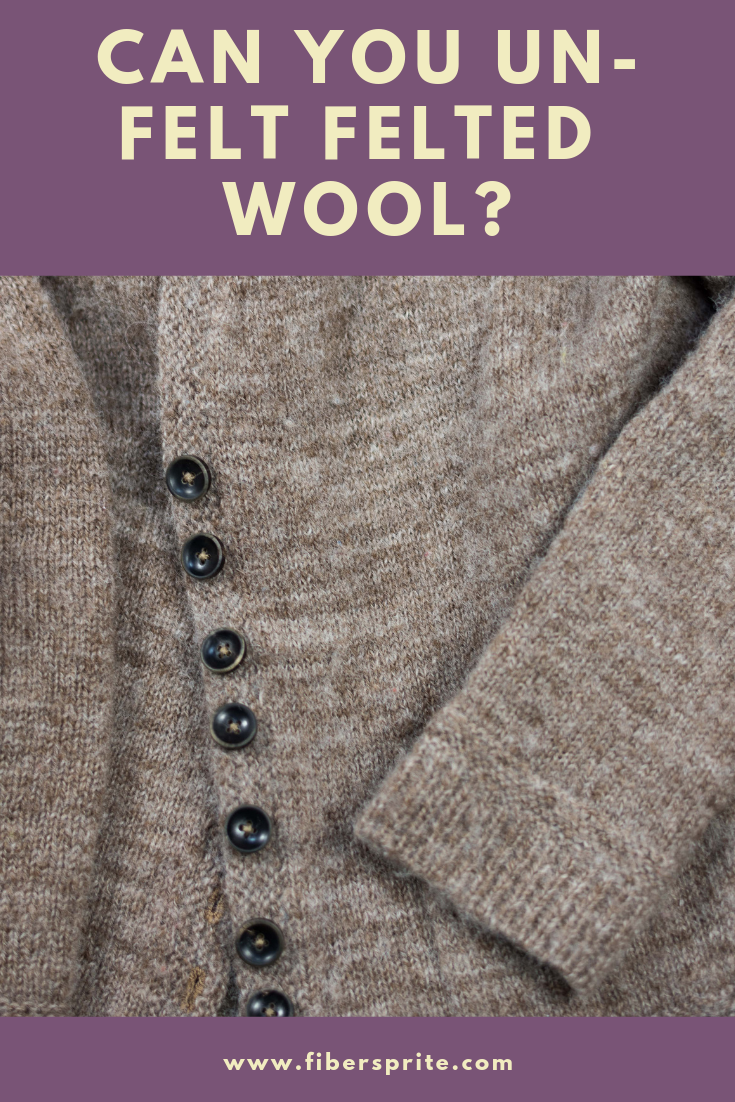 Ravelry project page here.
*You'll often see this process referred to as felting anyways...I'm guilty of it too! 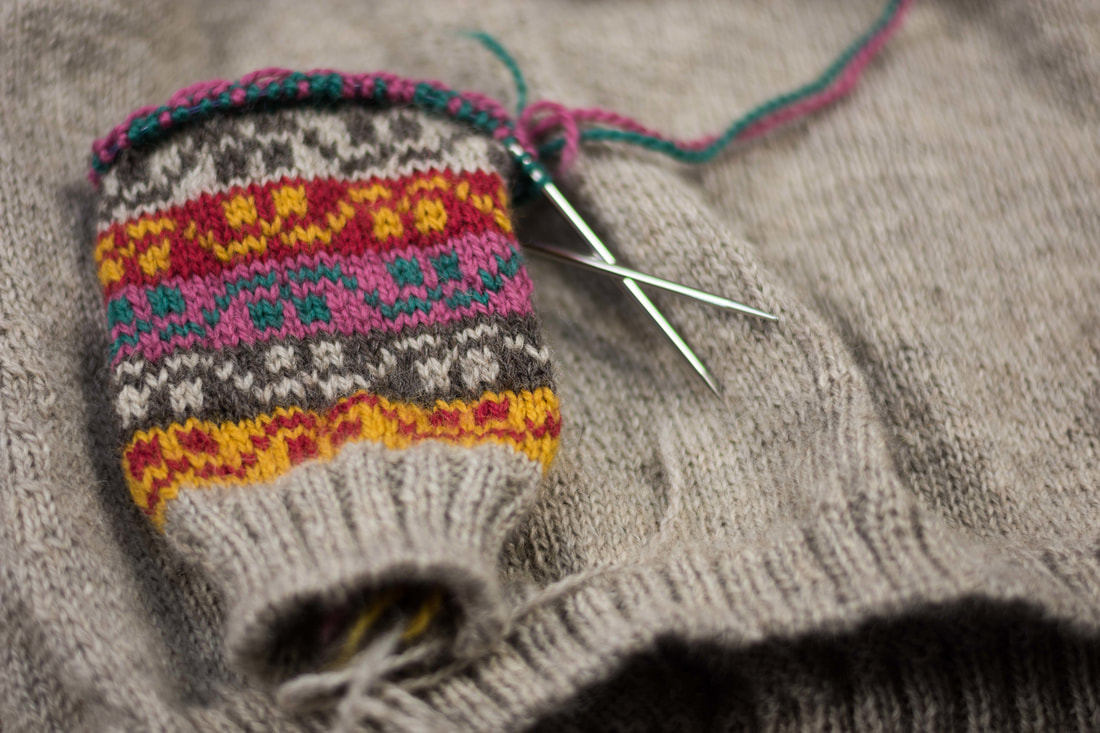 When Kate Davies first published the Miss Rachel's Yoke a couple of years ago, I knew I had to make it. I quickly bought the kit, intending to cast on right away.
Of course, life intervened, as it does, and by the time I was ready to knit there were a few roadblocks in my way:
But mostly, I was convinced I didn't have enough yarn. (Side note - I've decided always buy/spin more yarn/fiber than I think I need from here on out. I always end up picking the projects that require tons of yardage...) Earlier this month, we had a snowy day that had followed a very gray week. It was one of those weekends where I can't think of a reason to leave the house, and I was downright grumpy. My husband, in an attempt to cheer me up, suggested a trip to the movie theater. The only problem was, I didn't have anything to knit - at least, nothing I could knit in the dark. When I first learned to knit, I taught myself to knit without looking so that I could knit on the dark schoolbus, in dark cars riding home from dance lessons, and in the movie theater. Now, my "movie theater knitting" is always very basic. I can knit and purl in the same row if it's not a fancy pattern, but anything that might require a chart is out of the question. Usually I keep a sock on the needles for just such an occasion, but the socks I had going were too close to being done to entertain me for a whole two hours. I dove into the stash to see what my options were, and the Miss Rachel kit jumped out at me. I figured that even if I didn't have enough yarn, at least I'd have something to knit in the movie theater. And though I'd originally meant to make it a cardigan, I've realized that I wear pullovers a bit more often than I did when I first bought the kit, so a pullover it was. One benefit of waiting so long to cast on is that plenty of other Ravelers have had the chance to knit and write about this pattern, so I could let go of some of my anxiety about how it would turn out. Some standouts are: Uncrossed has incorporated a great short-row detail into the yoke. Ltnknitter, Agameda, and Lizoid have an interesting trick for hiding the jog. Crochet-Julie made the darker version, and managed to do her modeled shots in front of a photograph of the shawl that inspired the design. My project page is still in progress, but you can find it here.  As you practice your fiber art skills, have you ever wondered about the craftspeople who came before you? The ones who figured out how to spin, the ones who figured out how to weave, the ones who figured out how to make fabric stretchy by interlocking loops of yarn with one another?
Unfortunately, their stories are lost to history, in part because textile production is so embedded in our culture that it began before humans had a written language. To add to the obscurity, many of the early tools used to produce and work with fabric didn't survive in the archaeological record. But the clues we do have are fascinating, and they indicate that spinning and weaving are very old indeed. This Saturday, November 10, I'll be giving a presentation at the Black Sheep Handworx Studio. There's lots of interesting historical information about wool, fiber, sheep, and how it relates to us as fiber artists. Whatever fiber art you practice, there's something here for you! In addition to the discussion, there will be demonstrations, explanations, and hands-on experiences that walk you through how wool is processed before it can become yarn, and how yarn is worked into cloth. The possibilities for customized cloth are endless! You can purchase tickets at the Black Sheep Handworx Studio, or at 970tix. I hope to see you there! |
Archives
January 2024
Categories
All
|
 RSS Feed