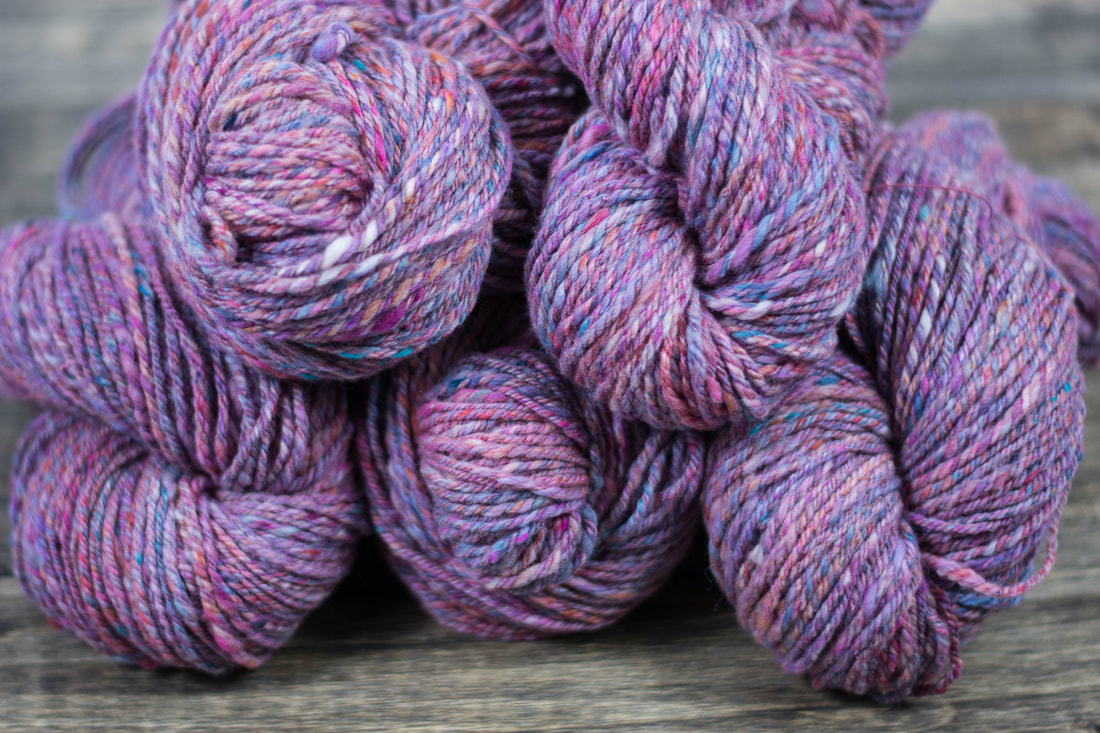
 It's the question that every artist dreads. It's also the one that's asked the most often. Sometimes people ask it out of genuine curiosity. Sometimes they mean it as a compliment - they think the work is exquisite, and therefore must have taken a very long time. Sometimes they're trying to decide how much they're willing to pay for it. This last question is the worst, and one of the reasons that artists don't like to share how long it took them to make something. Another reason artists don't like to share how long a piece took them is that artists don't always track their time, and art is often a non-linear process. A project might be started, stopped, picked back up, "finished," then have additional edits made. Other projects frequently are started and stopped between each part of the process, making tracking time even more difficult. One way some artists answer the "how long did that take you" question with how long they've been practicing their medium, or practicing art in general. In that view, each project adds to their experience and gives them the knowledge of how to make a new project better and with less time spent on mistakes. This answer is a firm way to say, "thanks for your interest, but I don't share that information." It insists that the artist's experience is what gives value to the work, not how long the piece took. It protects the artist's privacy, and keeps the questioner from having an opportunity to devalue the artist's work based on how much time it took them. While I certainly admire artists who can command a living wage for their work, I also feel that fiber art is constantly undervalued by the perception that it's "just a hobby." I cringe when someone tells me they get a dollar an hour for something they made. I get angry when I see people selling product at craft fairs and farmer's markets for low prices, sometimes prices so low that the garment costs less than the yarn/fabric must have cost the seller. In part, we have industrialization and fast fashion to blame. As early as 1840, it became more economical to buy cloth rather than spend time making it. Commercial cloth (and ready-to-wear clothing) has become cheaper and cheaper ever since. As we became divorced from the processes of making yarn and cloth, we stopped appreciating its value. We also traditionally see textile work as "women's work." While the history is a little more complex than it just being work done by one gender, seeing textile work as something done by women, at home, in the time between other household chores makes it very difficult to quantify, and therefore value. Last winter, one of my handspun, handknit sweaters went into the washing machine. The yarn was not superwash. It was an accident, no one was hurt, and I did manage to unshrink it just a little bit. After the initial shock, I joked to my husband that it was an excuse for me to get to go shopping for a sweater quantity's worth of yarn. And then I started explaining how much the yarn would cost for a sweater quantity - up to $200 for wool similar to that sweater. Since it was handspun, the fiber had cost me a little less, but there were hours and hours poured into the making of the yarn, and then knitting it up into a sweater. I just didn't know how many. 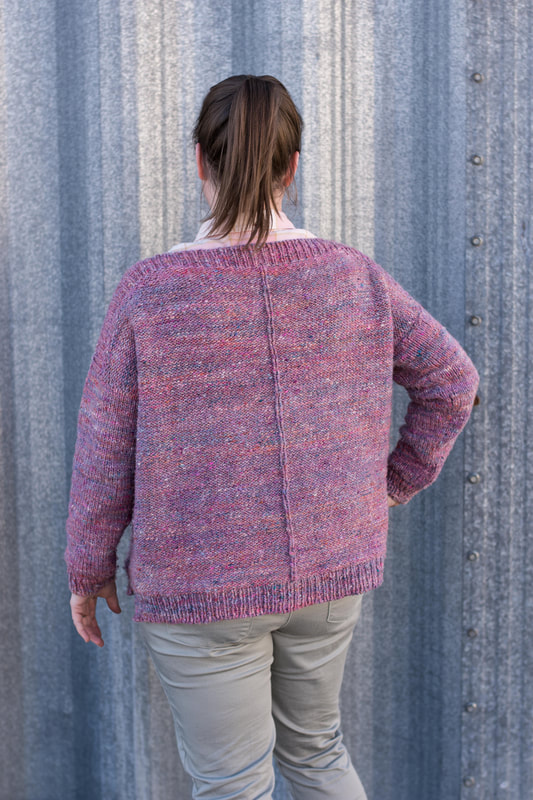 In my own work, I don't typically keep track of how long something takes me to knit, weave, or spin. It is a hobby, and I know that making things for myself is what gives me the most enjoyment. I do sell some of the things I make, but when I do, I'm always careful to price them so that my time is accounted for and I'm getting paid at least minimum wage. There are a number of other costs to consider when pricing items, like cost of materials, equipment, overhead, and profit if you're trying to run a business. But there's still that elusive question: "How long did that take you?" For my most recent sweater, I decided I would keep track. I didn't time myself with a stopwatch, so all of the time is in averages. Because I wanted to get a big-picture view, I decided that I would spin the yarn myself - which also included blending the fiber on the drum carder. Some of the fiber was dyed by me, some of it was dyed by others, and I did not count the time cost of scouring and dyeing. (But if you're interested in that stage, Bren Boone has an excellent post where she breaks down the time cost for her of scouring, carding, and spinning a skein of laceweight yarn.) Carding the fiber took me about 15 hours, spread out over a weekend. Spinning the singles took me about 35 hours, spread out over several weeks. Plying took me about 10 hours, spread out over a week. Finishing the yarn (skeining and washing) took me about 3 hours. I knit all the ribbing on the sweater by hand. Each of the bottom hems took me about 3 hours, as did the short rows and ribbing on the neck. The ribbing on the cuffs took me an hour each. That's a total of 14 hours of knitting the ribbing. I knit the rest of the sweater on the knitting machine. While it is faster, there is a real time and energy commitment to using a knitting machine. You can't just put your knitting on the machine and walk away (at least not on my machine!) and the techniques are a little bit different than hand knitting. In total, I spent 10 hours on the knitting machine with this sweater. Lastly, there's the final step of blocking, seaming, and weaving in ends. It always seems like there are twice as many ends to weave in when using the knitting machine! This step took a total of 3 hours. So - the grand total for preparing and spinning the fiber into yarn was 63 hours. The grand total for knitting and finishing the garment was 27 hours. The total amount of time spent making this sweater was 90 hours. So, naturally, the next question is how much is it worth? Where I live, the minimum wage is $11.10/hour. So that's $999 worth of my time. If we were to bump the wages up to what's currently considered a "living wage," $15/hour, the time cost rises to $1,350. I tend to think of my time as a lot more valuable than that - after all, spinning and knitting are skilled forms of labor that not everyone has. But for the sake of this post, we'll stick with $15/hour. Time isn't the only cost - I used about 30 ounces of fiber, most of it merino, which generally sells for about $5-6 an ounce. There is some silk, yak, and other luxury fiber thrown into the mix, so I estimate my materials cost at the higher end of the range, for a total materials cost of $180. I used a pattern to knit the sweater, which cost me $8. At this point, the cost of the sweater in time and materials is $1,538. If I were in the business of spinning and knitting sweaters for sale, I would also need to account for equipment costs for my drum carder, spinning wheels (I used two in this project), and knitting machine. Based on equipment depreciation calculators and an assumption that the various pieces of equipment are in use 40 hours a week (because we're in business here), equipment cost is about 40 cents an hour. That doesn't sound like a a lot, but when you multiply that by the amount of time the sweater took to make, the cost of equipment is $36, raising the total price of the sweater to $1,574. And then there are other types of overhead - how much does it cost me to rent space, keep the lights on, have running water, and have access to the internet to buy a knitting pattern, fiber, etc.? This is tough to calculate, as many of us say, "oh, the fiber would be in my house anyways," but there is a real cost associated with the space our fiber-things take up. But, assuming that this business takes up 10% of the space in a house where the combined cost of the mortgage/rent and utilities is $1,500/month, the monthly cost of the business space would be $150. Again, assuming this is a job that happens 40 hours a week, the cost per hour (assuming a 4-week month) is 94 cents. For a 90 hour project, the cost of overhead is $84. Now the total price of the sweater is $1658. There are also real costs associated with selling a product - if it's sold online, there are website hosting fees and credit card fees to contend with. If it's sold like a website through Etsy, there's a fee to list it, and there's also a commission that's paid to the website once it's sold. If it's sold at a craft or art fair, there's a booth fee, plus the cost to travel there. If it's sold on commission through a gallery or store, the commission will range from 20-40% of the price. These costs need to be built into the price of the item. Assuming the fees are 20% of the product price, that's $332 for this sweater, which now has a price of $1,990. Last but not least, every business needs to be profitable. Every business has different profit goals, but up to now, we've only been calculating the break-even cost for me to make this single sweater. Profit margins need to be built in to the price of a product so the business can continue to grow. Profit margins also keep the business from suffering a loss if the price of supplies suddenly go up, or the project takes longer than expected to make, or if the overhead increases unexpectedly. Profit margins vary wildly across industries, but 40% or 50% is a pretty common goal. Assuming the lower end of the range, that's about $810 for this sweater, which now has a sticker price of $2,800. So, the next time you go to a craft fair and you think an artist is charging too much, remember that they're real people, with real skills, with real time, money and energy poured into their craft. And if you're tempted to ask the eternal question of "How long did that take you?" please remember that time isn't the only indicator of value. 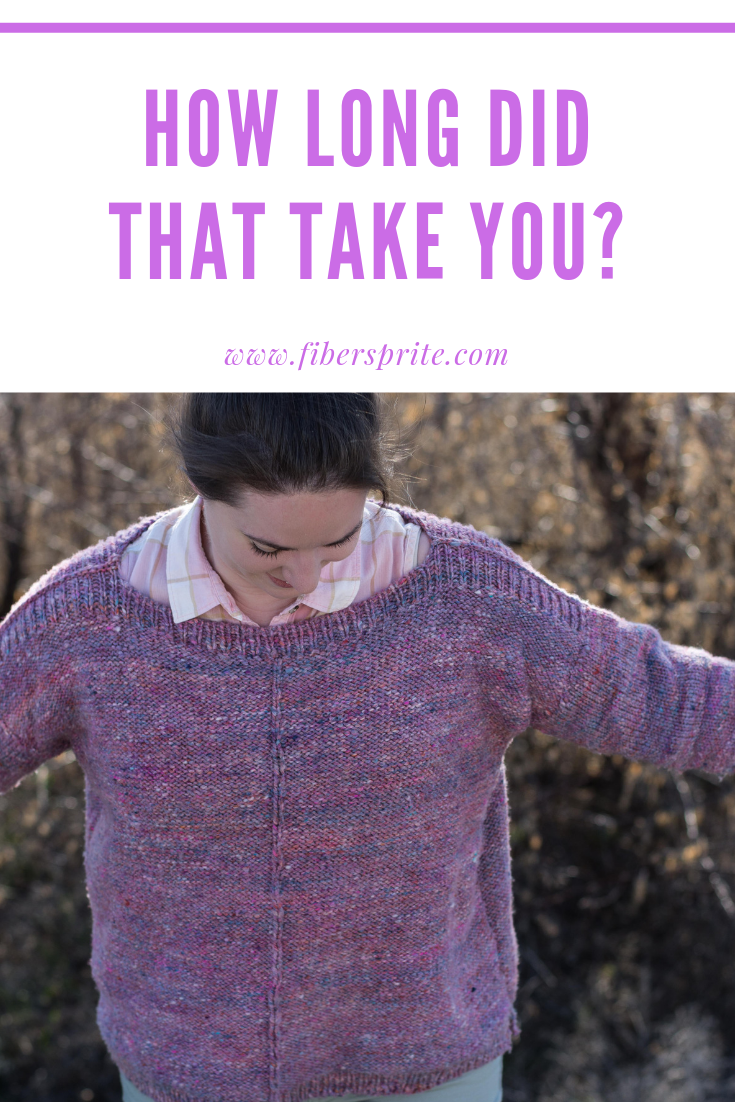 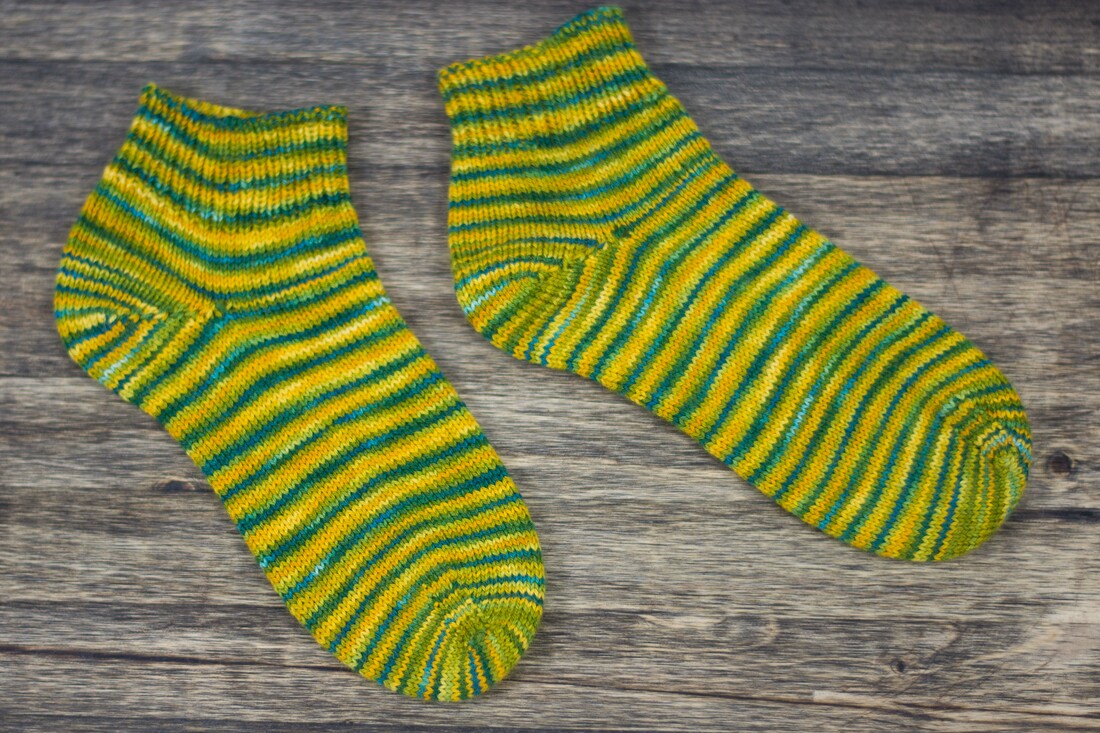 These socks are finally off the needles, after about six months of working on them! They're basic stockinette socks - the stripes are due to how I dyed the yarn. Worked form the toe-up with a short-row heel, there's nothing really different about these socks than the dozens of other pairs I've made over the years. Except that they took so long to make! Normally, a pair of socks takes me about 16-20 hours of knitting, spread out over a few weeks or a month. I dyed the yarn in April, at a dye workshop with my local guild. I cast on sometime last summer, and was delighted to find I'd inadvertently created a self-striping colorway! One of the reasons these socks took me so long was that when I started working on them, I was also suffering from a lot of fatigue in my hands. So even though I was loving the colors, they didn't get worked on much. I know that I was close to finishing the first sock in September. By the end of December, I was halfway through the cuff of the second sock, and decided the ribbing was the last thing I wanted to work on. Last week, I finally finished the ribbing, and then it sat for yet another week waiting for the bind off (tubular bind-off, my favorite), weaving in ends, and blocking - a silly wait, since all those tasks took me less than twenty minutes. Besides the literal pain in my hands when I first started working on these, I think one of the reasons this pair of socks took so much longer to make was that I didn't really need another pair of socks. Over the last couple of years, I've knit more than 20 pairs of socks. Adding that to a collection of SmartWool socks that I bought almost 10 years ago when I was working at a shoe store, I have a sock drawer that is pretty well-stocked. At this point, having socks on the needles is less about filling the need to put socks on my feet, and more about having a simple, portable knitting project ready to go at all times. Which brings me to the question.... Should You Kon-Marie Your Works in Progress? I read The Life-Changing Magic of Tidying Up way back in 2015 when it was just a book and not a Netflix sensation. Now that Marie Kondo has been invited into the living room of just about anyone with a Netflix account, there are lots more people talking about tidying up. Which isn't a bad thing. One of the things I took away from reading Kondo's book was that I really needed to be more thoughtful about how and why I acquire stuff - including yarn and knitting projects. However. It's easy to take Kondo's "spark joy" approach and twist it into a consumerist excuse for throwing away too much, with no regards for the consequences. When my hands hurt, these socks didn't spark joy. They made me feel a little hopeless, really, that one of my favorite hobbies was bringing me pain. When I had ten rounds of ribbing left to knit, these socks didn't spark joy. They made me downright bored. But when the socks were finally finished, that sparked joy! Here's the thing about creative projects - they're not always joyful all the way throughout the process. There are challenges in every project, no matter how small or simple. Sometimes those challenges are draining, and sometimes they're fun. But they don't always "spark joy" immediately. Sometimes that joy is delayed, like with these socks. As fiber artists, it's really up to us to think deeply about the projects we take on, the ones we hold on to despite the challenges, and the ones we decide to let go. Each of us has different priorities and needs, and we should all take those into account when we are considering our works in progress. Sometimes, like with my socks, a period in "hibernation" is exactly what the project needs. Sometimes the knitter needs some time to think through the challenges, to heal sore hands, or time to work on other more pressing projects. Sometimes, as Felicia Lo of Sweet Georgia Yarns said in this excellent video, casting on for a new project might just be about learning a new technique and not making the thing itself. Or a sweater that you started a year ago might not fit with your wardrobe now. It's perfectly fine to let these projects go. The bright side - it's just yarn, and can be easily unraveled and re-used! How do you decide whether you should tidy up your works in progress? 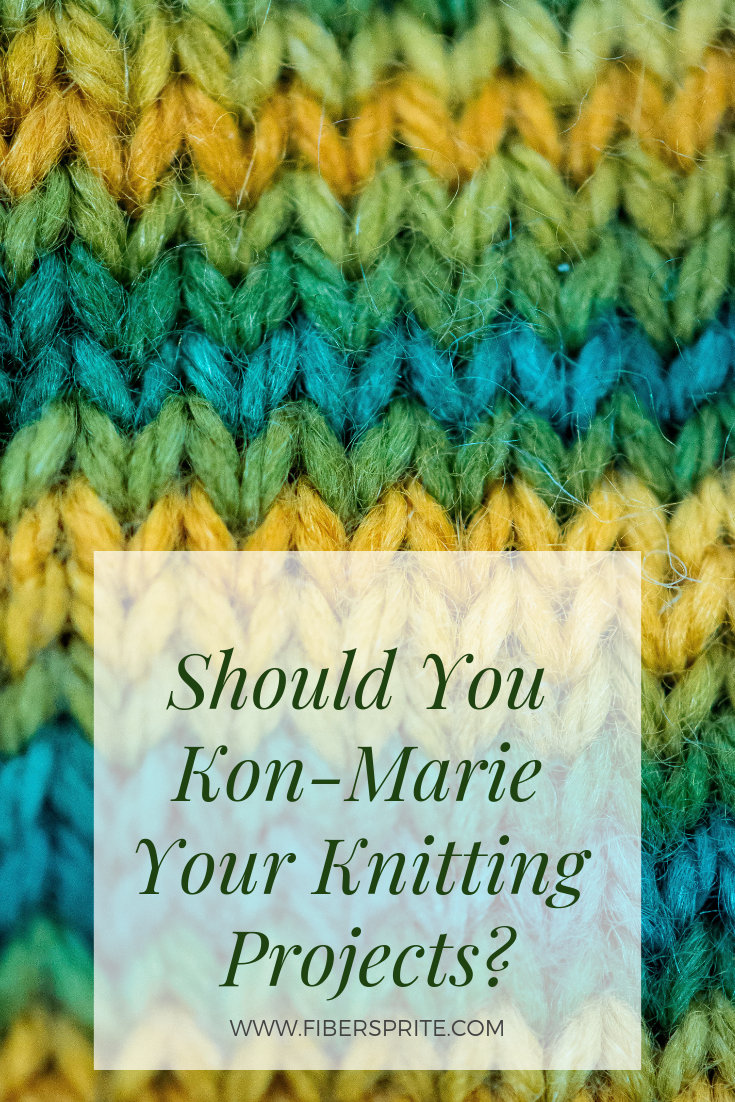
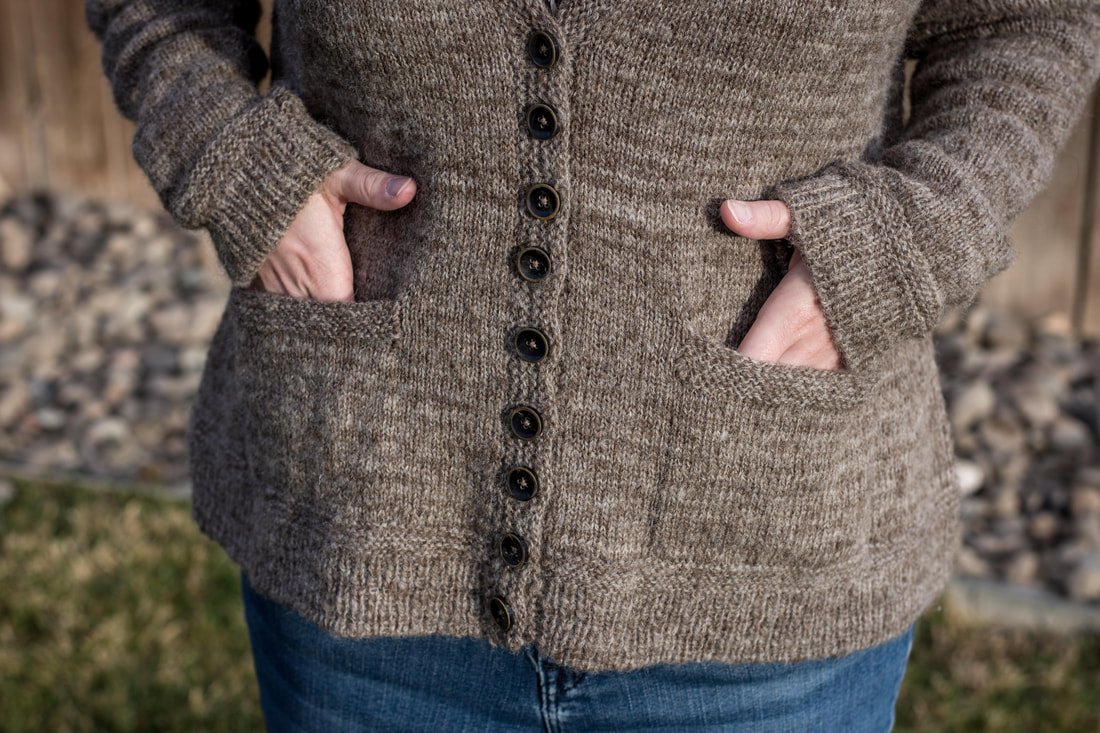 Have you ever put something in the washing machine that wasn't supposed to go there? My list stretches back decades, and every incident was life-altering in its own way. There was a pair of Mom's dry-clean-only linen shorts that turned an entire load of laundry hot pink and led to everyone in the house doing their own darned laundry from that point on. There were too many tubes of lip balm to count, especially in high school. There was a cell phone and an iPod (you'd think I'd learn). And then there was this sweater. Waaaaay back in 2016, I finished this sweater - made from some of my early handspun yarn. The sweater is far from perfect, but it's warm, it's mine, and it has POCKETS. Plus, it's a shade of beige that goes with just about everything in my closet, making it an essential piece throughout fall and winter. Unfortunately, just before the turn of 2019, my husband put it in the washing machine (by accident). I've talked about this fiasco a bit in my newsletter and on Instagram. The point is that it shrank some, mostly lengthwise, making it look silly when I wore it. It was felted, but was it felted beyond saving?  What is wool felt? Felt, quite simply, is a non-woven fabric that is made of matted fibers. It can be made of just about any material. Wool felts because it has microscopic scales on the surface of each fiber. When the fibers are subjected to a mixture of moisture, heat, and agitation, the scales lock together like Velcro. Unless the wool has been through a superwashing process that removes or smooths down the scales, wool will always be at risk for shrinkage due to felting. As heat, moisture, and agitation are applied to wool those scales lock together and the fabric can shrink. A number of factors combine to determine how much the wool can shrink, including:
Usually, when working with non-woven wool felt, the felting process has been carried out to the maximum extent possible in order to create a strong and durable fabric. This process cannot be reversed once it's carried out to the full extent. Felting can also occur when spinners dye fiber prior to spinning it into yarn. Usually this happens because there's extra heat and agitation in the dye process (especially if the water boils!). For most fibers in this situation, the wool is only slightly felted, and it may be possible to mitigate the effects of felting. What is Fulling? When wool has been made into a woven, knitted, or crocheted fabric, the process is called fulling. The same things are happening with the scales of the wool, but because we're dealing with something that's already fabric instead of loose fiber, it technically gets a different name.* As heat, moisture, and agitation are applied to wool fabric those scales lock together and the fabric will start to shrink. As with wool felt, sheep breed and how much heat, moisture, and agitation are applied will determine how much the fabric shrinks. With fabric, though, another factor comes into play - how tightly the fabric was knitted, crocheted, or woven. A loose and open fabric has more room for the fibers to move around, meaning more agitation is possible, and therefore more shrinkage is possible. A tight, dense fabric, on the other hand, doesn't have much space for the individual fibers to move, making shrinkage less likely (but still possible). Generally, wool that has been felted or fulled can shrink by as much as 30%, which is a lot. There are plenty of patterns on Ravelry where you'd intentionally full your knitting - think bags and slippers. But most of the time, fulling is something we want to avoid. And when it does happen, it can feel a little disastrous. (Like my cozy sweater that accidentally became a crop-top.) So, Can You Un-Shrink It? Depending on how much the wool shrank during the felting or fulling process, it may be possible to pull the fibers apart from each other. If the fibers are only a little bit felted or fulled, the more likely this will be an option. However, if it's felted/fulled "all the way" or even a good percentage, you're never going to get your wool back into its original state. When pulling fulled fibers apart, it's best to be gentle - those scales have locked together, and using lots of force can result in fiber or yarn breakage. For my handspun sweater, it was only slightly fulled. In the first image, before fulling, you can see very crisp stitch definition. In the second image, after fulling, you can see that it's definitely fuzzier (partly because of a couple of years of wear, and partly because of the fulling). But you can still see the stitches fairly well - it hasn't completely morphed into a beige blob! Following some suggestions of helpful instagrammers and the internet, I soaked the sweater in a bath of warm water and about 1/3 of a bottle of Unicorn Fibre Rinse. Some people use hair conditioner, but I had the Fibre Rinse on hand and wanted to see how it would perform in this situation. I rolled my damp sweater in a towel, the laid it out on a blocking mat, gently stretching the body out to try to give it some extra length. Then came the hard part - walking away to let it dry for a couple of days. In the end, my sweater wasn't quite as long as I'd want it to be, but it's no longer a "crop top cardi" and it's wearable again. This process works to some extent because wool fibers are more elastic when they are wet. I'm not sure how much the Fibre Rinse helped, but since it's formulated for use on wool, it certainly didn't hurt. And, since it also acts as a fiber softener, my sweater is a little bit softer for the experience! Note that this fix will only work if the fiber isn't felted/fulled all the way, and even though it's possible to stretch the fabric back out, your garment will probably never be exactly as it was when it was new. As for my husband? All is forgiven, but not forgotten. ;) 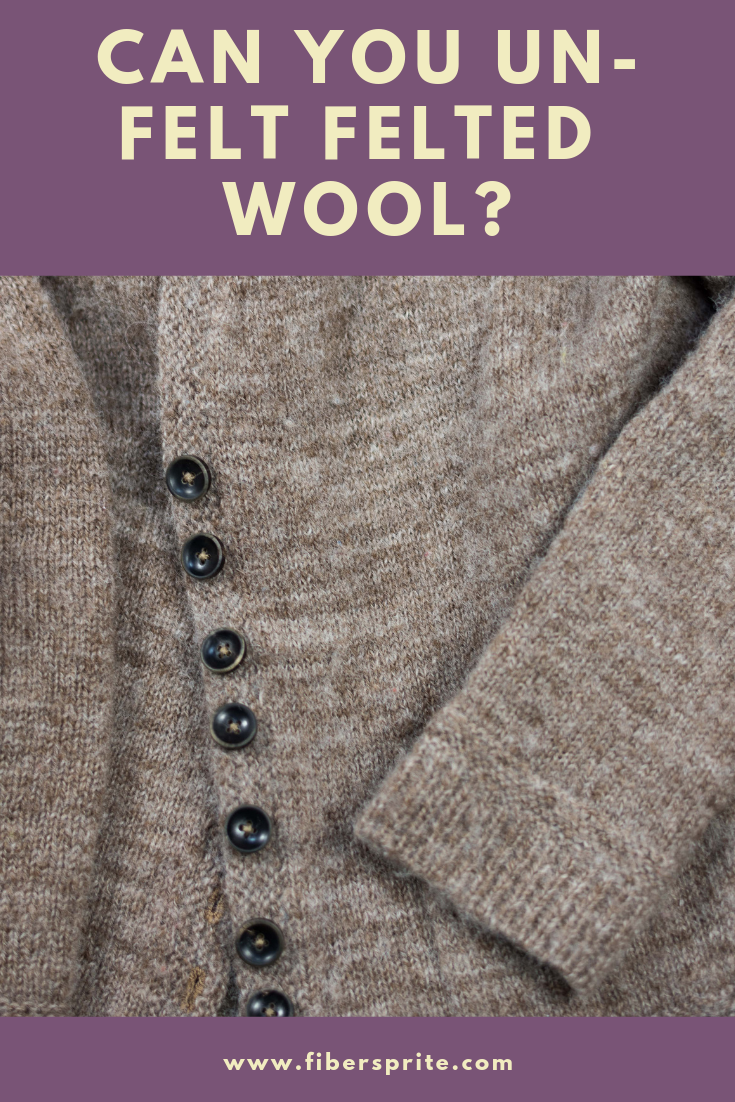 Ravelry project page here.
*You'll often see this process referred to as felting anyways...I'm guilty of it too!  When Kate Davies first published the Miss Rachel's Yoke a couple of years ago, I knew I had to make it. I quickly bought the kit, intending to cast on right away.
Of course, life intervened, as it does, and by the time I was ready to knit there were a few roadblocks in my way:
But mostly, I was convinced I didn't have enough yarn. (Side note - I've decided always buy/spin more yarn/fiber than I think I need from here on out. I always end up picking the projects that require tons of yardage...) Earlier this month, we had a snowy day that had followed a very gray week. It was one of those weekends where I can't think of a reason to leave the house, and I was downright grumpy. My husband, in an attempt to cheer me up, suggested a trip to the movie theater. The only problem was, I didn't have anything to knit - at least, nothing I could knit in the dark. When I first learned to knit, I taught myself to knit without looking so that I could knit on the dark schoolbus, in dark cars riding home from dance lessons, and in the movie theater. Now, my "movie theater knitting" is always very basic. I can knit and purl in the same row if it's not a fancy pattern, but anything that might require a chart is out of the question. Usually I keep a sock on the needles for just such an occasion, but the socks I had going were too close to being done to entertain me for a whole two hours. I dove into the stash to see what my options were, and the Miss Rachel kit jumped out at me. I figured that even if I didn't have enough yarn, at least I'd have something to knit in the movie theater. And though I'd originally meant to make it a cardigan, I've realized that I wear pullovers a bit more often than I did when I first bought the kit, so a pullover it was. One benefit of waiting so long to cast on is that plenty of other Ravelers have had the chance to knit and write about this pattern, so I could let go of some of my anxiety about how it would turn out. Some standouts are: Uncrossed has incorporated a great short-row detail into the yoke. Ltnknitter, Agameda, and Lizoid have an interesting trick for hiding the jog. Crochet-Julie made the darker version, and managed to do her modeled shots in front of a photograph of the shawl that inspired the design. My project page is still in progress, but you can find it here. Have you ever dropped a stitch in your knitting and struggled to fix it because you didn't have a crochet hook? Or maybe you're lazy like I am and just don't want to go looking for a crochet hook! ;) Either way, this tutorial shows how to pick up dropped stitches in your knitting - without any extra tools!
Enjoy! |
Archives
January 2024
Categories
All
|
 RSS Feed