|
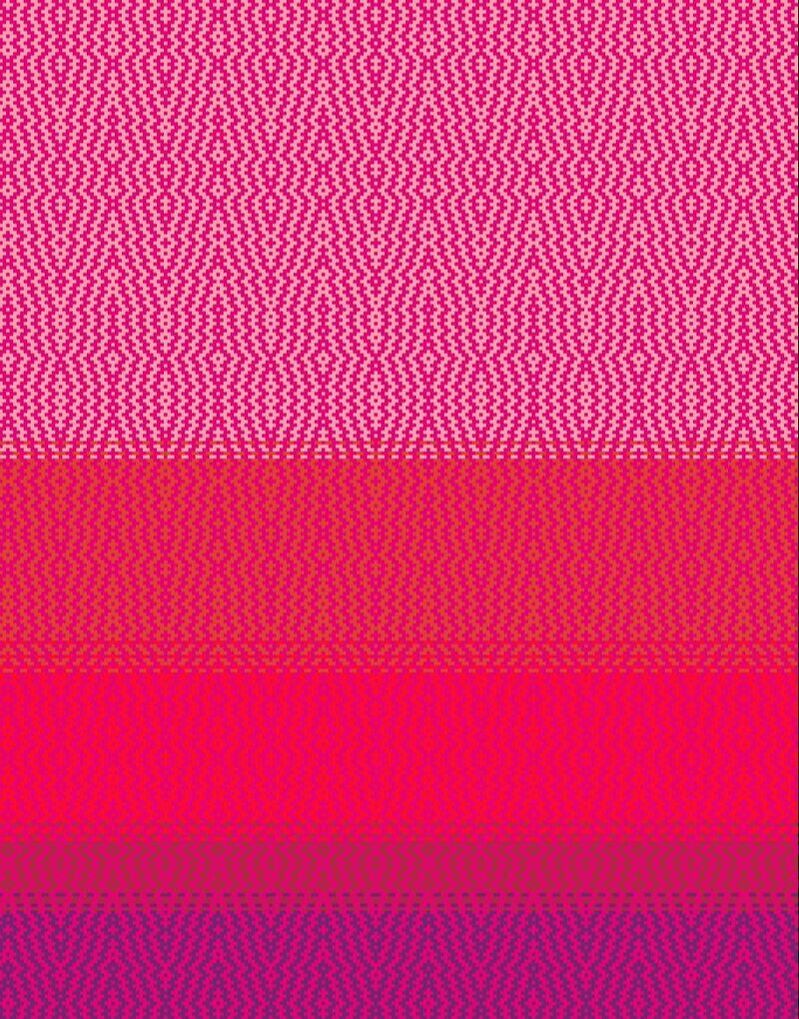
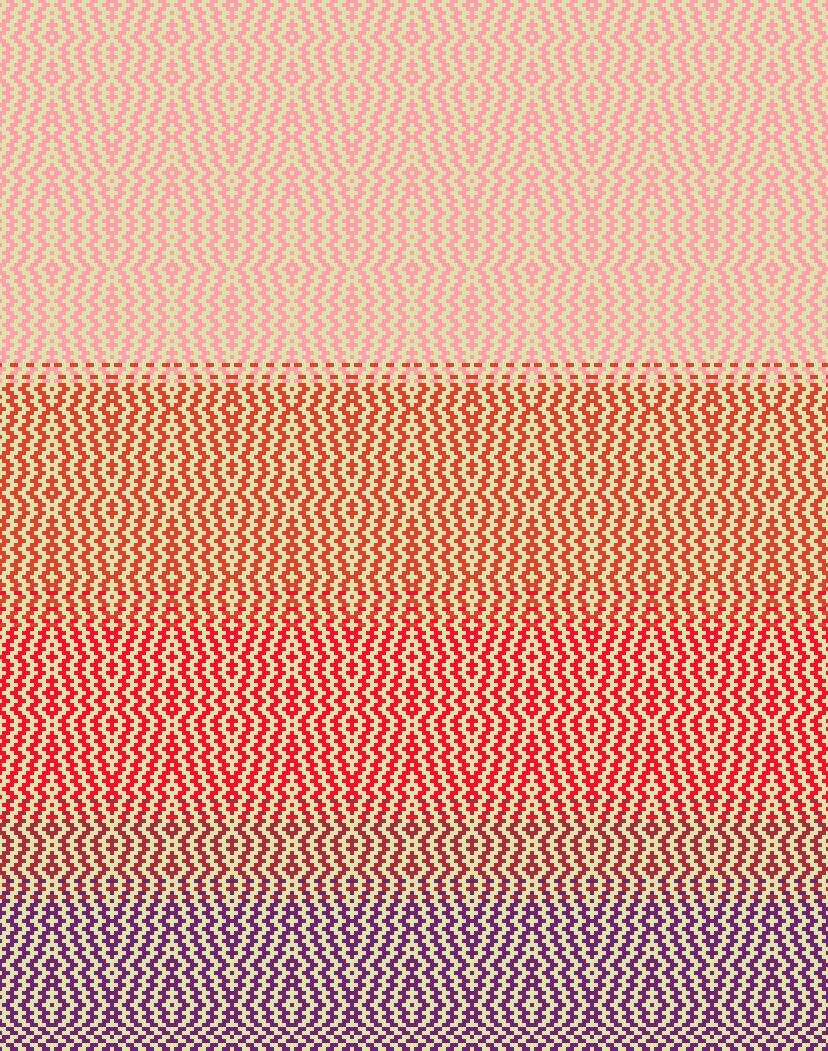
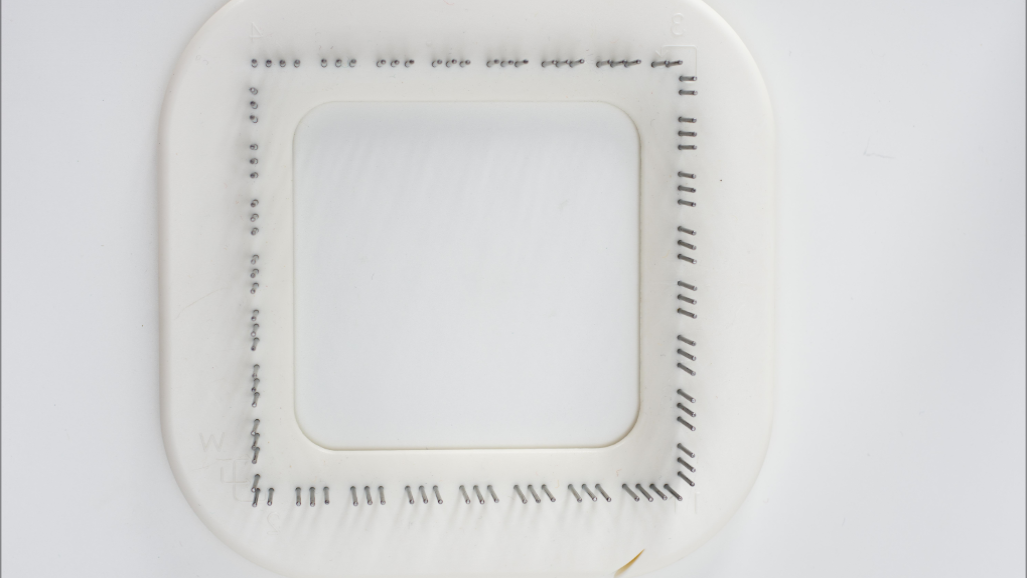
We’ve been told time and time again that it’s essential to sample our weaving structures, colors, and yarns before we spend time and money weaving something. But have you ever felt like you spent all your time making samples & never got around to actually weaving the thing you set out to make? I sure do! Recently, I was really on the fence about which weft yarn I wanted to use for a doubleweave throw. I'd already warped the loom, and just assumed I knew what color weft I would use. But when I sampled it, it was all wrong. That launched the project into a standstill. Should I order more yarn? Did I have enough of something on hand that would work? Should I have sampled more extensively before I warped a doubleweave blanket? You betcha, but the warp used almost all the yarn I had from those colors, and many of them were discontinued or mystery yarns. With over $200 already sunk into the warp, I didn't want to just weave with any yarn to end up with a blanket I didn't like. If You're Using Stash Yarn, Be Sure to Estimate Your YardageFirst, you need to calculate your weft requirements. I share how to do that here. Next, estimate how much yarn you have on hand. I share how to do that here. (For this project, I used the McMorran yarn balance to estimate my yardage.) This narrowed down my options to two weft colors - magenta and a colorgrown beige cotton. 1. Visualize with Your Weaving SoftwareOften, I've used my weaving software just as a way to plan out the structure. But most weaving software allows you to play with colors, and this is a great starting point! Be sure to select the colors that are closest to the ones you actually plan to use! Sometimes this is enough to help me choose my colors. If it's not, though, I save each potential color as a .jpg file to use in the next step. 2. Use an Online VisualizerI use the "mockups" feature in Canva, PlaceIt also has a lot of textile options. To use these, simply drag and drop your .jpg file of your drawdown onto the image, and it will add shapes and shadows to help you imagine what it will look like as a three-dimensional object. I found these incredibly helpful in thinking about which weft to choose. The magenta weft (on the left) is bright and modern, while the beige weft (on the right) reminds me of a vintage hand-knotted rug. 3. Use a Zoom Loom with Scrap Yarn to See Warp/Weft InteractionsA zoom loom uses only 8 yards of yarn, and is a great way to see how colors combine in weaving. For this project, I used leftovers of warp from the warping process to audition my weft colors. Then I was able to place the samples on the sofa (where the finished blanket will go) and think about which one would work better. Other Visualization Tricks
You Still Need to Sample!While I did jump through a bunch of hurdles to avoid extensive sampling, it's still an important part of the weaving process. Sampling is essential if you’re experimenting with a new yarn, structure, or technique. It’s especially important to wet-finish your samples so you know how big to make your piece on the loom. And if you have a lot of “what-if” questions, lots of samples with small variations are definitely the way to go! My sett choices for this project were based on other projects with similar yarns and weave structures. In essence, other projects served as the samples for this one. So, How Did the Blanket Turn Out?It's still in progress! Because of the number of treadles involved, I can only weave about 6 inches before needing to take a break and do some yoga. More to come soon!
Linda Morehouse
9/28/2023 02:23:11 pm
Hi Pamela,
Pamela Schultz
10/12/2023 10:12:01 am
Hi Linda, Comments are closed.
|
Archives
January 2024
Categories
All
This website uses marketing and tracking technologies. Opting out of this will opt you out of all cookies, except for those needed to run the website. Note that some products may not work as well without tracking cookies. Opt Out of Cookies |


 RSS Feed