|
This month, I'm giving a short program at my Guild's spinning group on spinning fractal yarn. Fractal spinning is a way to control the color of handpainted top or roving in a way that creates subtle self-striping yarn. The short video linked above goes through all the basic steps, but I'll elaborate a little more here. This isn't the first time I've done fractal spinning, but it is the first time I've really delved into the details of it. Apparently I haven't blogged about it before, but Instagram tells me I was playing with fractal spinning in May of last year, and with very similar colors to boot. Fractals are found in nature, mathematics, and art. They are never ending patterns that repeat themselves at different scales or sizes. Fractals look complicated, but they are created by repeating simple processes. Fractals reappear over and over again in nature as branching and spiral patterns. The branching of a tree, or the shape of a river network, the shape of our lungs, the shape of a hurricane, and even the shape of our galaxy are all formed according to fractal patterns. So what exactly is fractal spinning? Fractal spinning takes the idea of repeating patterns at different scales and applies it to yarn. Once it is spun up, the finished yarn will have two (or more) different scales of the color repeats found in the dyed fiber. Usually we accomplish this with two plies: one ply is at a large scale, and the second ply is at a smaller scale. This results in a subtle self-striping yarn that has smaller color repeats within larger ones. And it looks fabulous in the skein! Here's how to do it: Start with dyed fiber. Braids with clear color repeats instead of random splotchy colors the best. If there's some splotchyness in the color within a single section, that's fine - it will create a heathered appearance within your color repeat. (I happen to really like that effect, and used it here.) 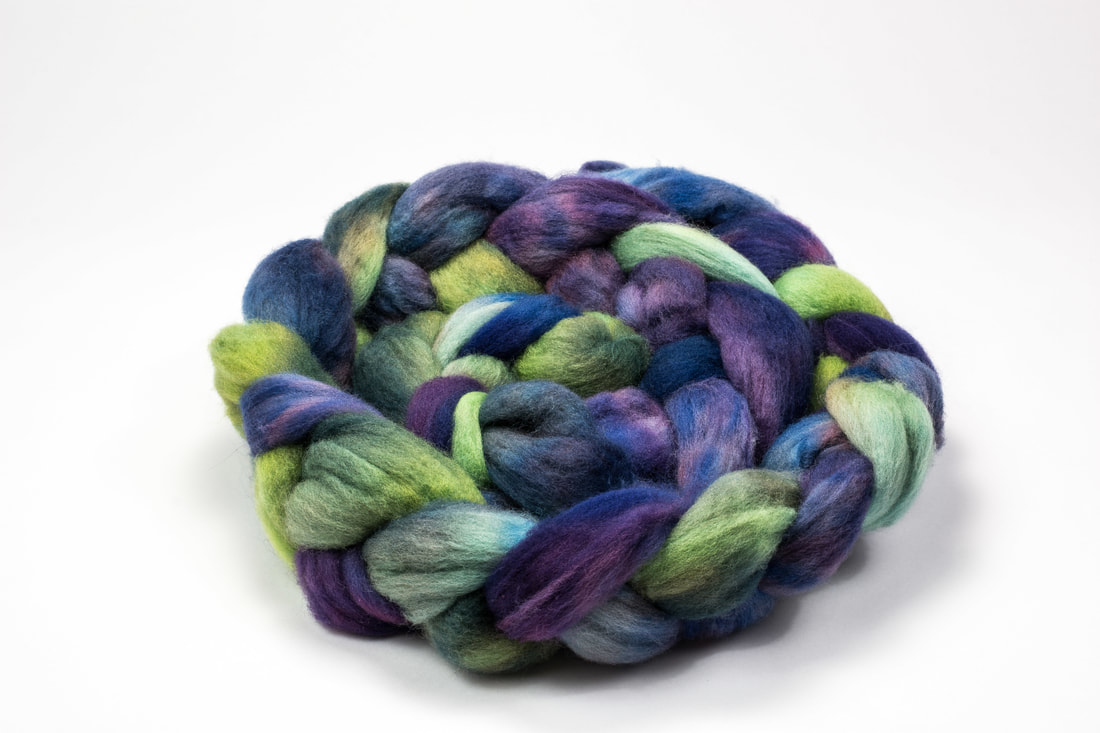 Divide your fiber lengthwise into two equal strips. This is usually pretty easy to do, since most combed top has "slivers" that want to split apart from each other naturally. 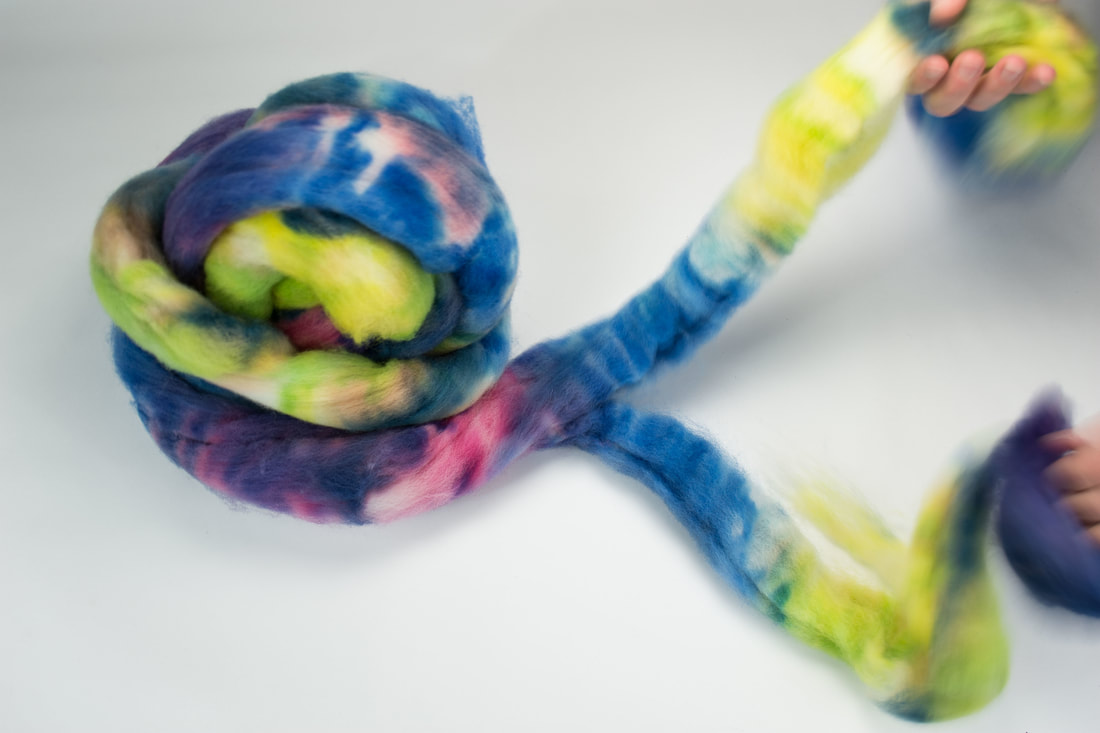 Set one half aside. With the other half, split the fiber lengthwise again, as many times as you'd like. In the video I split the second half into four sections, but you could do more or less. Each lengthwise division shortens the color run (take a look at the two bobbins below for a comparison). 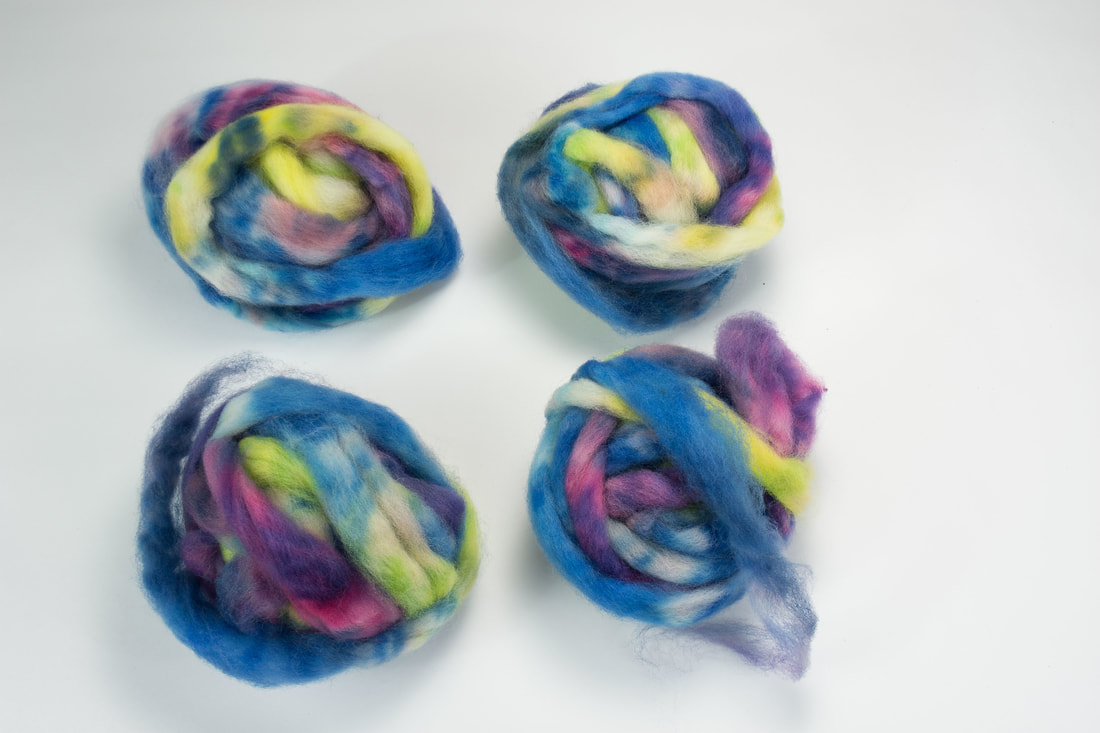 The only limiting factor besides your imagination is how thick you want your yarn to be. The thinner your sections, the thinner your yarn is likely to be. I tend to spin pretty thin yarns, so this isn't an issue for me, but if you're going for a thicker yarn, it's a good idea to start with 2-4 sections instead of 6-10. Be sure that you're keeping the fiber aligned so the color repeats are all going in the same direction. Jillian Moreno recommends tying a loose overhand knot on the end you intend to spin from. For these, I wrapped the fiber into loose balls with the end I wanted to spin from on the outside. Just do whatever works for you. 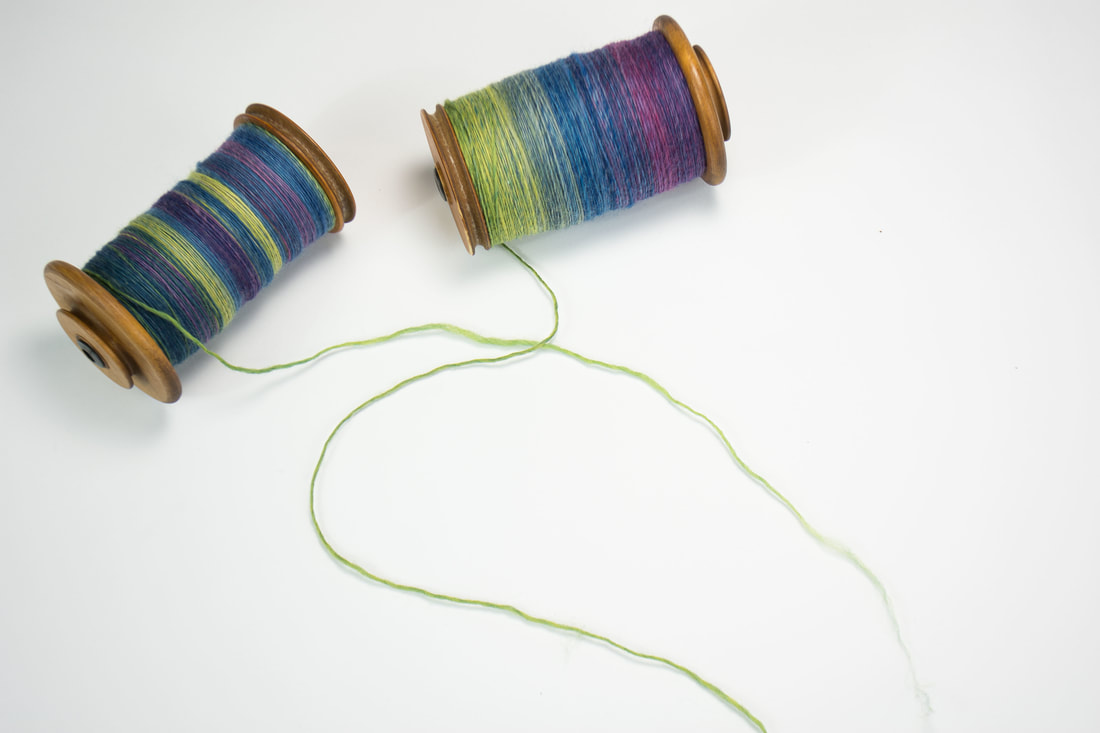 Now comes the fun part - spinning! Spin the half that you first created onto one bobbin, and the other half that you split into small sections one after the other onto the second bobbin. (In the picture above, the long repeat is on the right, and the short repeat is on the left.) Ply the two bobbins together, and you have fractal spun magic! The short color repeats flow through the longer color repeats. Sometimes they match up, and sometimes they combine in unexpected ways to create totally new colors! You'll still get a self-striping effect, but it's a gentler and more harmonious than the hard self-striping effect we associate with chain ply. 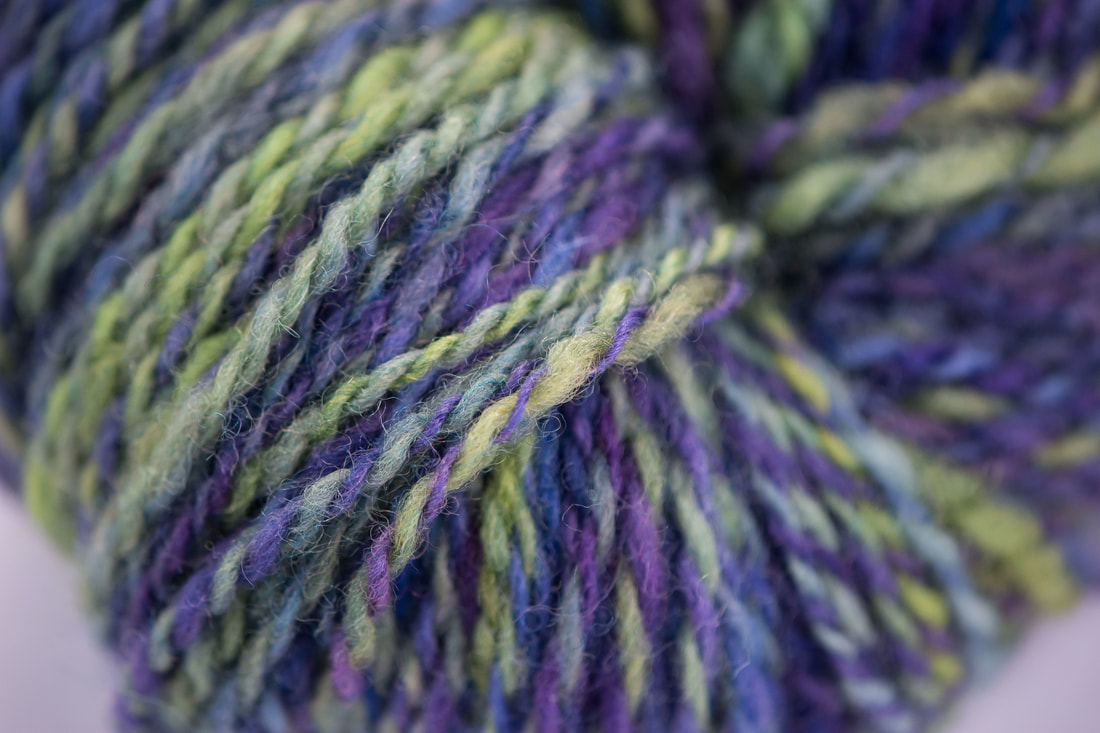 Of course, you'll want to set the twist just like you do any time you spin yarn. This one I set with a soak and some light snapping. That's not all, though. I still have to explore the differences between knitting with fractal spun yarn and weaving with it. Stay tuned... xx,
Pamela 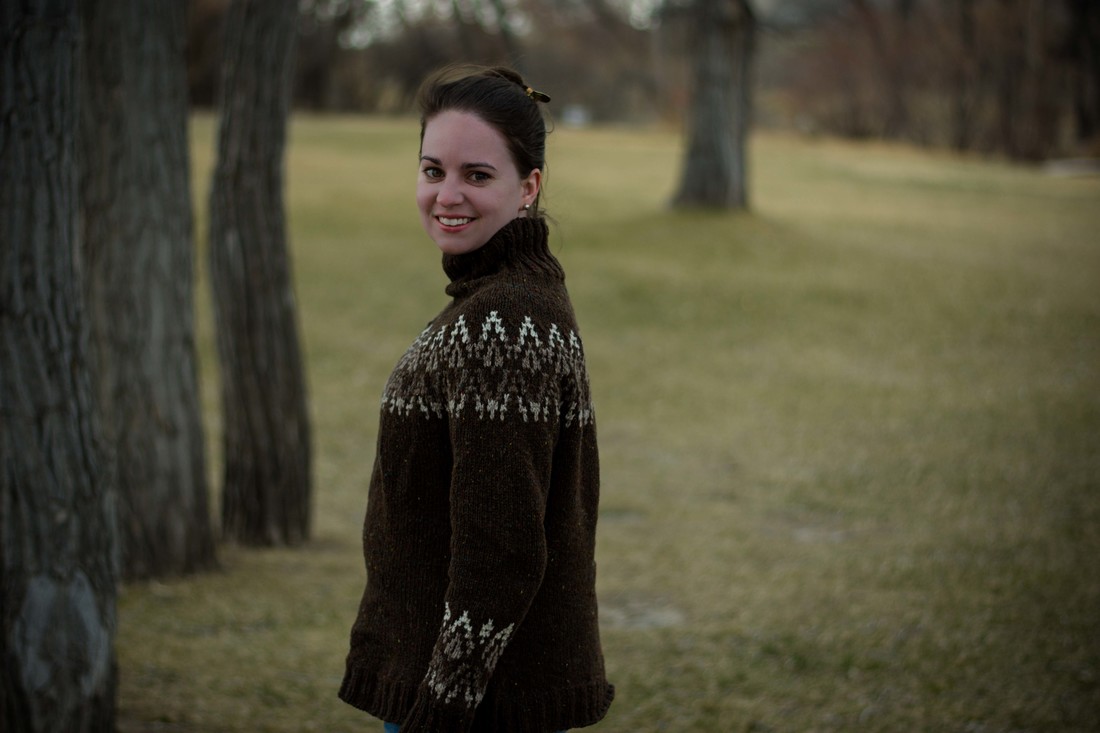 All of a sudden, it's windy here. I guess March is truly coming in like a lion here. And February just whooshed by too, with glorious springlike weather that was equal parts scary (climate change is real!) and wonderful to play in. Somehow, I managed to not be in this space at all, but that didn't mean there wasn't anything happening on my needles or on my loom. Whoops. The most fun of all was the reprise of the Bang Out a Sweater knitalong - this time with worsted weight wool and rows of colorwork that had three colors at a time AND purls. Craziness. Besides changing the color palette of the sweater, I more or less knit the pattern exactly as written - a rarity for me, since I see patterns more as, um, suggestions. The changes I did make are what makes handknits so wonderful, because they're customized to one's own body and fit preferences. I knit a size smaller than I "should" have based on the pattern recommendations. The pattern was designed to have tons and tons of positive ease, and I figured I could do with a slouchy sweater but not so much a tent-blanket-thing. After blocking, I have a comfortable level of positive ease, but not too much, making me one happy camper. And, as I usually do, I shortened the body and the sleeves just a tad. And, for an extra touch of luxury, all edges are done in tubular cast-on/bind-off. Because it's pretty.  Can you spot the difference in these sleeves? On the left is the colorwork pattern as I originally envisioned it, but as I was knitting, I felt like the colors on the bottom were getting mired down. So on the second sleeve, I played with a different color combination, moving the darker colors to the center of the motif. Then I spent a day or two staring at them, deciding which one I liked better. All that was left to do was unravel the one I didn't like, and proceed with the sleeves. The result is a sweater that some people on Instagram have called dark and moody, but I just think it's cozy and comfortable and I hope the March winds keep the weather cool enough so I can wear it all the time. 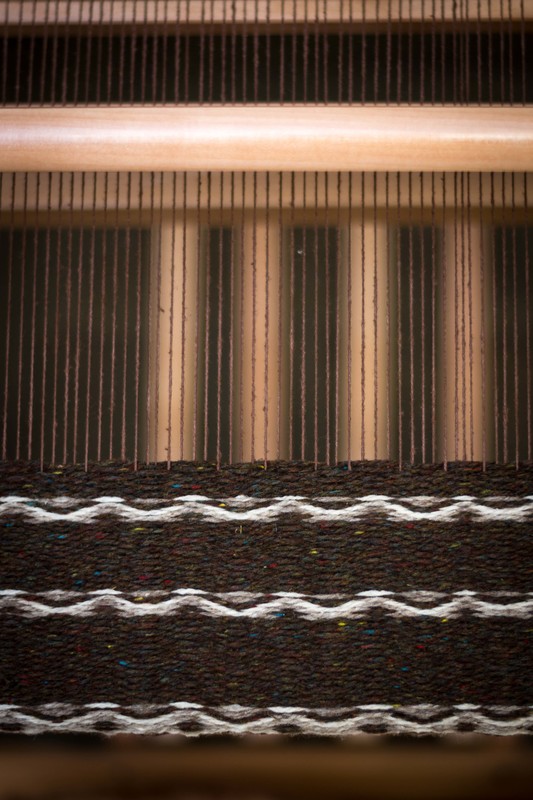 A side effect of knitting a size smaller than I'd planned is all the leftover yarn. Besides almost full skeins of each of the colors used in the motifs, I had two whole skeins of the dark brown. I used it to play with weft-faced weaving, naturally jumping into the deep end with flamepoint. I did go a bit cross-eyed trying to figure it out, with four different shuttles in play at a time, but I'm loving the effect. Perhaps a purse to go with my cozy sweater? xx,
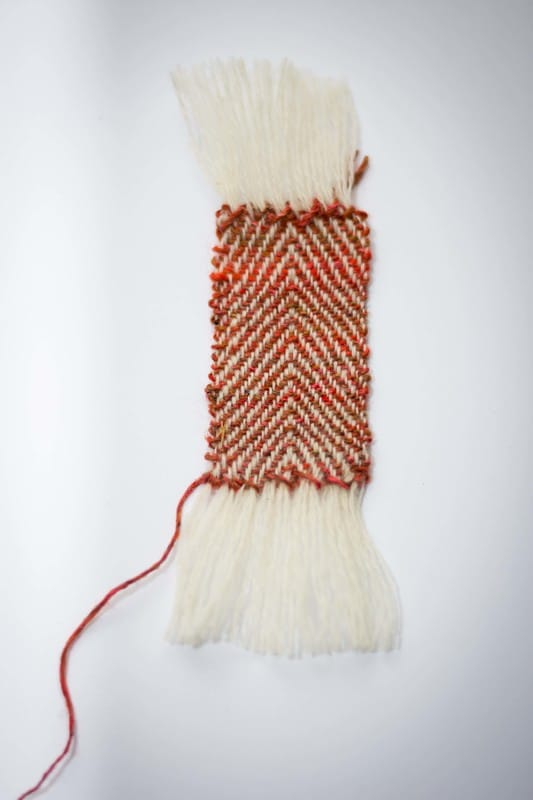
Pamela 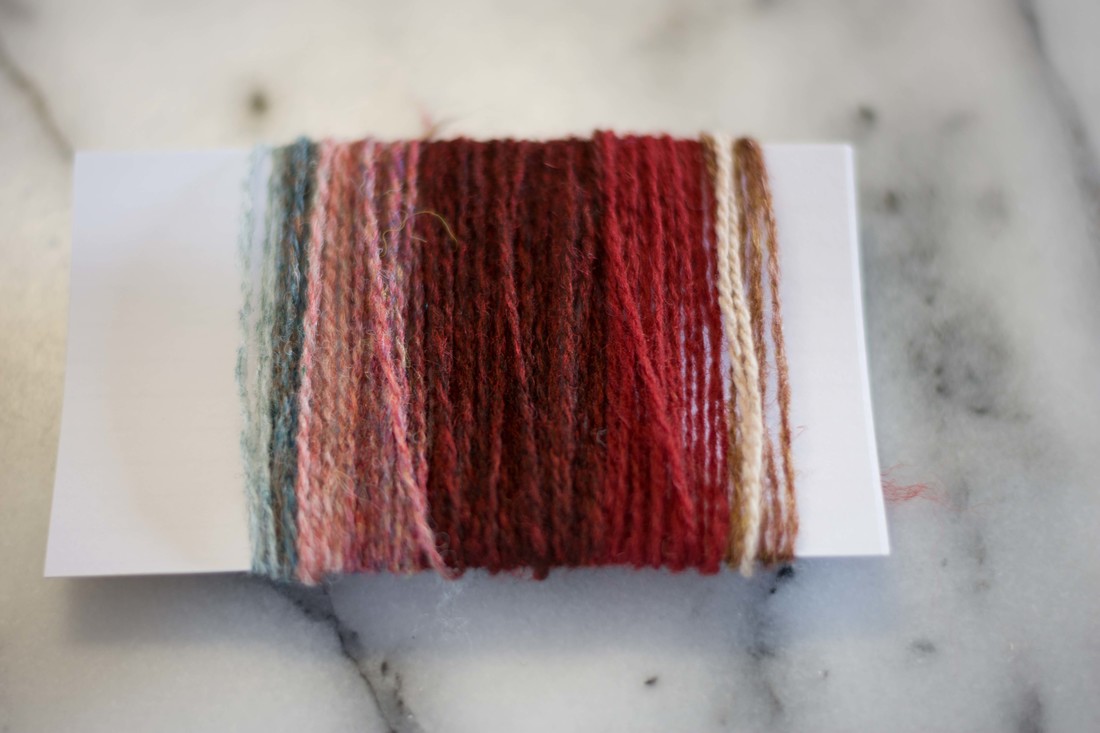 Have you heard of making shade cards as a way to plan out colorwork projects? It's a technique I learned from weaving, but it's useful for knitting too. It's simple, easier, and faster than swatching, plus it doesn't mess up the yarn by getting it all crinkly. A win-win-win, if you ask me. All you have to do is wrap yarn around an index card, like I've done in the photo above. Use more yarn for colors you plan to use more of, and less for accent colors. You can do this as blocks of color, or you could sprinkle the accent color across a background of your main color - whatever works for you. There are two things I like about using this method instead of just piling balls of yarn together.* First it lets me play with relative quantities of each color. Second, I can try out many different color combinations and compare them to each other - something that's hard to do with yarn in the skein unless you have lots and lots of it. And another thing: unlike swatching, which leaves your yarn all curly and could mess up your gauge if you re-use it without steam blocking, wrapping your yarn around an index card keeps it as nice as it was in the skein. This is also great for more delicate yarns that start to look fuzzy if they're ripped and re-knit. 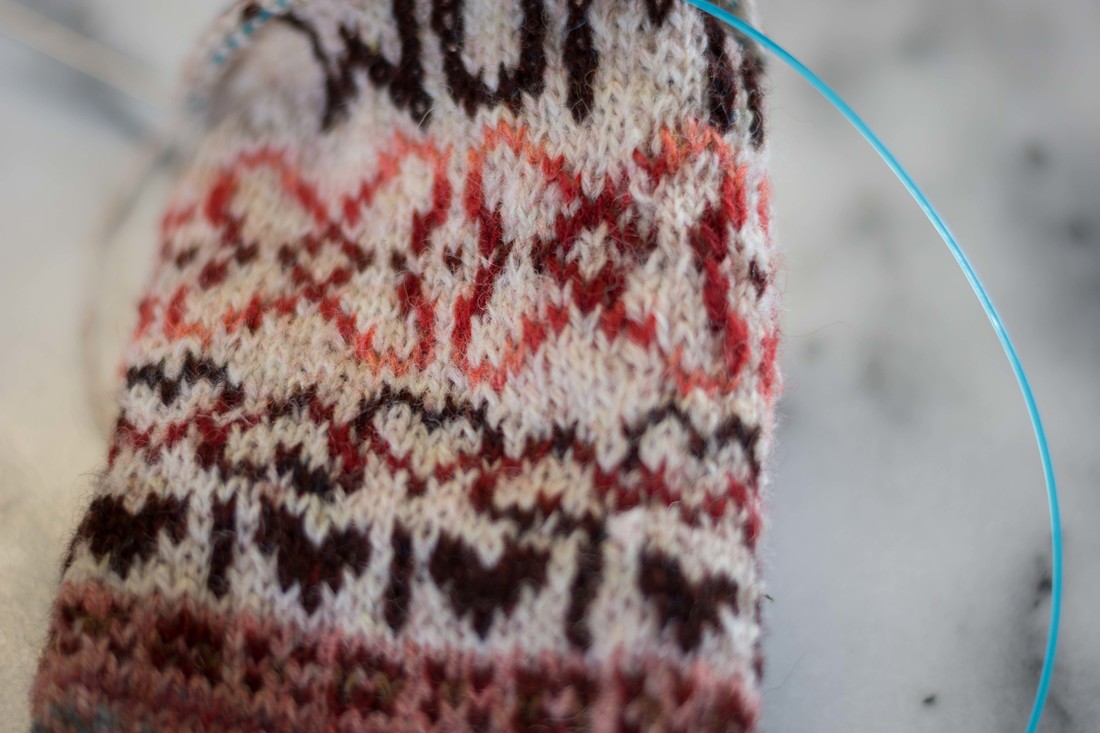 Of course, swatching might still need to be a next step (especially if gauge is important). In the swatch above, I quickly scrapped my original color palette to add more depth on each end of the reds range. I found that there wasn't as much contrast between the pink and the red as I thought, and played around with different colors. But that's the beauty of it - I at least had a starting point that gave me a solid idea of what I was working with. So there you have it! A super easy way to play with color combinations. How do you plan out the colors for your colorwork projects? xx, Pamela *Which I still love, and do as a first step. The color cards are the second.
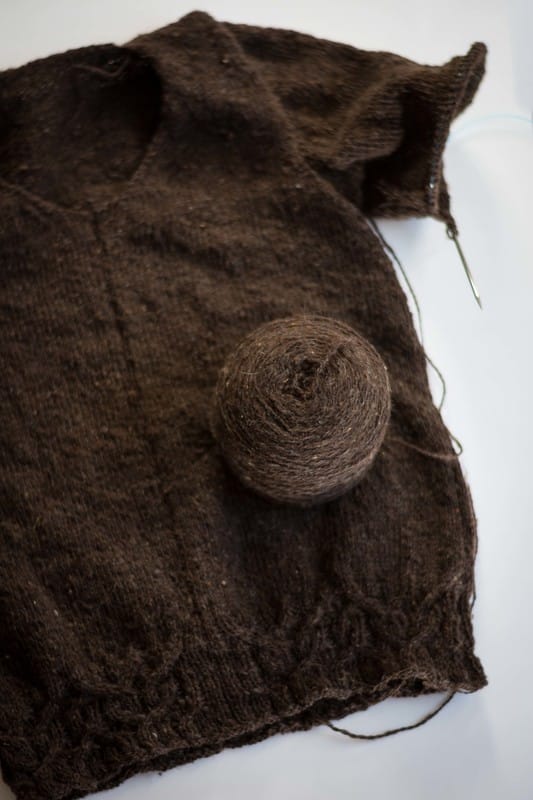 Ever since I saw it, I wanted a cardigan like Velvet Morning. It checks all the boxes for me - gorgeous, cozy-looking, simple but with lovely colorwork details, and of course, it's a cardigan, which is my favorite kind of sweater. I'd make a few changes though. I'd knit it in a lighter weight yarn, since I don't live in Canada like the pattern designer. I'd give it some V-neck shaping, because that's my neckline of choice, and I'd knit it in the round and steek it instead of knitting it flat and seaming it. Oh, and I'd make my own colorwork patterns inspired by my travels. Basically, I'd design a whole new sweater with Velvet Morning as the inspiration. This is not that sweater. I meant for it to be, and then all of a sudden I had sailed right past the place where the colorwork needed to start. And being the type of person who would rather plow ahead instead of rip back, plow ahead is what I did. 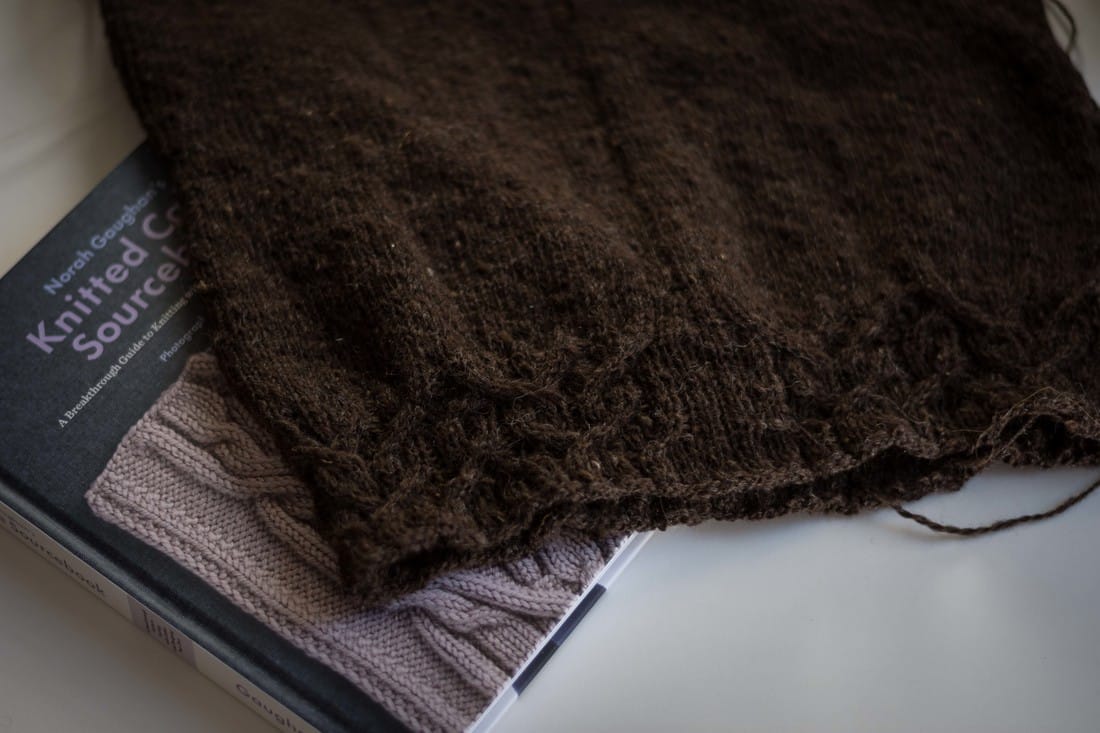 As I knit the body, I was a little sad that I was making "another boring sweater" and wondered how I could spice it up. When I got to the ribbing, I had the bright idea to try cables. The classic cables were still too boring for my taste, so I pulled out the new Knitted Cable Sourcebook by Norah Gaughan. I ended up with cable pattern #112 "Fusion," which fit neatly into my stitch count and is based on a 2/2 rib. I'm hoping those ripples between the body and the ribbing block out - I do think they will, since the swatch stretched pretty considerably after I washed it. Knitting the cables in dark brown wasn't quite as difficult as I thought it might be, and I'm happy that I'll have a subtle bit of texture on this sweater after all. xx, Pamela p.s. -- My Velvet Morning-inspired sweater is totally still in the queue!
 There are just some lessons you know in theory, but have to learn in practice. In weaving, you're told to check your yarns to make sure they're suitable for use as a warp. What yarns are suitable for warping? Generally, you want a strong yarn. It's going to be under lots of tension on the loom, and subject to lots of friction from the heddles and reed. One way to test the strength of a yarn is to try to break it with your hands. The harder it is to break, the better. If it drifts apart easily, you're probably out of luck - your yarn is underspun, and not strong enough for warping. Another test is to rub the yarn against a hard table edge about 50 times. If it holds up, it will probably be able to stand the friction of the reed beating against it as you weave. These are very useful tests, if you use them. Last weekend, I was searching around for something to use as a warp. I was low on my current favorite, an alpaca lace, and needed a creamy color. My eyes landed on this handspun Finn wool, a laceweight yarn that's really too fine and fuzzy for me to want to knit anything with. After I'd finished measuring out the warp, I thought it might not be strong enough. Parts of it most certainly failed the warp strength test. But I thought I'd already gone too far, and I might as well see what happened. I sett it at 24 ends per inch. I beamed all eight yards of my warp. And I just love the way it weaves up with Noro Silk Garden Sock as the weft. Still, the wool was just too soft and underspun to be a warp. It was literally dissolving in the heddles as I wove with it. So, even though I loved it, I knew it would be terrible to weave with, and had to change gears to a different warp. 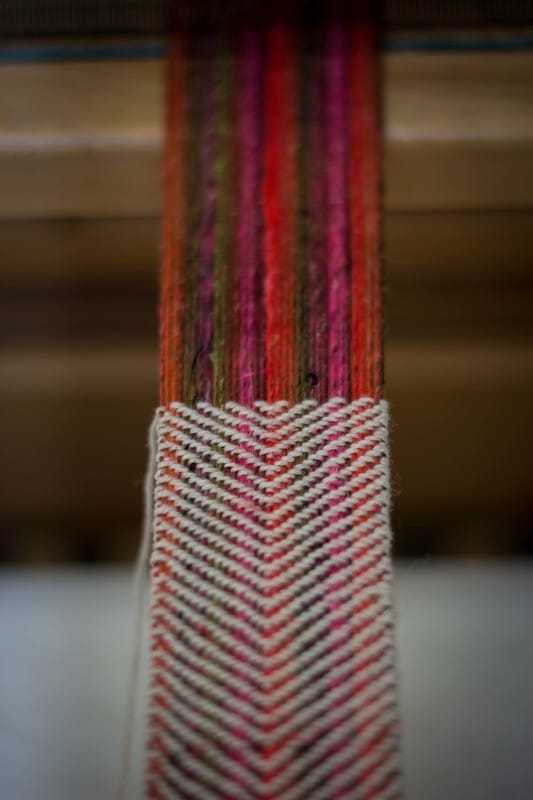 The weft I'd been using, Noro Silk Garden Sock, scores better on the warp test. It's still not a beginner-friendly warp, but I find determination also goes a long way. My mistake with the first warp was just that I was too determined, and now I know the limits. The Noro was much thicker than the original warp, so I sett it at 12 ends per inch, though I think 15 ends per inch would also look great. I also switched to a new weft, a 100% yak yarn that is absolutely the most luxurious thing ever. An early Christmas present to myself, to finally weave with it. The final product will be a binding for my Noro Log Cabin Blanket. The knitting is done, and I've decided to put a backing on it like it's a "real" quilt. The whole thing is big and heavy and will be wonderfully toasty warm, and I can't wait. xx,
Pamela |
Archives
January 2024
Categories
All
|

 RSS Feed