|
This month, I'm giving a short program at my Guild's spinning group on spinning fractal yarn. Fractal spinning is a way to control the color of handpainted top or roving in a way that creates subtle self-striping yarn. The short video linked above goes through all the basic steps, but I'll elaborate a little more here. This isn't the first time I've done fractal spinning, but it is the first time I've really delved into the details of it. Apparently I haven't blogged about it before, but Instagram tells me I was playing with fractal spinning in May of last year, and with very similar colors to boot. Fractals are found in nature, mathematics, and art. They are never ending patterns that repeat themselves at different scales or sizes. Fractals look complicated, but they are created by repeating simple processes. Fractals reappear over and over again in nature as branching and spiral patterns. The branching of a tree, or the shape of a river network, the shape of our lungs, the shape of a hurricane, and even the shape of our galaxy are all formed according to fractal patterns. So what exactly is fractal spinning? Fractal spinning takes the idea of repeating patterns at different scales and applies it to yarn. Once it is spun up, the finished yarn will have two (or more) different scales of the color repeats found in the dyed fiber. Usually we accomplish this with two plies: one ply is at a large scale, and the second ply is at a smaller scale. This results in a subtle self-striping yarn that has smaller color repeats within larger ones. And it looks fabulous in the skein! Here's how to do it: Start with dyed fiber. Braids with clear color repeats instead of random splotchy colors the best. If there's some splotchyness in the color within a single section, that's fine - it will create a heathered appearance within your color repeat. (I happen to really like that effect, and used it here.) 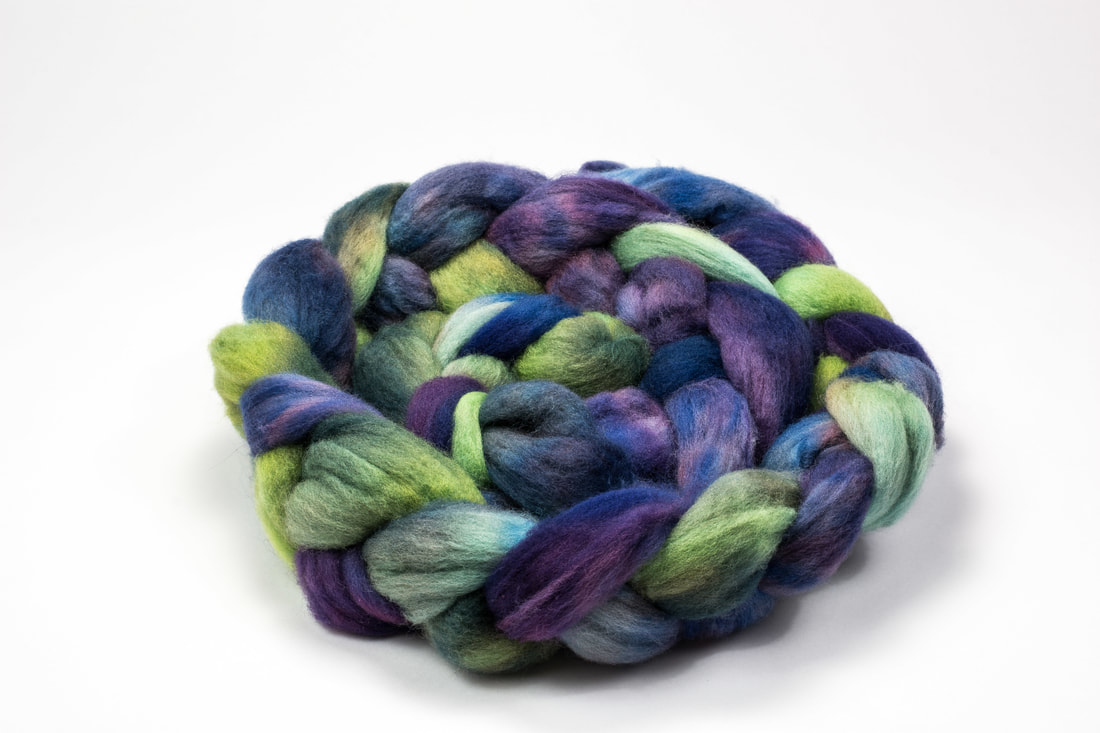 Divide your fiber lengthwise into two equal strips. This is usually pretty easy to do, since most combed top has "slivers" that want to split apart from each other naturally. 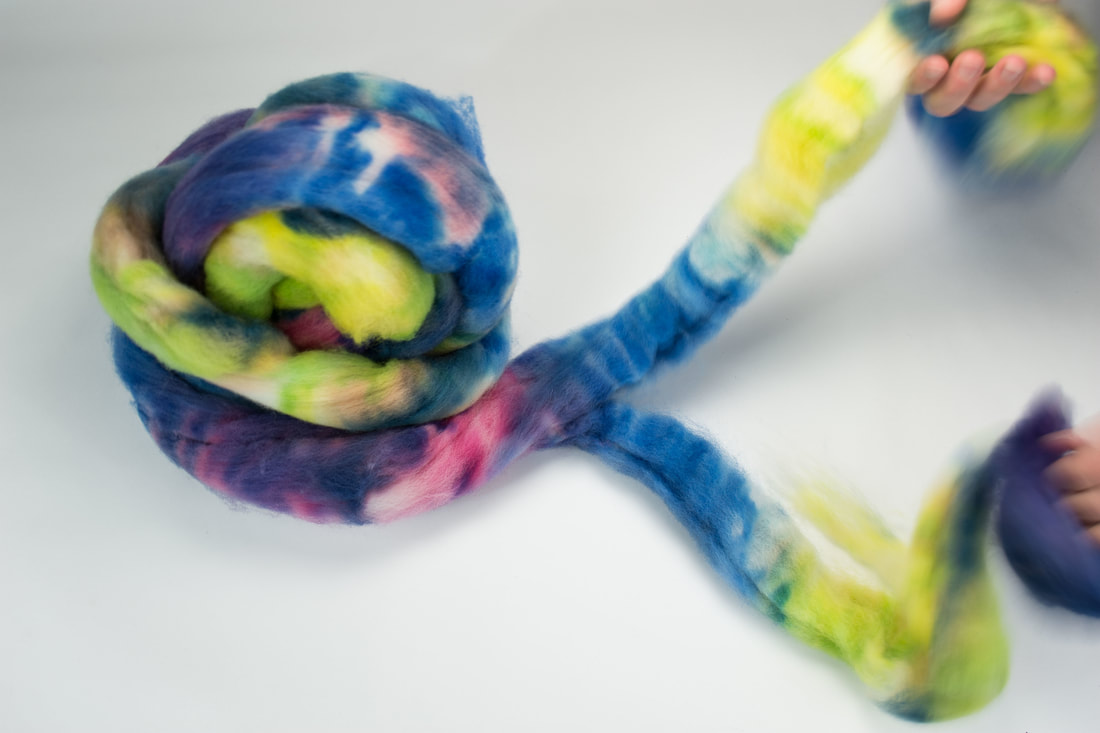 Set one half aside. With the other half, split the fiber lengthwise again, as many times as you'd like. In the video I split the second half into four sections, but you could do more or less. Each lengthwise division shortens the color run (take a look at the two bobbins below for a comparison). 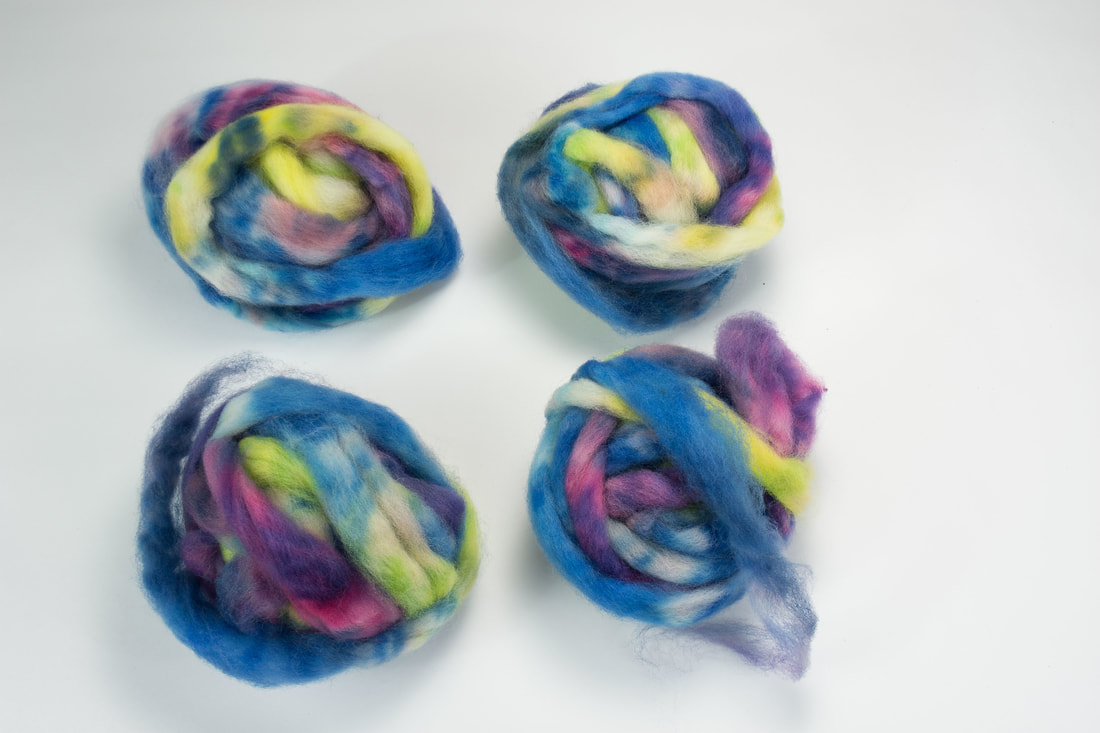 The only limiting factor besides your imagination is how thick you want your yarn to be. The thinner your sections, the thinner your yarn is likely to be. I tend to spin pretty thin yarns, so this isn't an issue for me, but if you're going for a thicker yarn, it's a good idea to start with 2-4 sections instead of 6-10. Be sure that you're keeping the fiber aligned so the color repeats are all going in the same direction. Jillian Moreno recommends tying a loose overhand knot on the end you intend to spin from. For these, I wrapped the fiber into loose balls with the end I wanted to spin from on the outside. Just do whatever works for you. 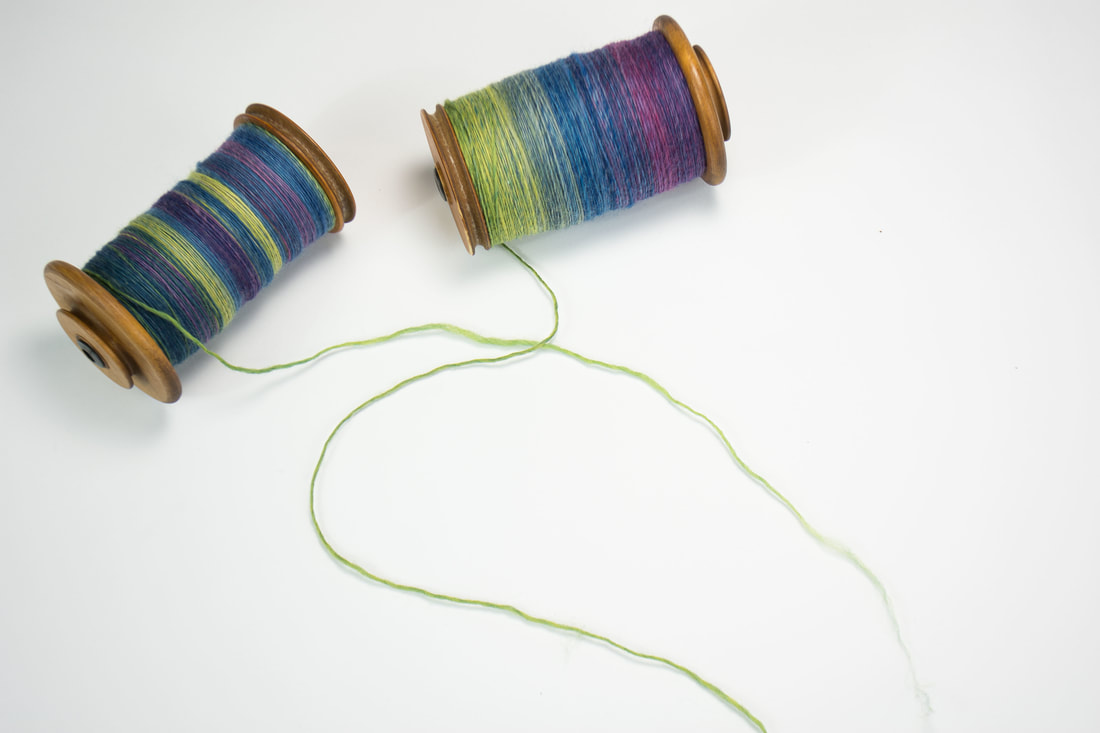 Now comes the fun part - spinning! Spin the half that you first created onto one bobbin, and the other half that you split into small sections one after the other onto the second bobbin. (In the picture above, the long repeat is on the right, and the short repeat is on the left.) Ply the two bobbins together, and you have fractal spun magic! The short color repeats flow through the longer color repeats. Sometimes they match up, and sometimes they combine in unexpected ways to create totally new colors! You'll still get a self-striping effect, but it's a gentler and more harmonious than the hard self-striping effect we associate with chain ply. 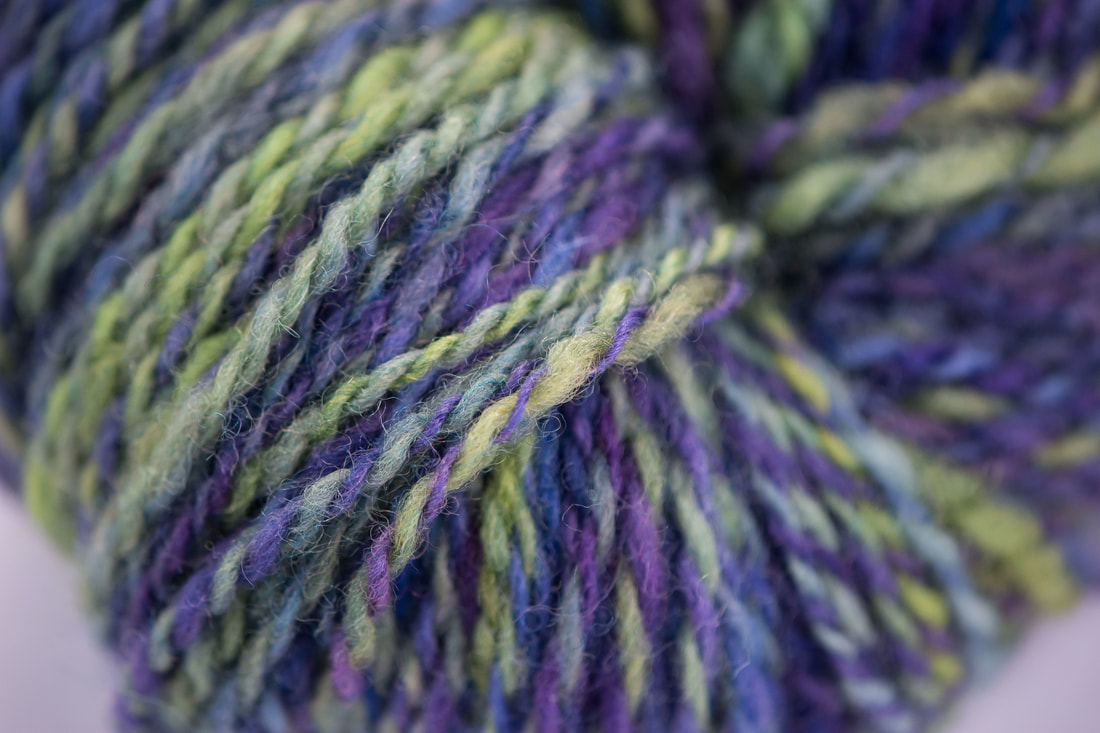 Of course, you'll want to set the twist just like you do any time you spin yarn. This one I set with a soak and some light snapping. That's not all, though. I still have to explore the differences between knitting with fractal spun yarn and weaving with it. Stay tuned... xx,
Pamela 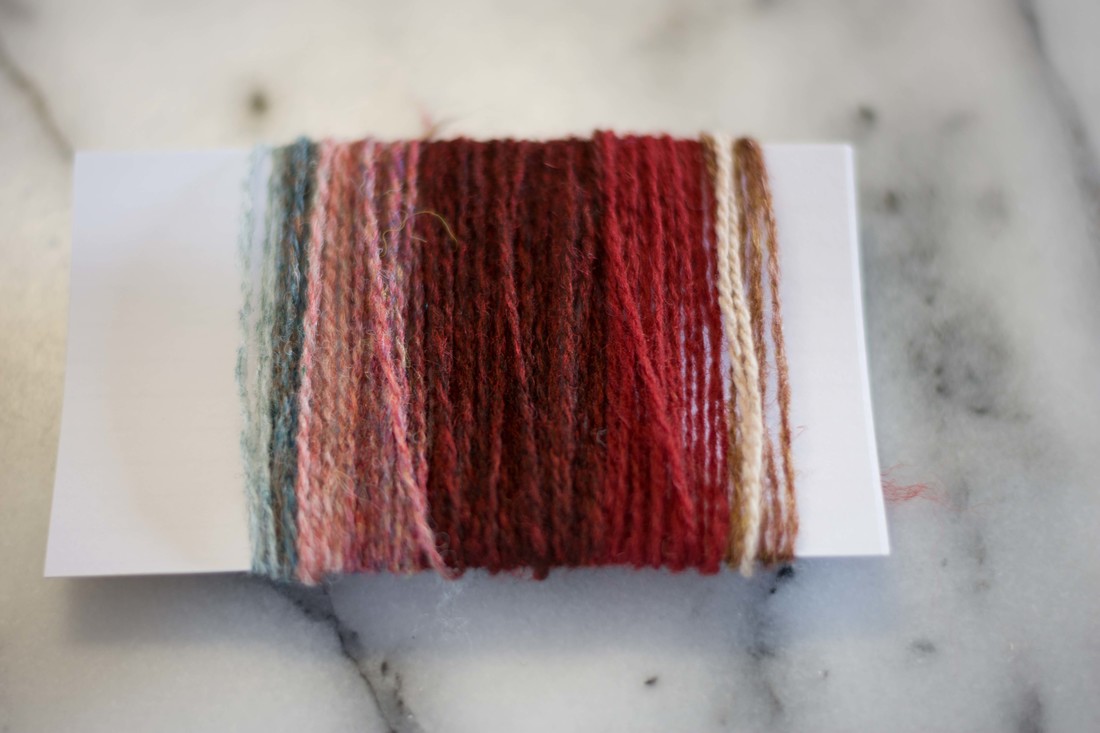 Have you heard of making shade cards as a way to plan out colorwork projects? It's a technique I learned from weaving, but it's useful for knitting too. It's simple, easier, and faster than swatching, plus it doesn't mess up the yarn by getting it all crinkly. A win-win-win, if you ask me. All you have to do is wrap yarn around an index card, like I've done in the photo above. Use more yarn for colors you plan to use more of, and less for accent colors. You can do this as blocks of color, or you could sprinkle the accent color across a background of your main color - whatever works for you. There are two things I like about using this method instead of just piling balls of yarn together.* First it lets me play with relative quantities of each color. Second, I can try out many different color combinations and compare them to each other - something that's hard to do with yarn in the skein unless you have lots and lots of it. And another thing: unlike swatching, which leaves your yarn all curly and could mess up your gauge if you re-use it without steam blocking, wrapping your yarn around an index card keeps it as nice as it was in the skein. This is also great for more delicate yarns that start to look fuzzy if they're ripped and re-knit. 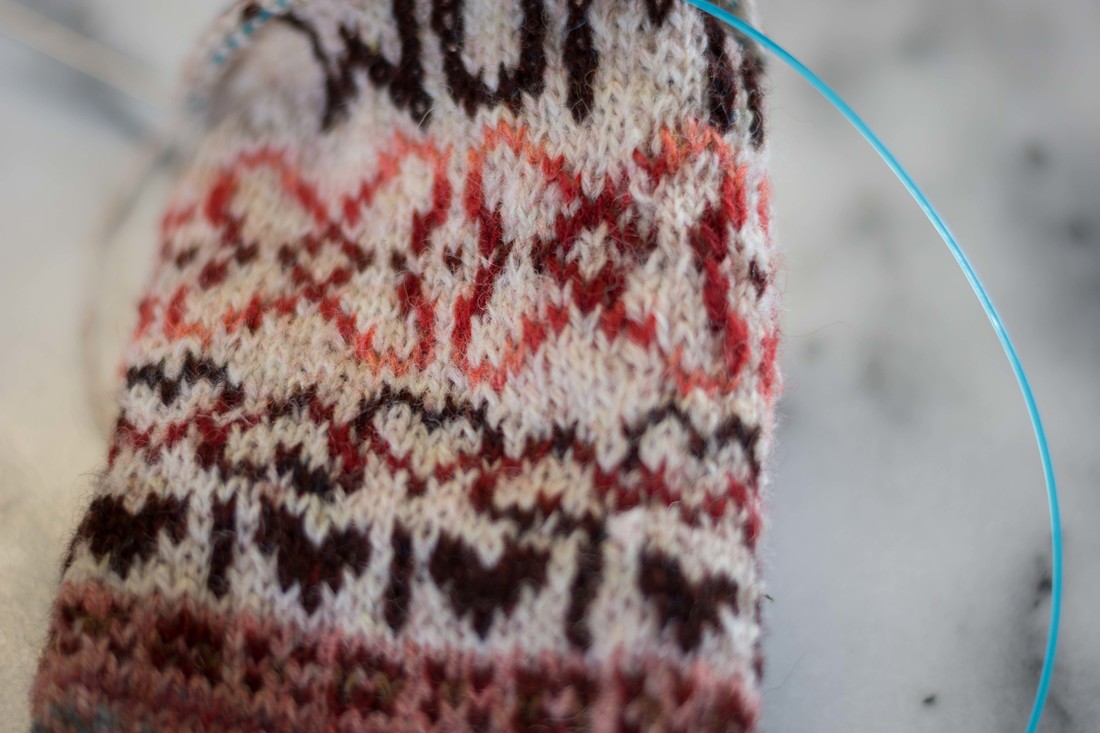 Of course, swatching might still need to be a next step (especially if gauge is important). In the swatch above, I quickly scrapped my original color palette to add more depth on each end of the reds range. I found that there wasn't as much contrast between the pink and the red as I thought, and played around with different colors. But that's the beauty of it - I at least had a starting point that gave me a solid idea of what I was working with. So there you have it! A super easy way to play with color combinations. How do you plan out the colors for your colorwork projects? xx, Pamela *Which I still love, and do as a first step. The color cards are the second.
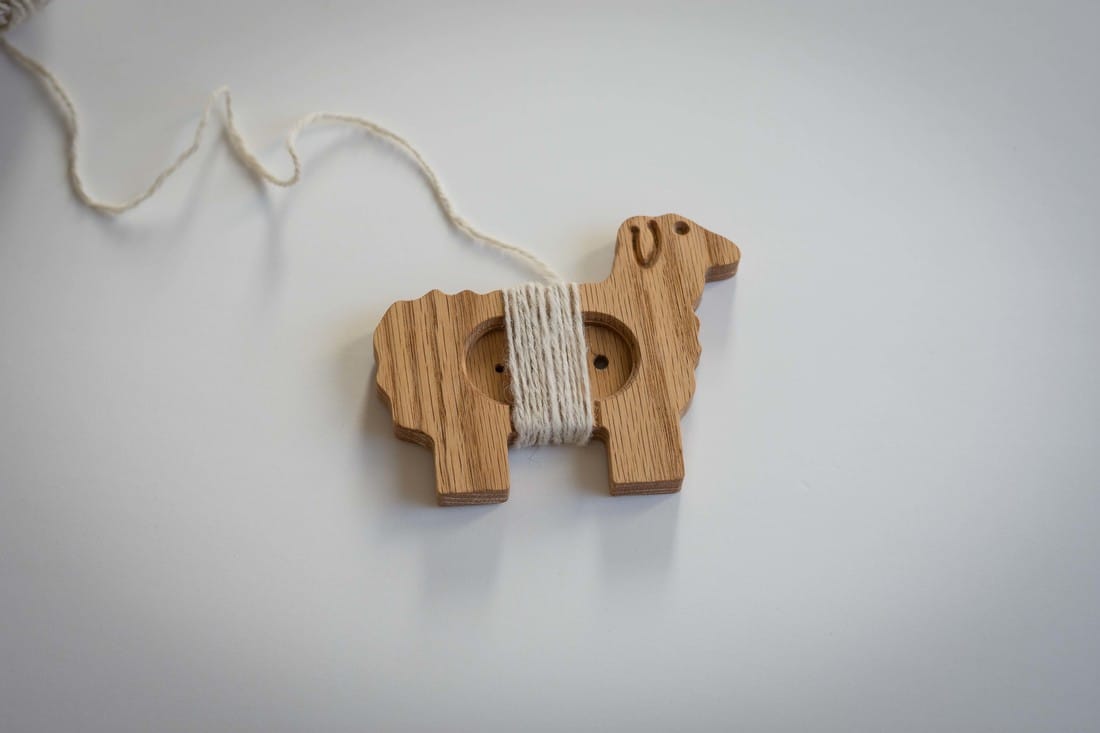 WPI, or "Wraps per Inch," is a common way for knitters, spinners, and weavers to estimate the thickness and yardage of yarn. There are lots of ways to measure WPI - including wrapping your yarn around a ruler. But there are also lots of dedicated WPI tools, like the ones in my shop. Because who doesn't love a tool that's also a sheep? Shameless plug aside, it does matter how you actually wrap the yarn - pull it too tight or leave it too loose, and your estimate is off. It's best to gently wrap the yarn without tugging it, laying each wrap next to the previous one without cramming them together or leaving any empty space. The number of times you can wrap the yarn around a one-inch section is your wraps per inch. It takes practice, but with time, you'll get a pretty accurate result. And it's important to remember that WPI is a useful estimate - there's no substitution for swatching and sampling your yarn. So what does WPI help you estimate? Say you want to substitute a yarn in your stash for the yarn called for in a pattern you're knitting. If you know the WPI of the yarn called for in the pattern, you can check the WPI of your stash yarn to see if they're a close enough match. Don't know the WPI of the yarn called for in the pattern? You can usually suss it out if you know the yarn "weight," or thickness, or the gauge called for in the pattern. Ravelry has a handy guide to yarn weights and WPI, which can help you figure it out. In weaving, WPI can help you figure out a starting point for how close together your warp and weft threads should be - for plain weave, I take my WPI and divide it in half to get my starting point, and for twills, I usually use 2/3 of the WPI for my starting point. And in spinning, not only can WPI help you get the yarn weight/thickness you want, it can also help you make sure you're spinning consistently if you check your WPI often. And what about yardage? If you know your WPI, you might also be able to get a rough estimate of yardage, usually expressed as "yards per pound" or "YPP." You can find a guide to WPI and YPP here. But remember that it's a rough estimate and nothing beats swatching or knowing the yardage from the yarn label! So there you have it! How have you used WPI in your fiber projects? xx,
Pamela  It's a good thing you can't see behind me, because right now the floor is strewn with yarn, books, knitting needles, WIPs, and all the other overflow from my stash closet. My desk is piled high with books, files, and other odds and ends. There are pictures that still need hanging, that if we're going to be honest have been sitting on the floor for at least a month now. If there's one thing I learned from KonMarie, it's that the mess is telling me I don't have a good place for it all to go. Sometimes it takes me a while to figure out the perfect system, or at least the best system for me. But you can bet by the time my lease is up, I'll have figured out the best way to organize it all. And then I'll move on to another house, and have to figure it out all over again. So it goes. What does this have to do with yarny record-keeping? Everything, in fact. I adore Ravelry, but have to admit that I'm not great at keeping up with my projects page. And the problem with Ravelry project pages is that there's no spot to physically insert your samples and swatches. I guess I just love a tactile experience, and I'm much more likely to write it down if I use a pen and paper. That, my friends, is where you get to benefit. If you're the pen and paper sort, I've created notes pages that I love. It all started with weaving, where I needed to keep track of yarn and samples and the changes I wanted to make to weaving drafts. Then, mostly because making them is so much fun, I came up with versions for knitting and rug hooking. Each file is a little different, because each craft is a little different. Don't need a page? Don't print it. Need an extra page? Print two, or three, or more.
Weaving notes have a grid for you to put in your weaving draft. I've left the grid plain so you can customize it to your number of shafts, and so you can put the tie-ups wherever you like. There's also a space for calculating warp and weft requirements, time tracking, and my favorite, a spot for changes you want to make in the future.
Knitting notes has all the essentials, like a place to put your swatch, record your gauge, and remember which yarn and needles you used. But it also has prompts for things I always wished I'd remembered to write down, like how the yarn was to knit with, things I'd change in the future, and how well the item wears.
Rug hooking notes has a space for a sketch of the project and lots of yarn/rag samples. It also helps you track your time and remember things you'd do differently next time. I had a ton of fun making these templates, and I hope you enjoy using them. I've already got my binders labeled and ready to organize everything I make. Now I just have to tackle that mess behind me... xx,
Pamela Since it's Halloween, I thought I'd share something lots of knitters find scary - cutting a hole in your knitting. On purpose. It doesn't have to be scary, though, and that's why I created a video to walk you through the whole process. Enjoy! xx,
Pamela |
Archives
January 2024
Categories
All
|
||||||

 RSS Feed