|
After all the work of blending fiber, spinning yarn, and knitting a sweater...I decided to cut it apart! As a young knitter, I felt like cutting knits was about the worst thing you can do. After all, it's a decision you can't really reverse, and one of the things I like about knitting is the ability to unravel and re-knit to fix mistakes. But, that was before I understood the concept of steeks. Once I learned how they work, I started using them for almost everything! What is a Steek?The word “steek” comes from Middle English “steken,” meaning to shut, close, or fasten. But in knitting, it means the opposite, to cut open. A steek is a column of extra stitches connecting two pieces of knitted fabric, allowing the knitter to work more quickly in the round. The center steek stitch will later be cut. Most people get nervous about their knitting unraveling when they cut a steek. However, if you cut along a column of vertical stitches, you'll find that the knitting really doesn't want to unravel in that direction! Traditionally, steeks are used in stranded colorwork garments made with non-superwash wools - wools that will felt with wear. Over time, the cut edge felts together and is virtually indestructible. However, you can use this in other ways - like I did with this sweater. When Use a Steek?Use a steek when you want to knit in the round, but are working in a pattern that needs to have openings or separate pieces. This includes:
How to Set Up a SteekTo set up a steek, you'll add an odd number of stitches in the location you'll cut. Seven stitches seems to be the ideal number. These extra stitches won't add to the finished size of your garment - they'll get folded under during finishing. Most steeks are done in stranded colorwork, and the steek stiches alternate in some way. I prefer a column of stitches, as shown below, but some knitters like to do a checkerboard pattern. If I'm not working in stranded colorwork, I'll purl the stitch that needs to be cut so that it's easy to see. 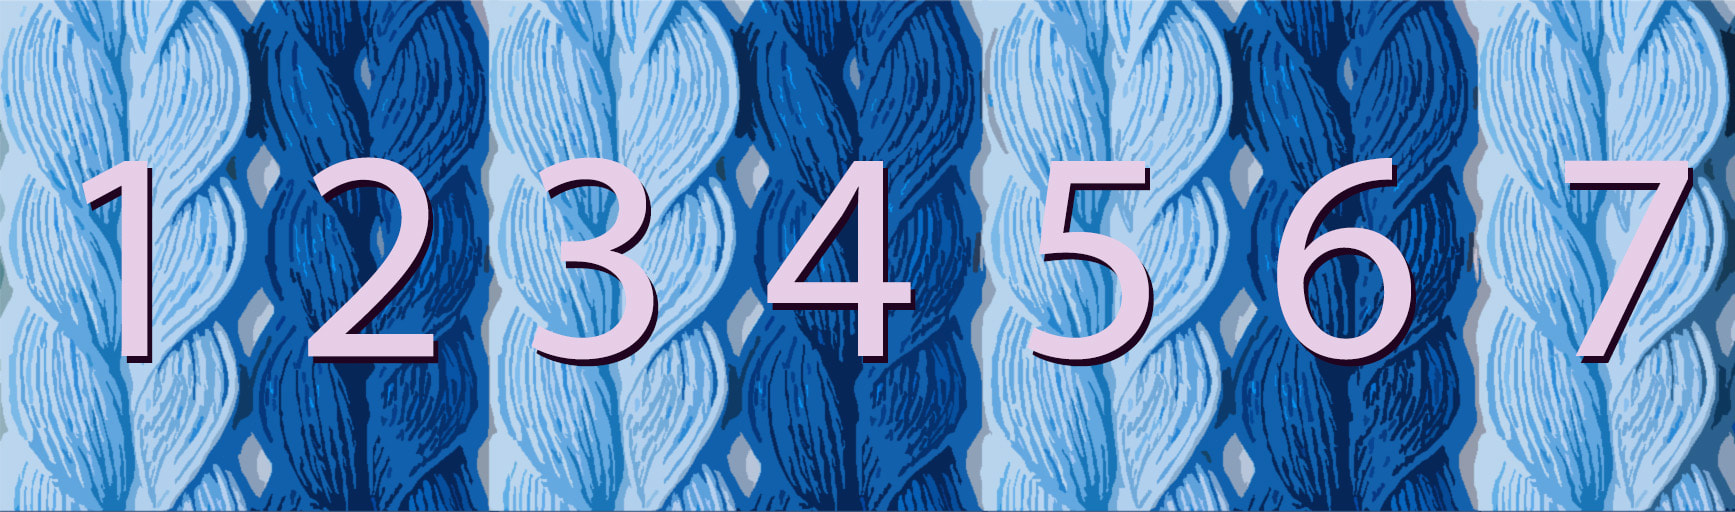 Ways to Reinforce a Steek
Cutting the SteekYou'll be cutting along the center stitch (stich #4 in the diagram above). Use a sharp pair of scissors, be sure to cut a straight line, and make sure you're cutting only one layer of fabric. That's all there is to it! Ways to Secure a Cut SteekMany people find they want to reinforce the cut edge in some way. Here are the ways I've used over the years.
0 Comments
Found a mistake? Is it time to unravel? Or can you get away with duplicate stitch (aka "Swiss Darning")? For me, this is a matter of scale. Big mistakes (rows and rows worth) call for unraveling. Small mistakes can often be fixed with a quick duplicate stitch. In these two videos, I end up doing both. I've gone through all the design options...now it's time to start knitting!
There were three main options for the sweater constrution: a yoked sweater, a Norwegian ski sweater, and a top-down sweater with set in sleeves. With a yoked sweater, the colorwork design fans out as the stitch count increases. Instead, I wanted the design to go straight up and down. I settled on a top-down sweater, with the armholes closed by a steek for ease of knitting. In this video, I talk about these design choices, as well as make some last-minute decisions about color. In her PBS series "Knitting Workshop," Elizabeth Zimmerman seems to instantly know the gauge for her yarn. That's because she used the same yarns over and over again, meaning she didn't have to bother with gauge swatches so often. Genius move!
In today's video, I show how to use an existing sweater as a giant gauge swatch, plus how to build a basic schematic for key elements of fit. Where does inspiration for a new sweater design come from? Which comes first, the pattern or the yarn? When I first had the idea to make a stashbusting handspun sweater, I planned to find a pattern online and just follow it. But as I was browsing patterns that fit my gauge, I wasn't finding anything that really sparked my fancy. I decided to design my own pattern. This sounds fine in theory, but in practice, there's a lot that goes into a sweater pattern. Fit and ShapingThe fit and shaping of a sweater are like the "bones," or architechture that hold everything together. How it sits & fits on your body will affect both the look and feel of any visual patterns that are knit into it. Some things to consider:
Spotting TrendsOne of the great thing about designing your own sweater is that you don't have to be stuck with what's on the shelf in retail shops. I do like to see what's "trendy" before I design a new sweater. Since it's such a huge investment of time and money, I don't want to make something that's going to be tired and dated before I'm even done. That doesn't mean sticking to the "classics," though - it means that I'll have a look through online shops, fashion shows, and perhaps some magazines. The first stage is just gathering information - lots of it. I'll usually have 20+ browser tabs open, as I search runway shows, style blogs, Ravelry, Pinterest, and more. It's not necessarily about copying trends (although trying to recreate a design you like is a great learning tool). It's about seeing what's current, and using that as a jumping-off point. Working with TrendsThis go-round, the trends I identified with were checks, plaids, and variations on scale. Some of those were presented in pretty traditional ways, and others were pretty out there, like this Comme des Garçons runway look. You may want to make a moodboard by assembling some images of your inspiration and color palette. This can be a great way to narrow things down. Sketching designs is also great. For my current project, I distilled all the ideas I'd gathered into a simple sketch of a scoop-neck sweater with a check pattern. I used a fashion journal for my sketch, but also really love MyBodyModel for customized croquis. If you haven't already chosen your color scheme, now is a great time. Choosing colors you like and feel confident in is always a great idea, as is filling in any "holes" in your wardrobe. Know Your StyleKnowing what you like goes a long way here. Hate things against your neck? You probably don't want to design a turtleneck! This is the point where I usually circle back to the first step. Sometimes what I found in the trend-spotting phase tells me that I'll want to do a certain sweater construction - maybe tailored cardigans are THE look. Other times, the motifs I want to work with will dictate the design of the pattern. Fitting the visual design with the pattern construction is part of the whole design challenge. Start Working Out Your DesignIt IS possible to just start knitting a sweater at this point, and hope for the best. But an even better idea would be to get more of your design down on paper, starting with a schematic, a swatch, and written instructions.
There are tons of design books out there, but one I turn to frequently is Sally Melville's Knitting Pattern Essentials. In addition to giving you the math for working out sweater patterns, it helps you think through some of the design combinations that are possible with sweater patterns. I'll go more into gauge swatches and schematics in my next post, but at this point, it's a good idea to have a rough idea of how the sweater's fit and construction. Will it be long or short? Snug or loose? Top-down or bottom-up? All of these will help you move from mere inspiration to an actual pattern that you can work with. |
Archives
January 2024
Categories
All
|
 RSS Feed