|
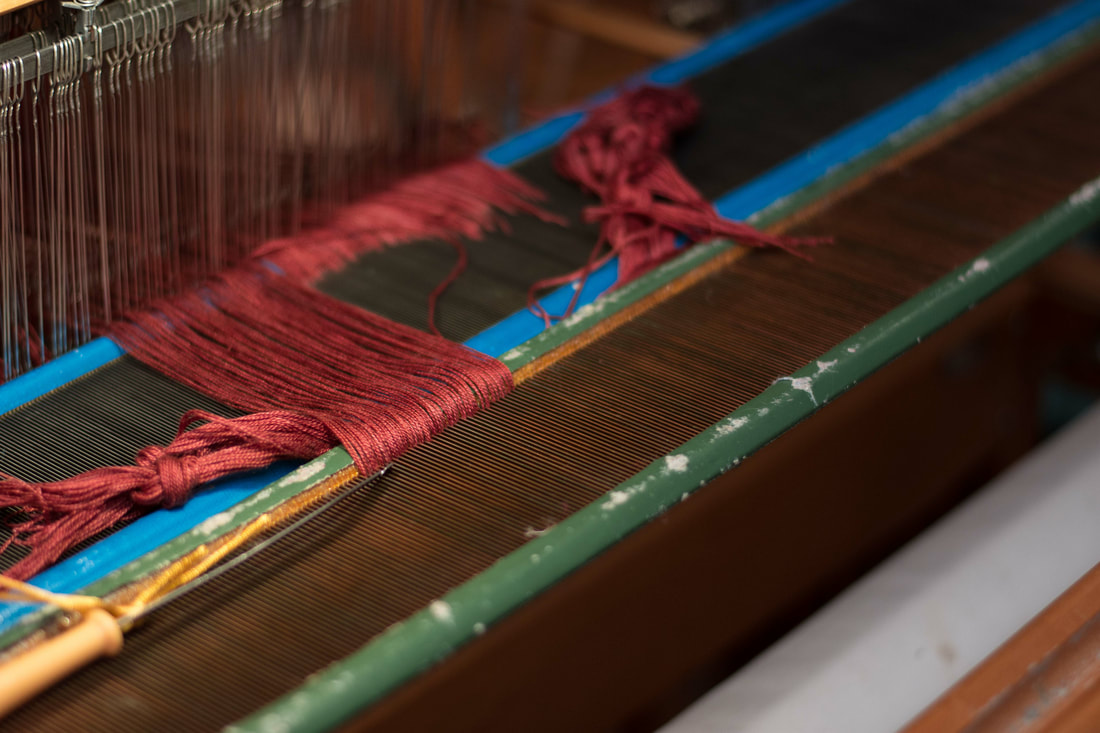
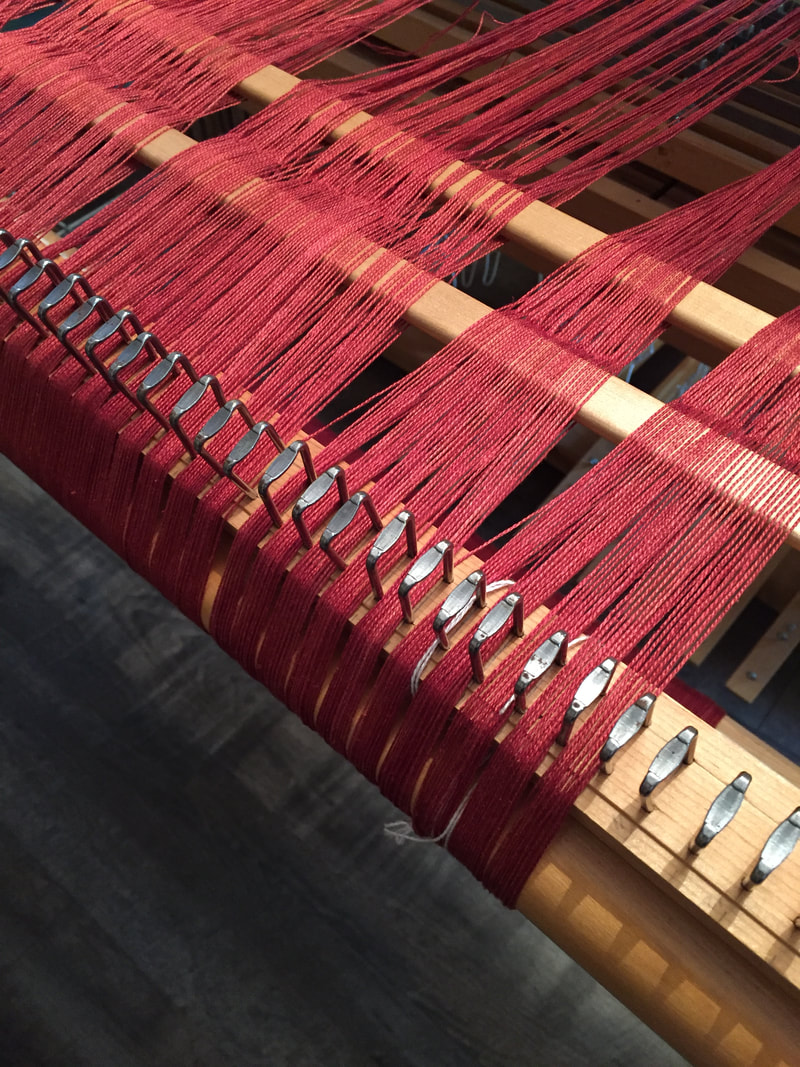
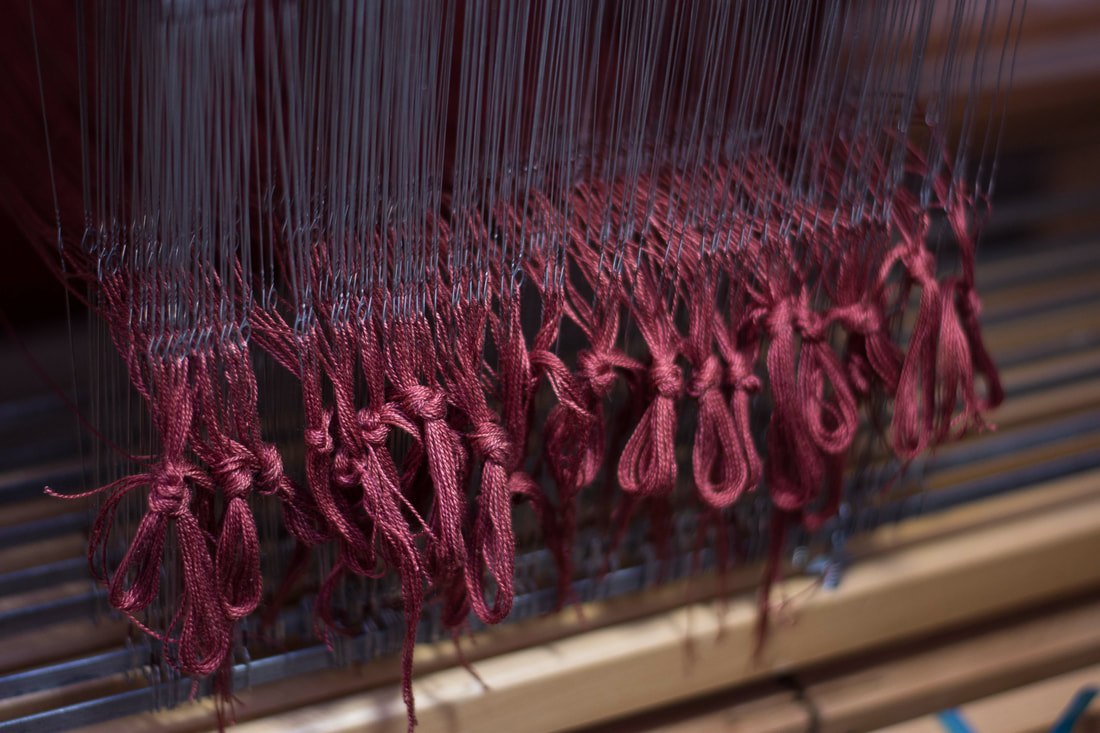
I've been working on warping up my Leclerc loom. It lives in my basement loom room, which is quite dark, meaning that it has probably been neglected for too long. (This was the last thing I wove on it.) The warp for this project is silk from Redfish Dye Works - purchased at last year's Interweave YarnFest. I warped this piece back-to-front. I learned to warp by warping from front-to-back, so going back-to-front is still something that I'm getting used to. This tutorial is very helpful, and I find that I reference it often. After measuring out the warp on a warping board, it gets spaced out in the raddle, shown in the top picture. The raddle keeps the warp the right width as it gets beamed on. After the warp is beamed onto the back beam, all the heddles are threaded. This piece has about 500 warp ends, all threaded in the pattern below. As you can see in the image above, I tend to tie each section into a loose bundle. This helps me keep track of where I am in my threading, as well as helps me double-check for errors. Catching an error at this stage is much easier to fix than once the whole warping process is finished! This pattern is a twill pattern. There are lots of twill patterns out there, and this one combines a couple. When I'm doing this, I usually play with design software like WeaveIt until I have a pattern that I like. In this instance, I had a specific number of warp ends that I was trying to design around, so I played with ideas until I got a number that worked.  After threading the heddles, I untie those bundles one by one and pull warp ends through the reed. This particular yarn is a 20/2 silk, which a lot of people set at 27 ends to the inch. Since I don't have a reed that has 27 dents to the inch (most people don't!), I use a reed substitution chart to figure out what to do. I have reeds that are 8, 10, 12, and 15 dents per inch. Looking at the reed substitution chart, if I used the 12 dent reed, and sleyed in a sequence of 2 per dent, 2 per dent, 2 per dent, then 3 per dent, I would get 27 ends to the inch.
This was the first time I tried threading the reed laying down flat instead of upright in the beater. It was a lot easier than the way I learned and led to a lot less neck strain than the methods I'd tried before. (A description is in the tutorial I linked above.) Of course, because nothing is ever as easy as it should be, I grabbed the 15 dent reed instead of the 12 dent and was almost halfway through the task when I realized what I'd done. (It was early, and my coffee apparently hadn't kicked in yet!) This mistake needed to be fixed, otherwise I'd end up with a narrow scarf as stiff as cardboard! To fix the mistake, I could have pulled all the threads out of the reed and started over with the correct one. But because I had already done a lot of work grouping the threads together correctly, I improvised an easier and faster solution. I pushed the incorrect reed back, and then put the correct reed in front. Then I pulled each group of threads out of the incorrect reed and placed them into the correct one. It was a process all its own, but much faster than starting from square one! Once I was finished, no threads remained in the incorrect reed, so it was easy to just pull it away. After sleying all the ends through the reed, I tipped it upright and put it into the beater, then tied on to the front beam and checked for errors. All ready to weave! Comments are closed.
|
Archives
January 2024
Categories
All
This website uses marketing and tracking technologies. Opting out of this will opt you out of all cookies, except for those needed to run the website. Note that some products may not work as well without tracking cookies. Opt Out of Cookies |


 RSS Feed